Exploring Wan 2.2’s Final Frame and Local AI Video Highlights
Today I’m covering one of the exciting new features in WAN 2.2, the first last frame to video, aka LF2V. With native support in ComfyUI, if you’ve ever wanted to create videos by simply defining the start and end points, this feature lets you provide the first frame, provide the last frame, and WAN 2.2 handles everything in between.
WAN 2.2 is the latest-generation multimodal generative model from One AI featuring a mixture of experts architecture. It uses specialized expert models for different aspects of video generation, resulting in high quality output with cinematic level aesthetic control.
Exploring Wan 2.2’s Final Frame and Local AI Video Highlights
LF2V stands for first last frame to video. It gives you precise control over both the start and end points while letting WAN 2.2 handle all the complex motion in between.
How LF2V works in ComfyUI
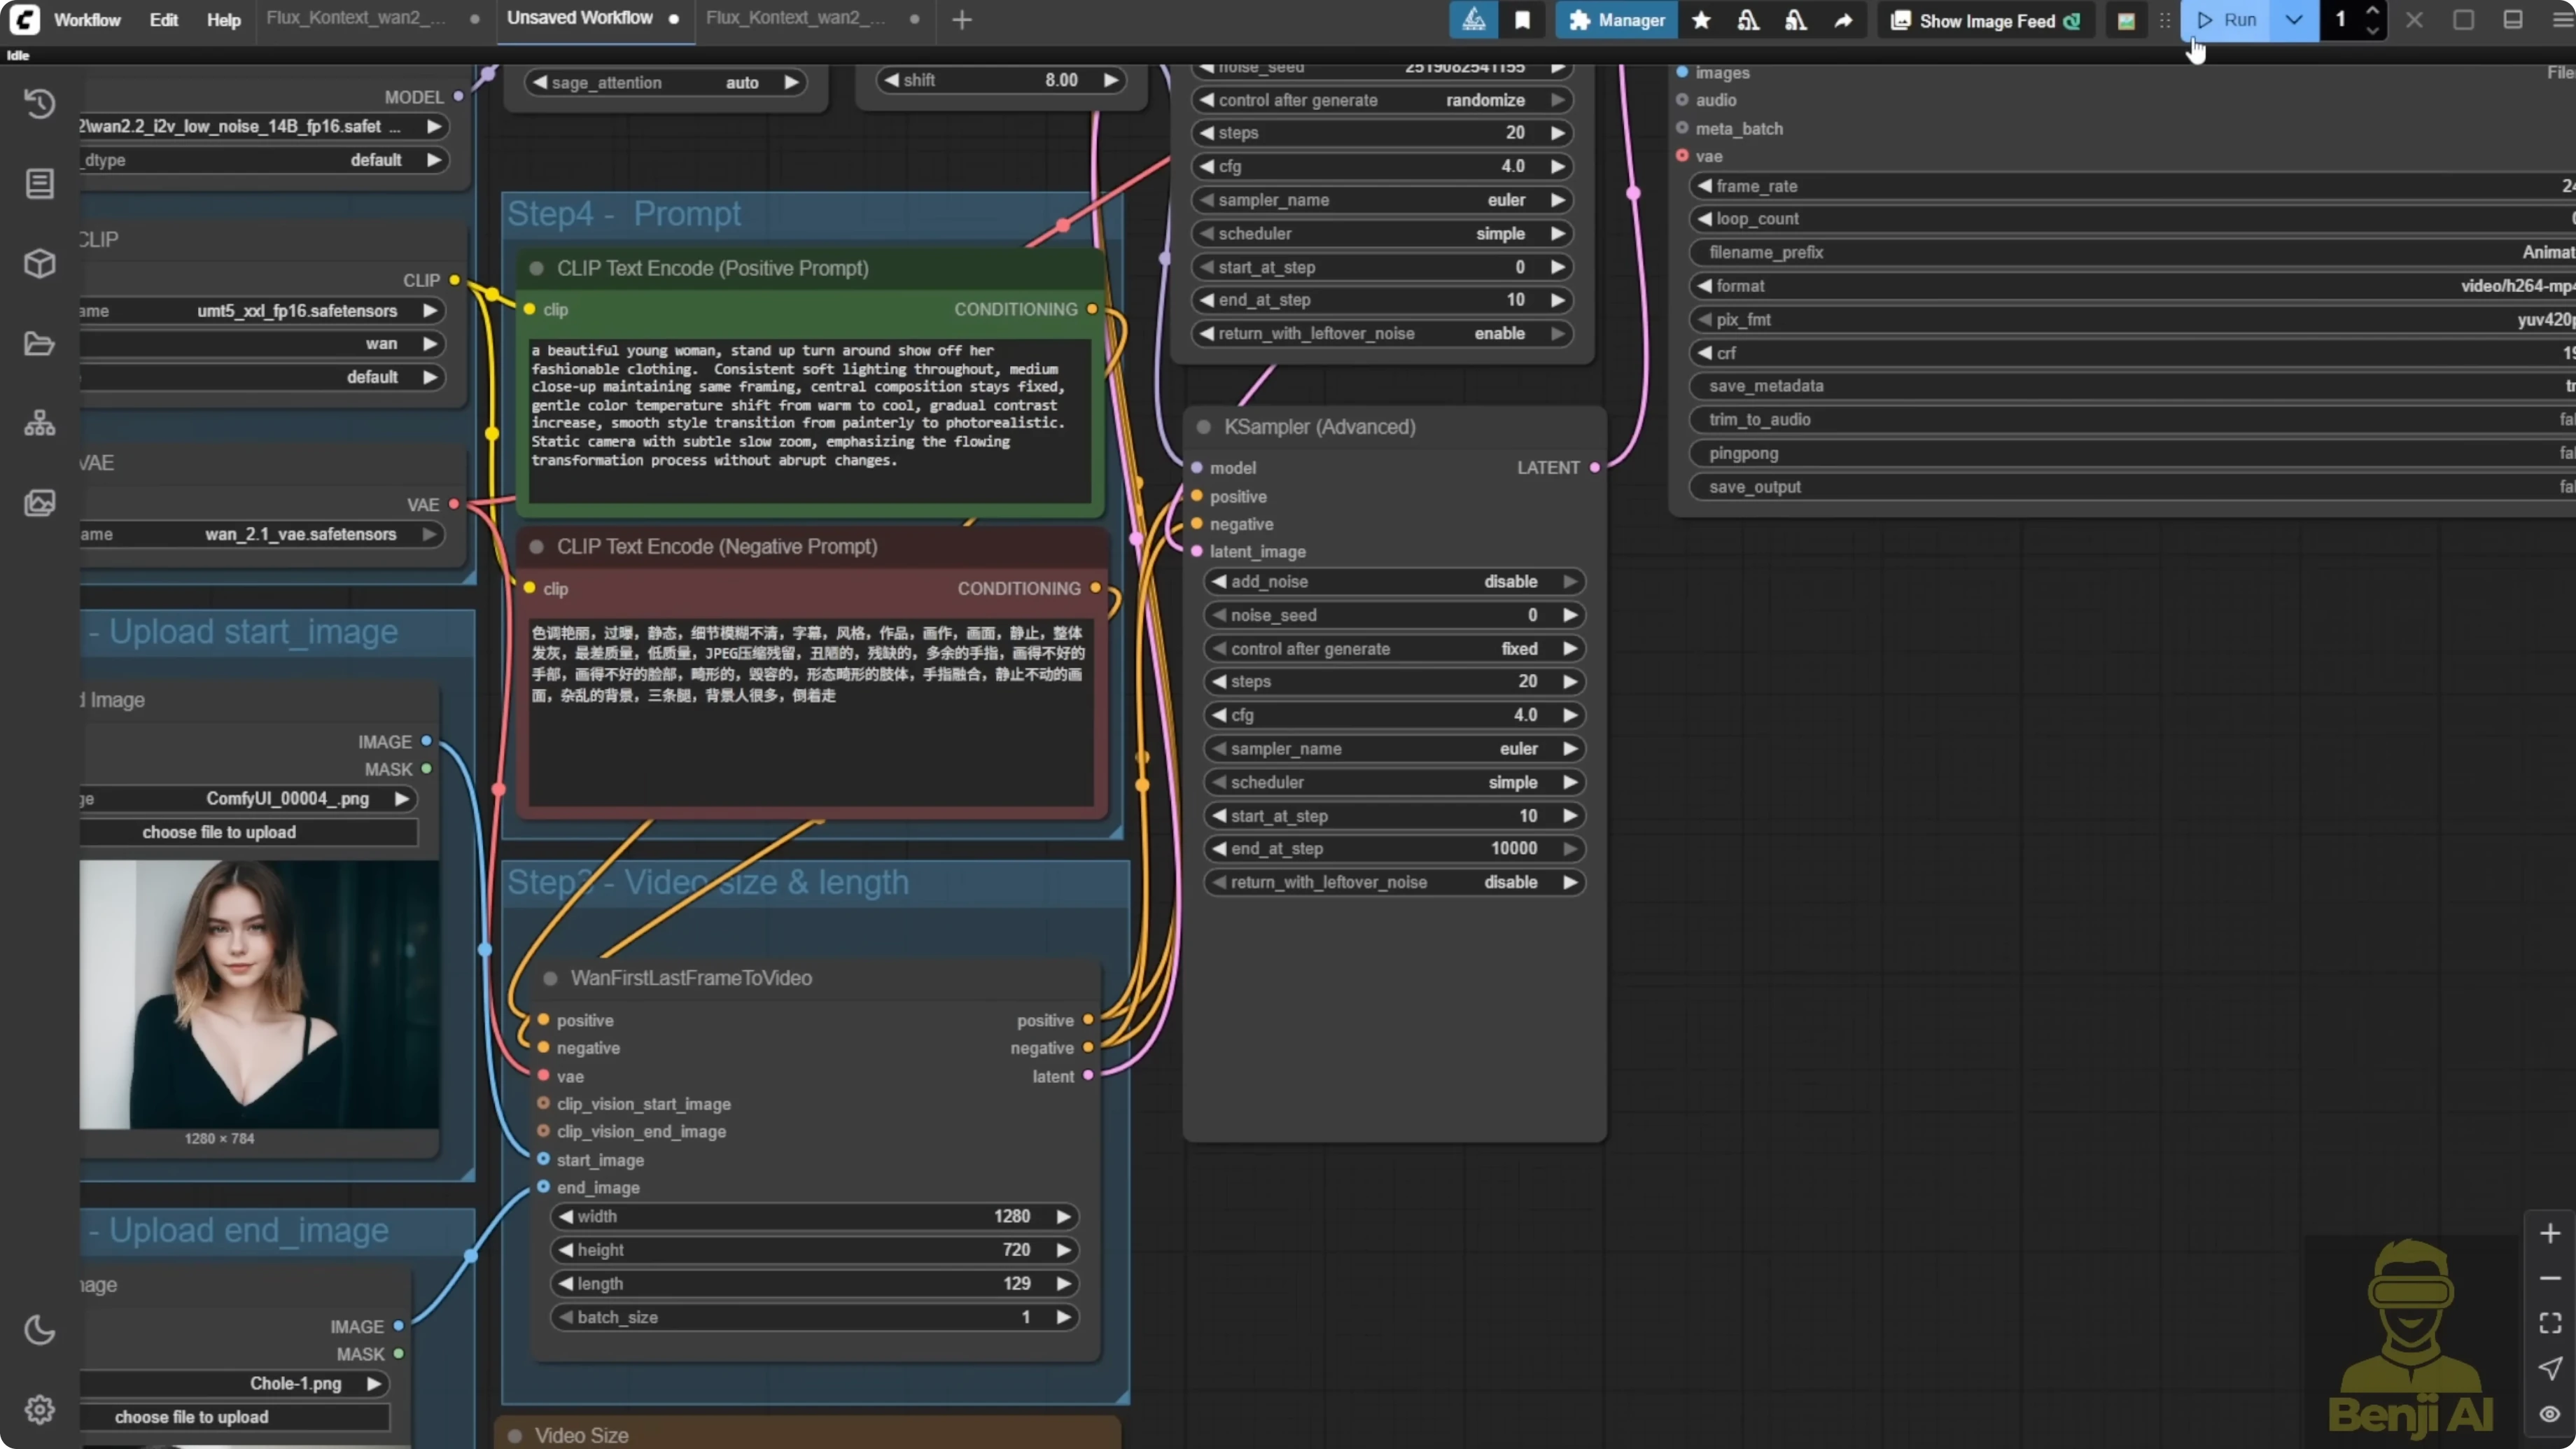
It’s straightforward, and the workflow is simple. You’ll see two Load Image nodes. Upload your desired starting frame in the first one and your ending frame in the second one. These can be any images, perhaps a character in one pose and then another or even abstract artistic concepts you want to see transition between.
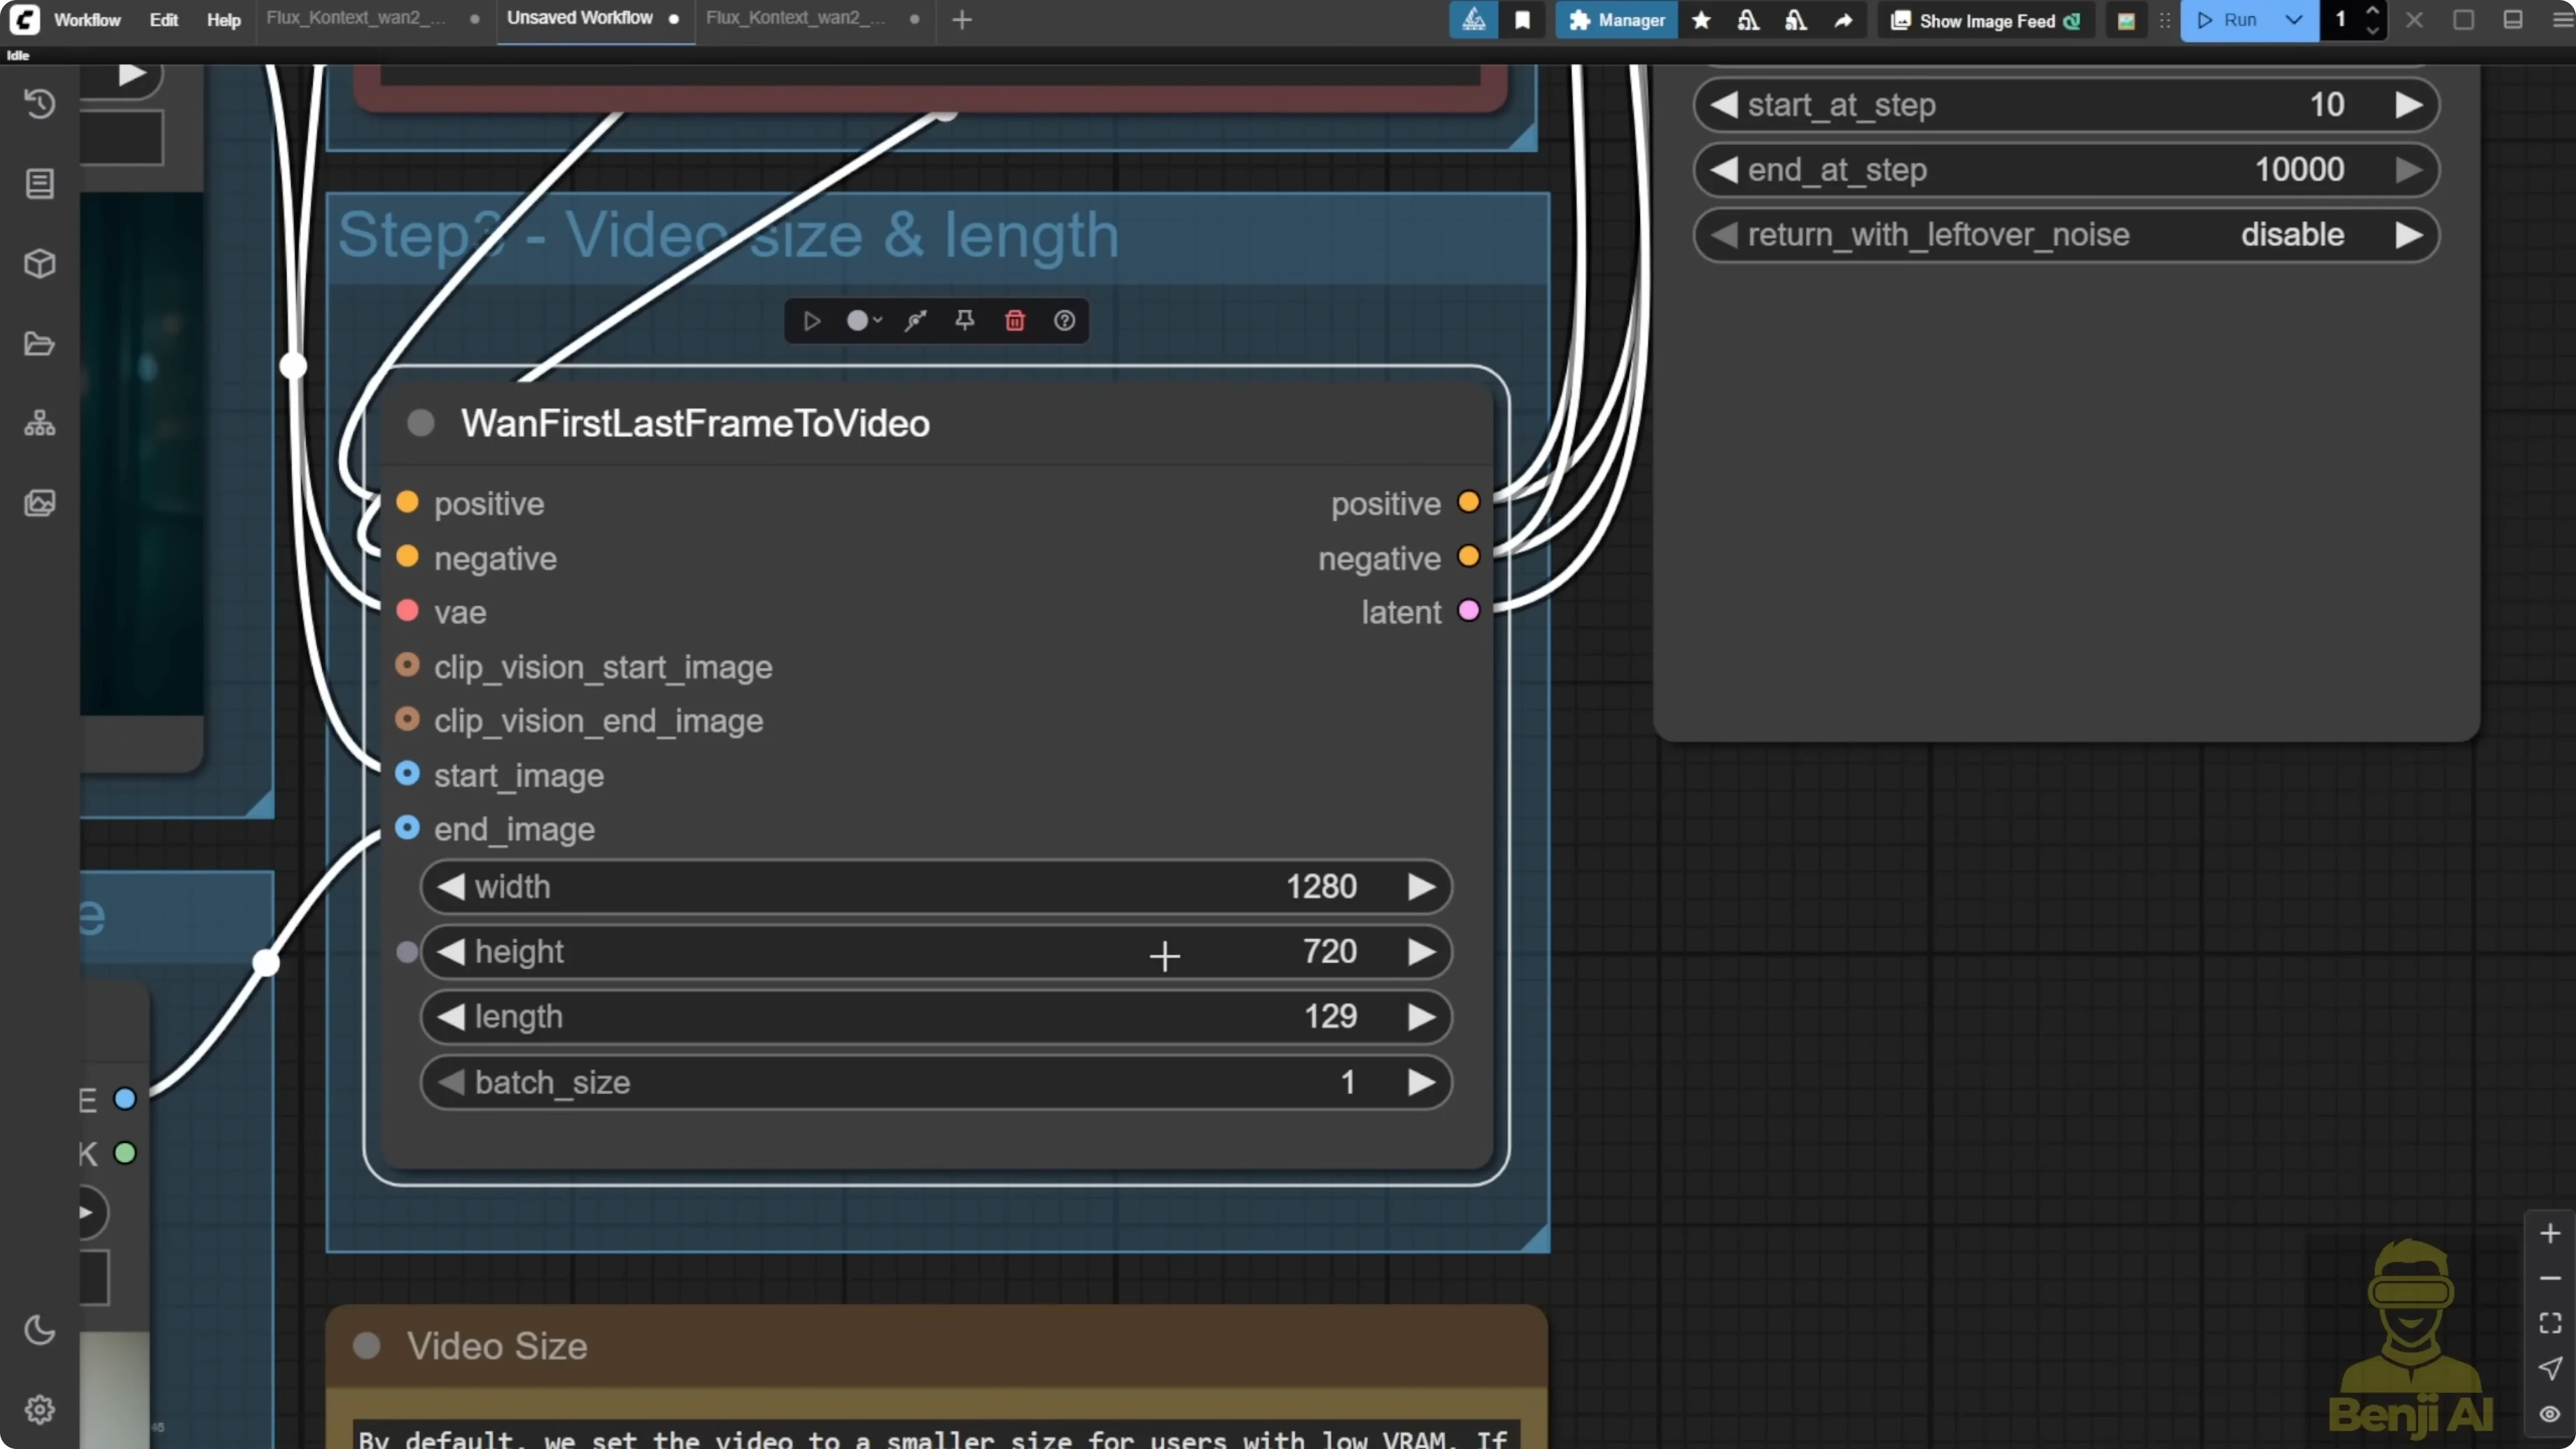
Next, adjust your settings in the WAN First Last Frame to Video node. By default, it’s set to a smaller resolution to be friendly to users with limited VRAM. If you’ve got the graphics power, push it up to 720p or even higher for more detail.
Craft your prompts to guide the AI on how you want the transition to occur. Describe the motion, the style, the mood, anything that will help WAN 2.2 understand your creative intent. The better your prompts, the more amazing your results will be.
Behind the scenes, the LF2V workflow uses the same powerful models as the image-to-video workflow:
- WAN 2.2 I2V high-noise 14B
- WAN 2.2 I2V low-noise 14B
- Specialized VAE
- Text encoder
Once everything is set up, hit Run or use Ctrl+Enter. WAN 2.2 will analyze your first and last frames, understand your prompts, and generate all the intermediate frames needed to create a professional quality video transition. Create smooth character animations, morph between different artistic styles, show the passage of time, or generate complex camera movements.
Step-by-step: Generate a video with LF2V in ComfyUI
- Install the latest ComfyUI.
- Load the first frame in the first Load Image node.
- Load the last frame in the second Load Image node.
- Adjust the WAN First Last Frame to Video node resolution as needed.
- Write prompts that describe motion, style, and mood.
- Run the workflow with Run or Ctrl+Enter.
- Review the output and iterate on prompts or settings if needed.
Examples and results
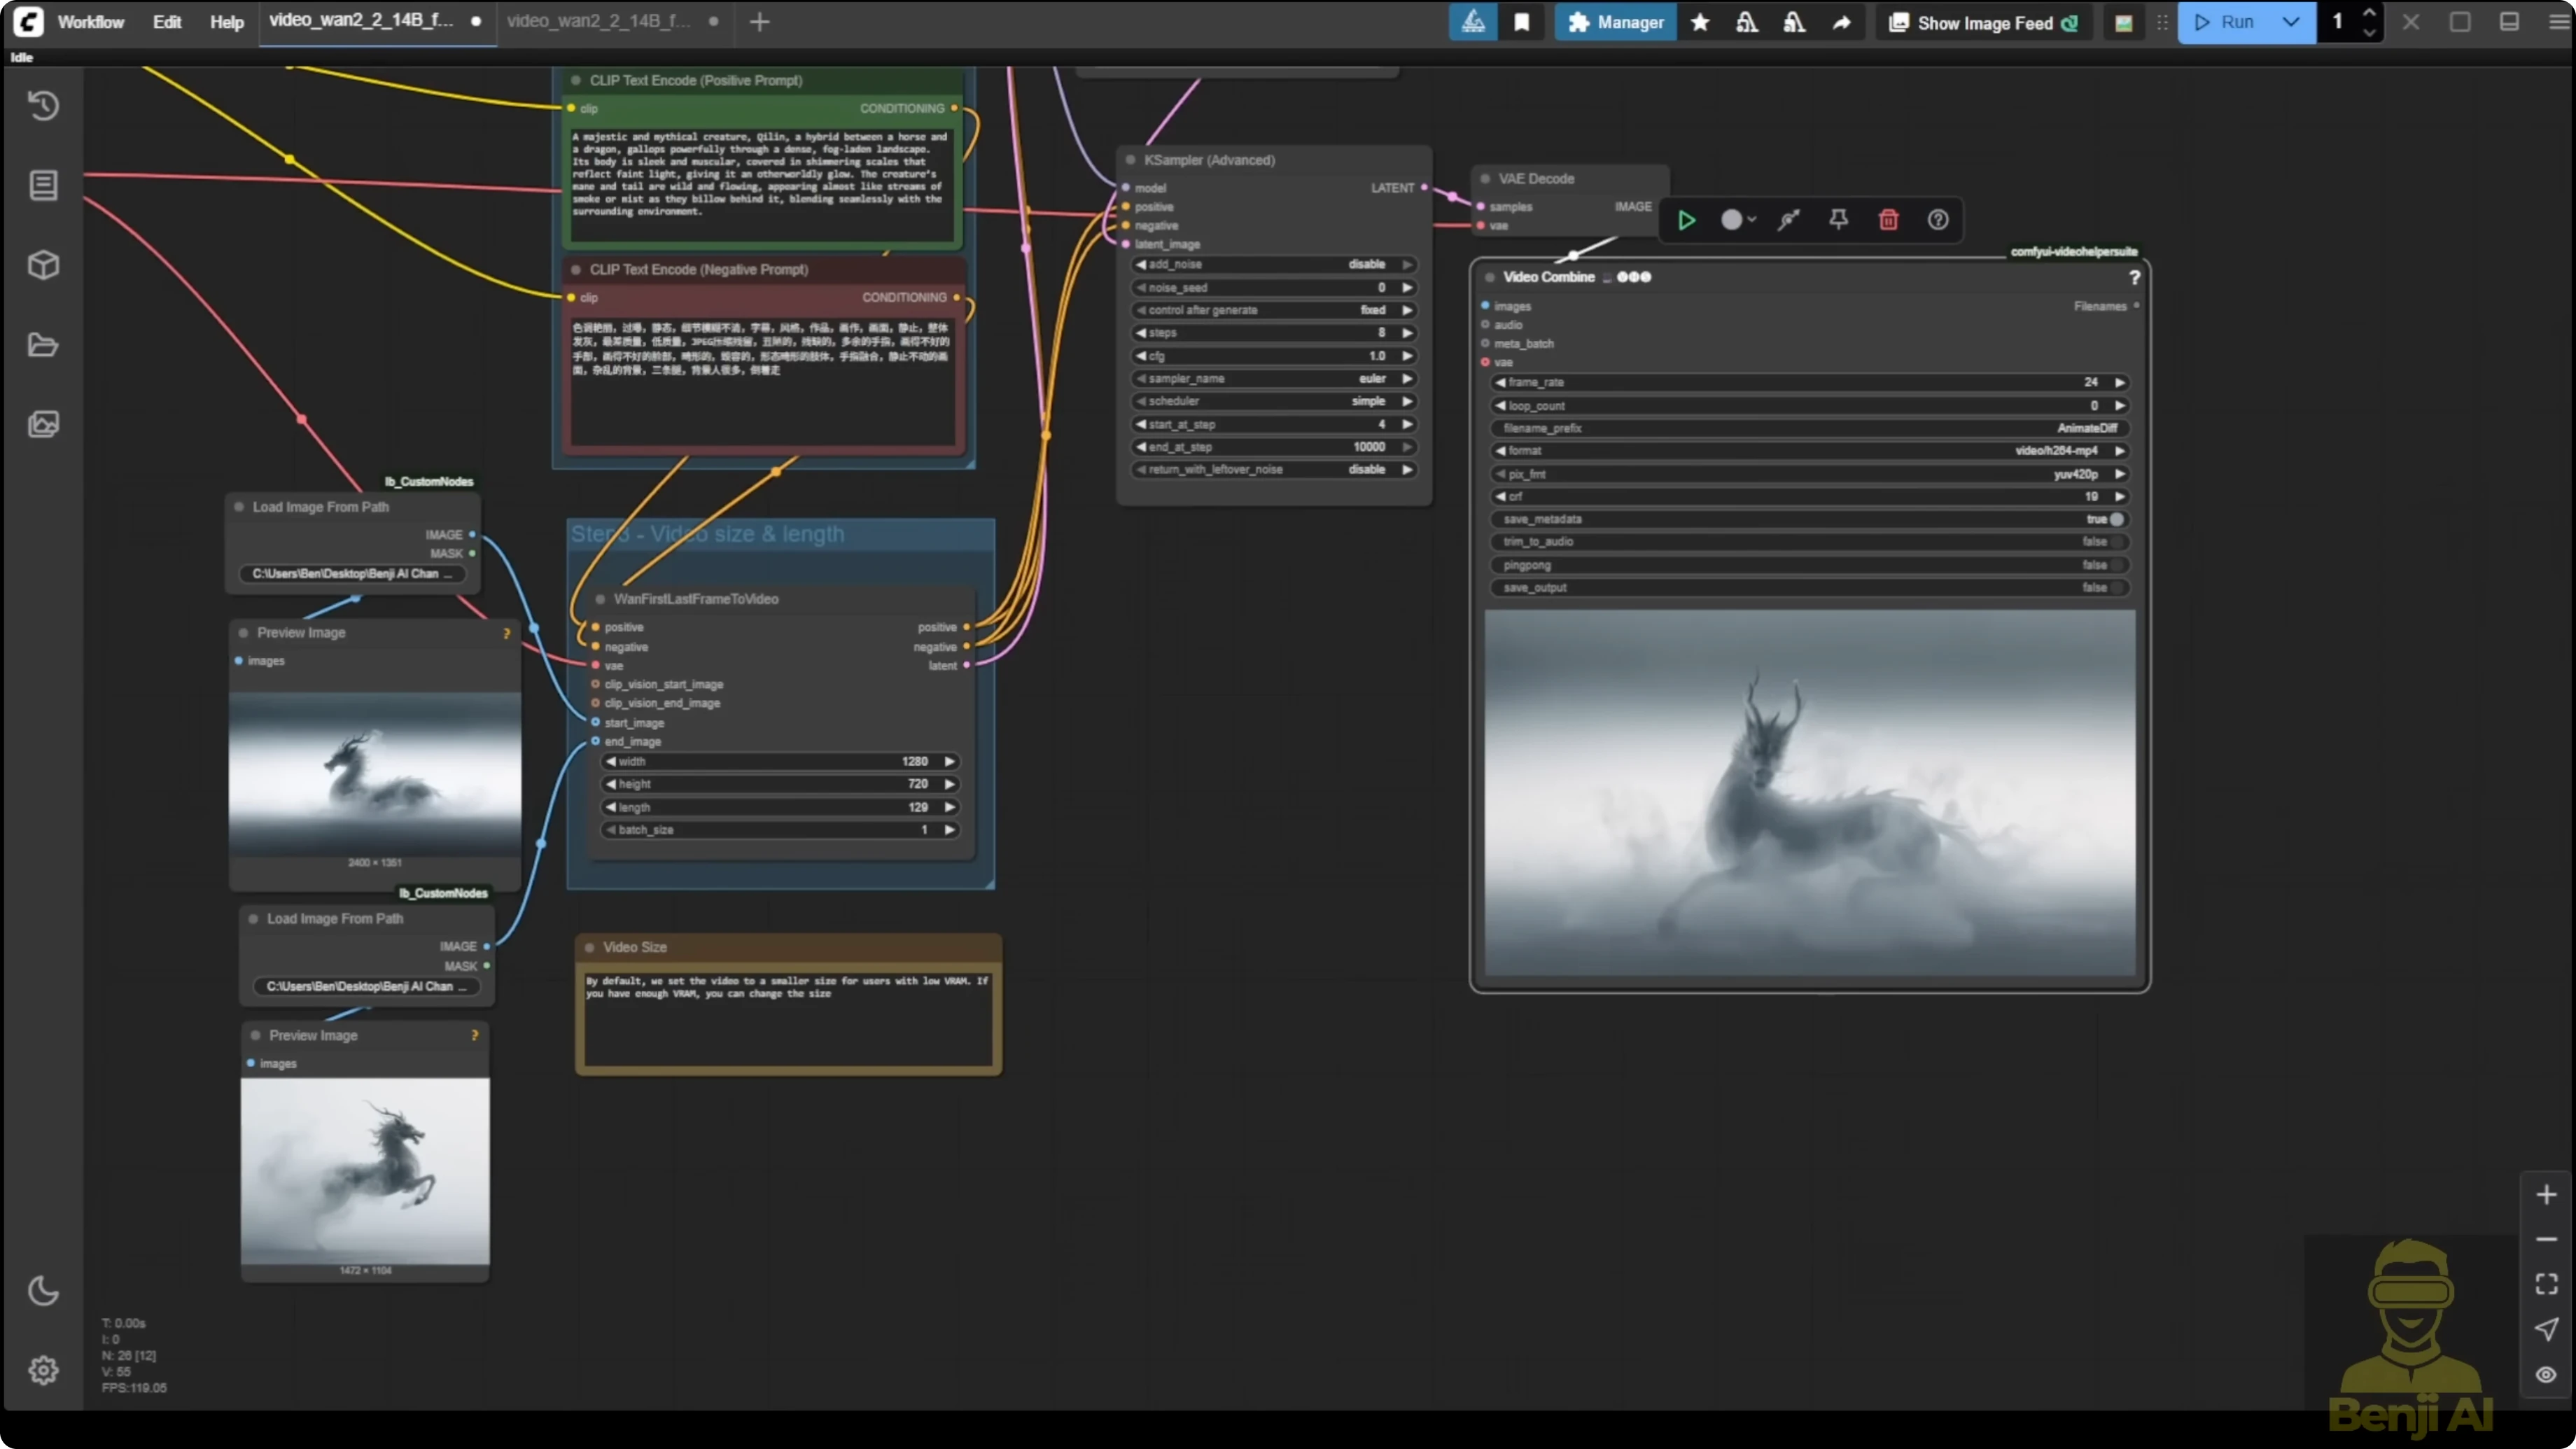
I tried this majestic creature called the qilin in Chinese. I actually like this image. It was from the ComfyUI website blog post official demo where you can also download these two images to try it out. The transitions of the first and last frames here show different directions of an object. For example, the first frame has the qilin sitting on the ground with its face going left. The last frame has the qilin standing up. The transitions create these animations from sitting up and then moving forward to another direction in this video, which looks really nice. There’s some mist around the body that goes through really nicely in these transitions. It’s able to replicate what can be done locally in ComfyUI. I did this in 720p resolution.
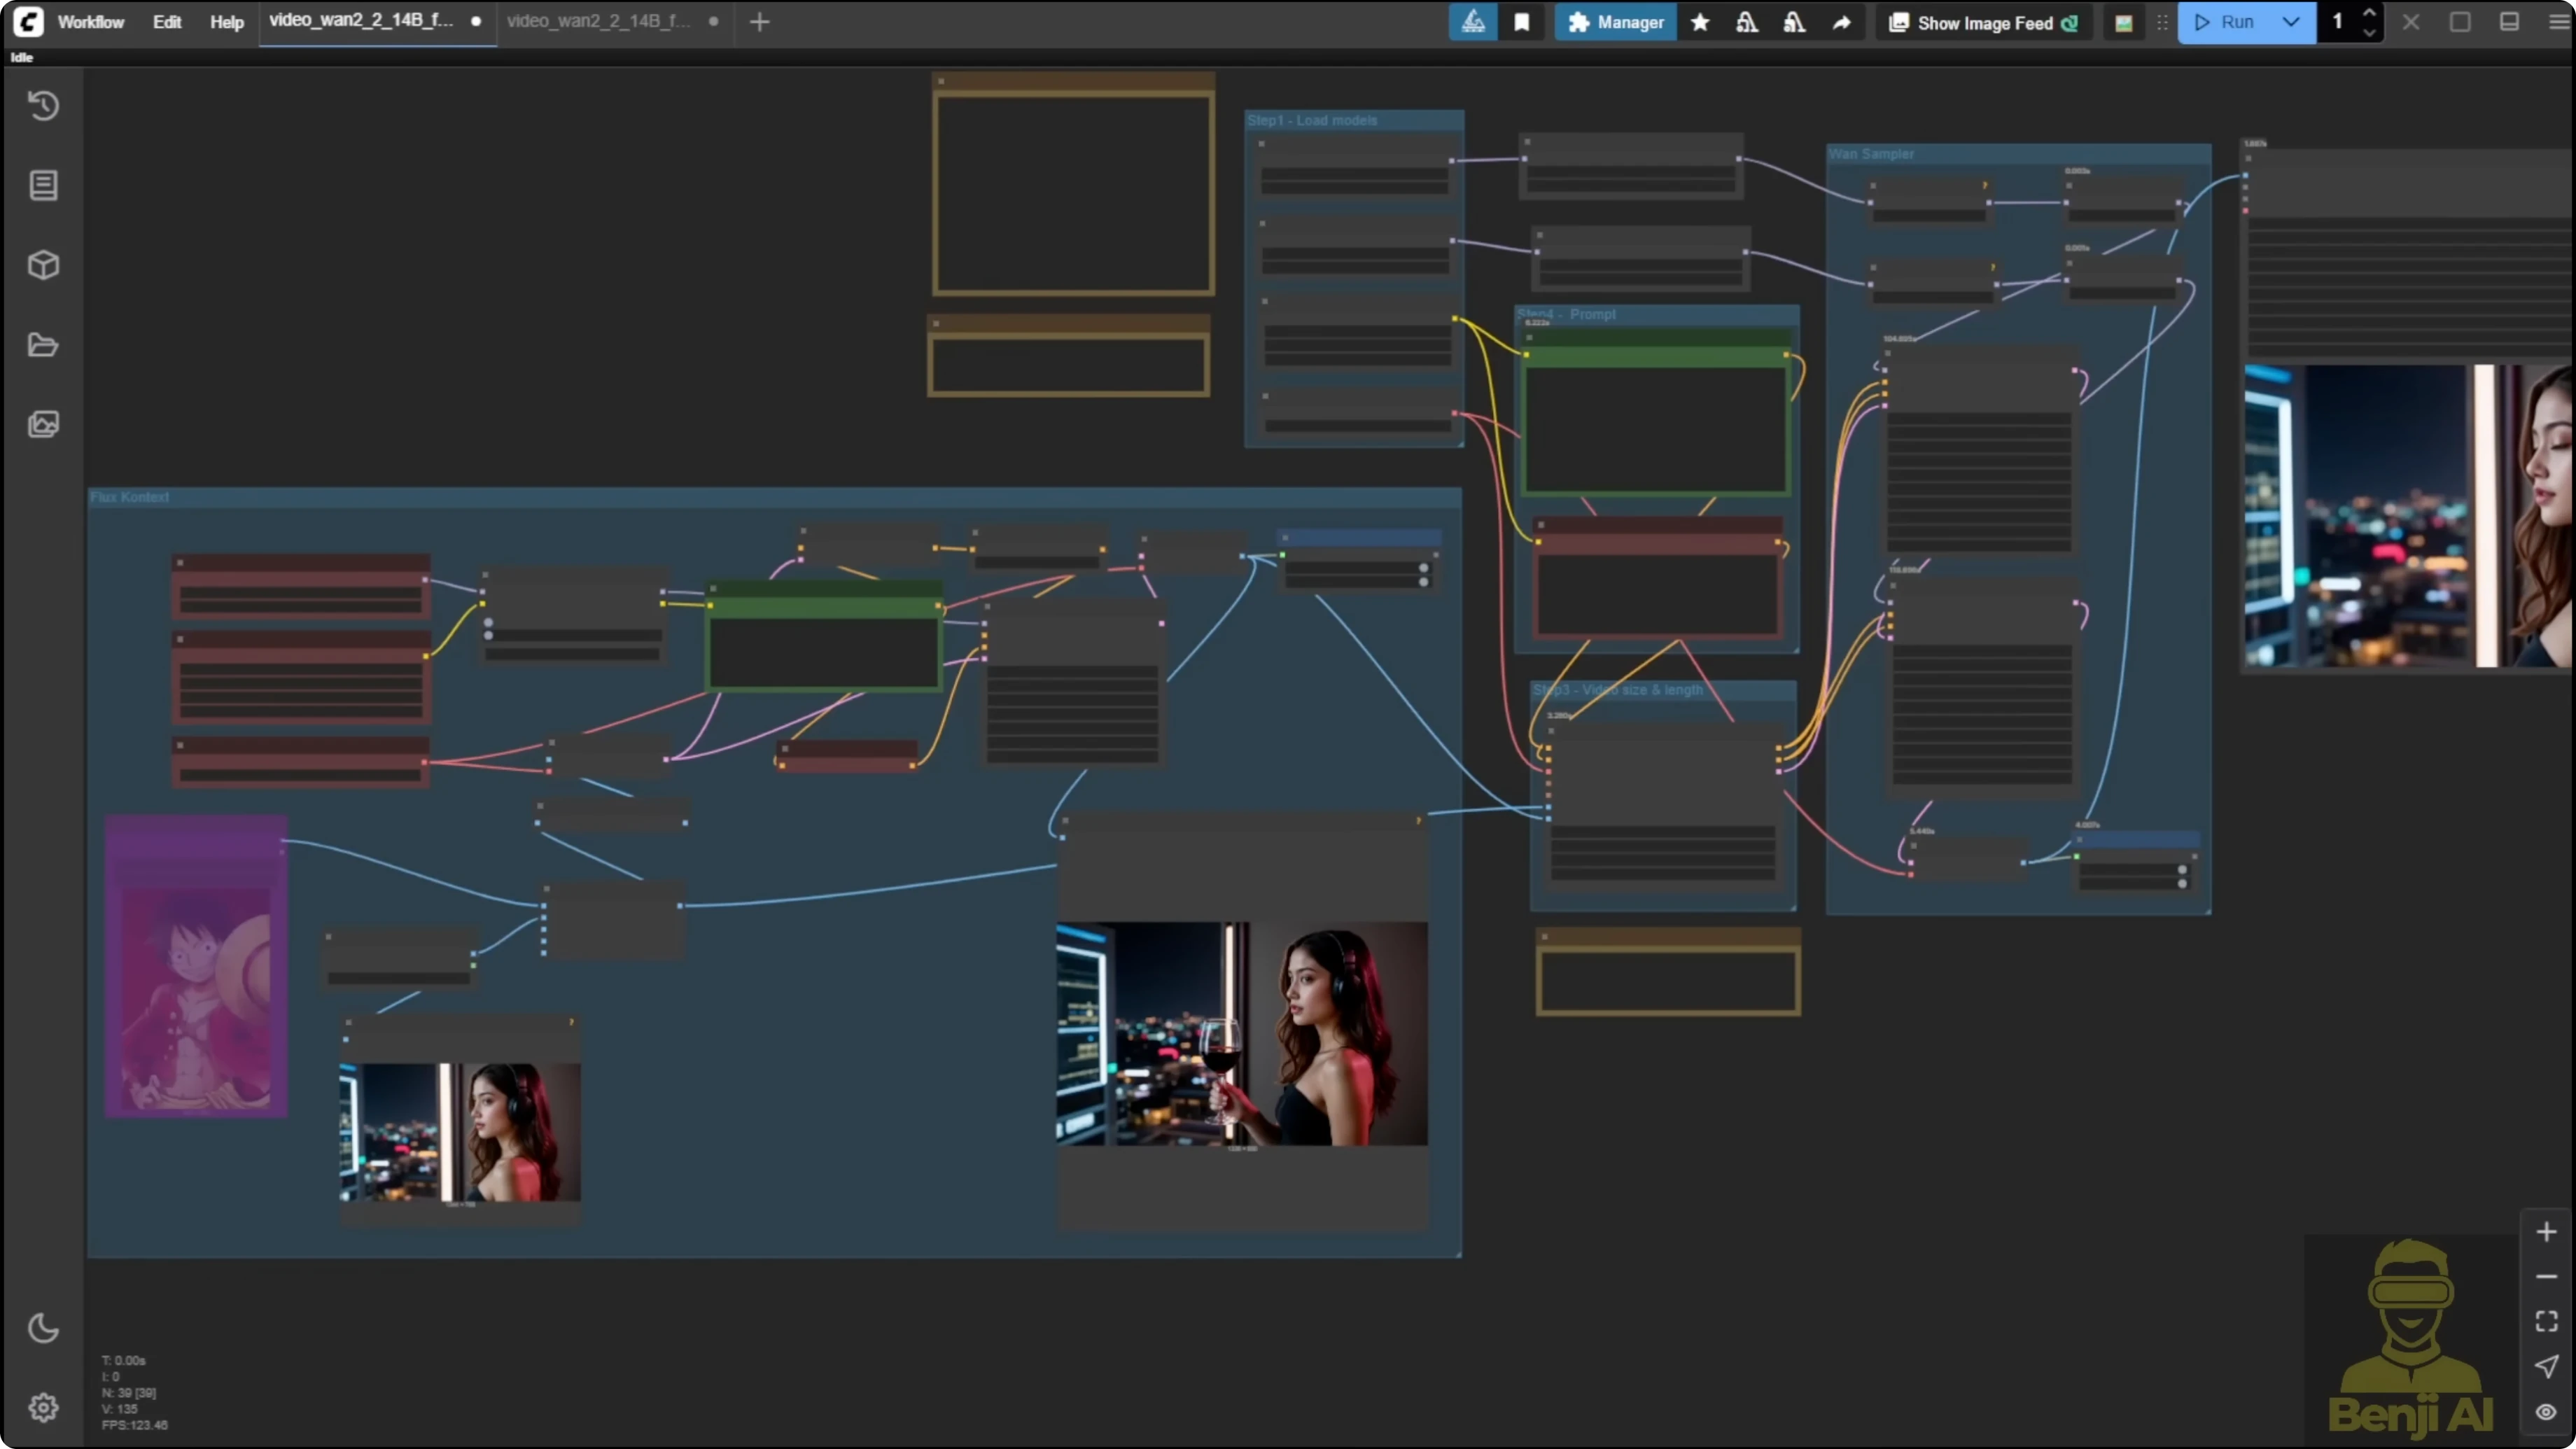
Integrating Flux Context for style transitions
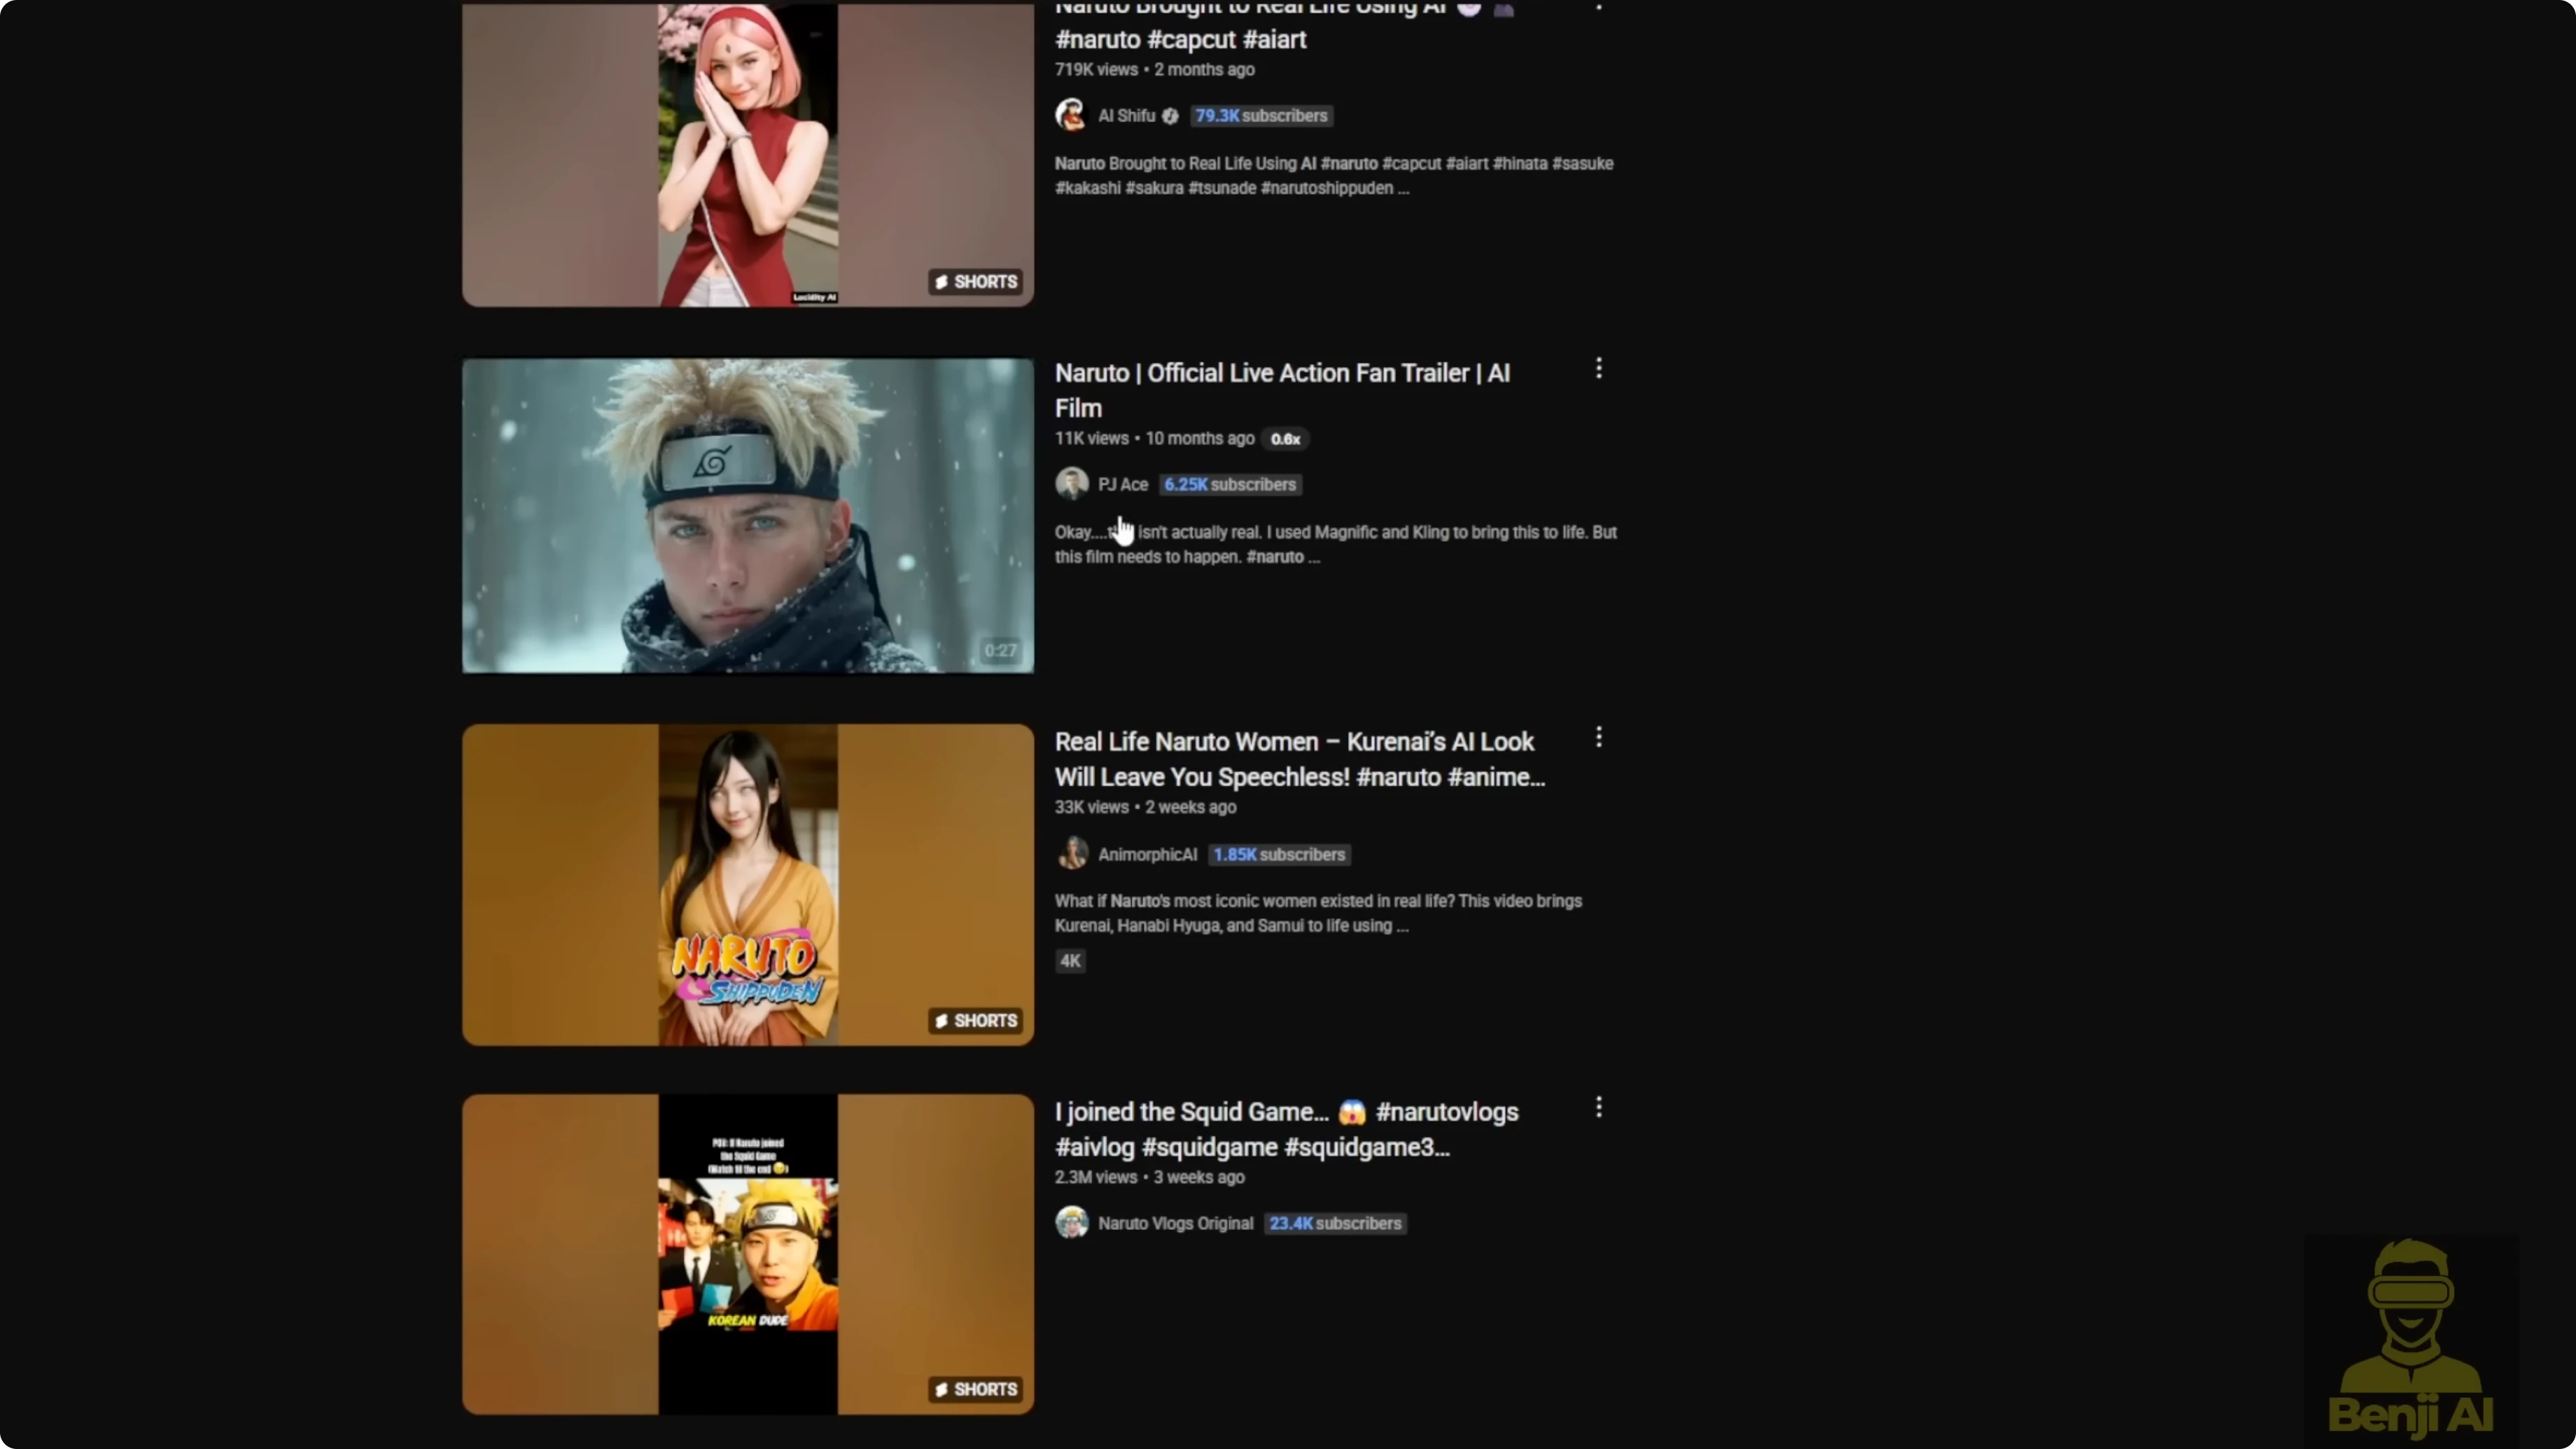
This was inspired by some ideas from YouTube Shorts. If you type AI Naruto, you’ll see Shorts where they change a character from anime style to realism. Some of these videos are being generated by Kling AI. I used WAN 2.2 first and last frames to create such an image pair and brought those two images into an animated video.
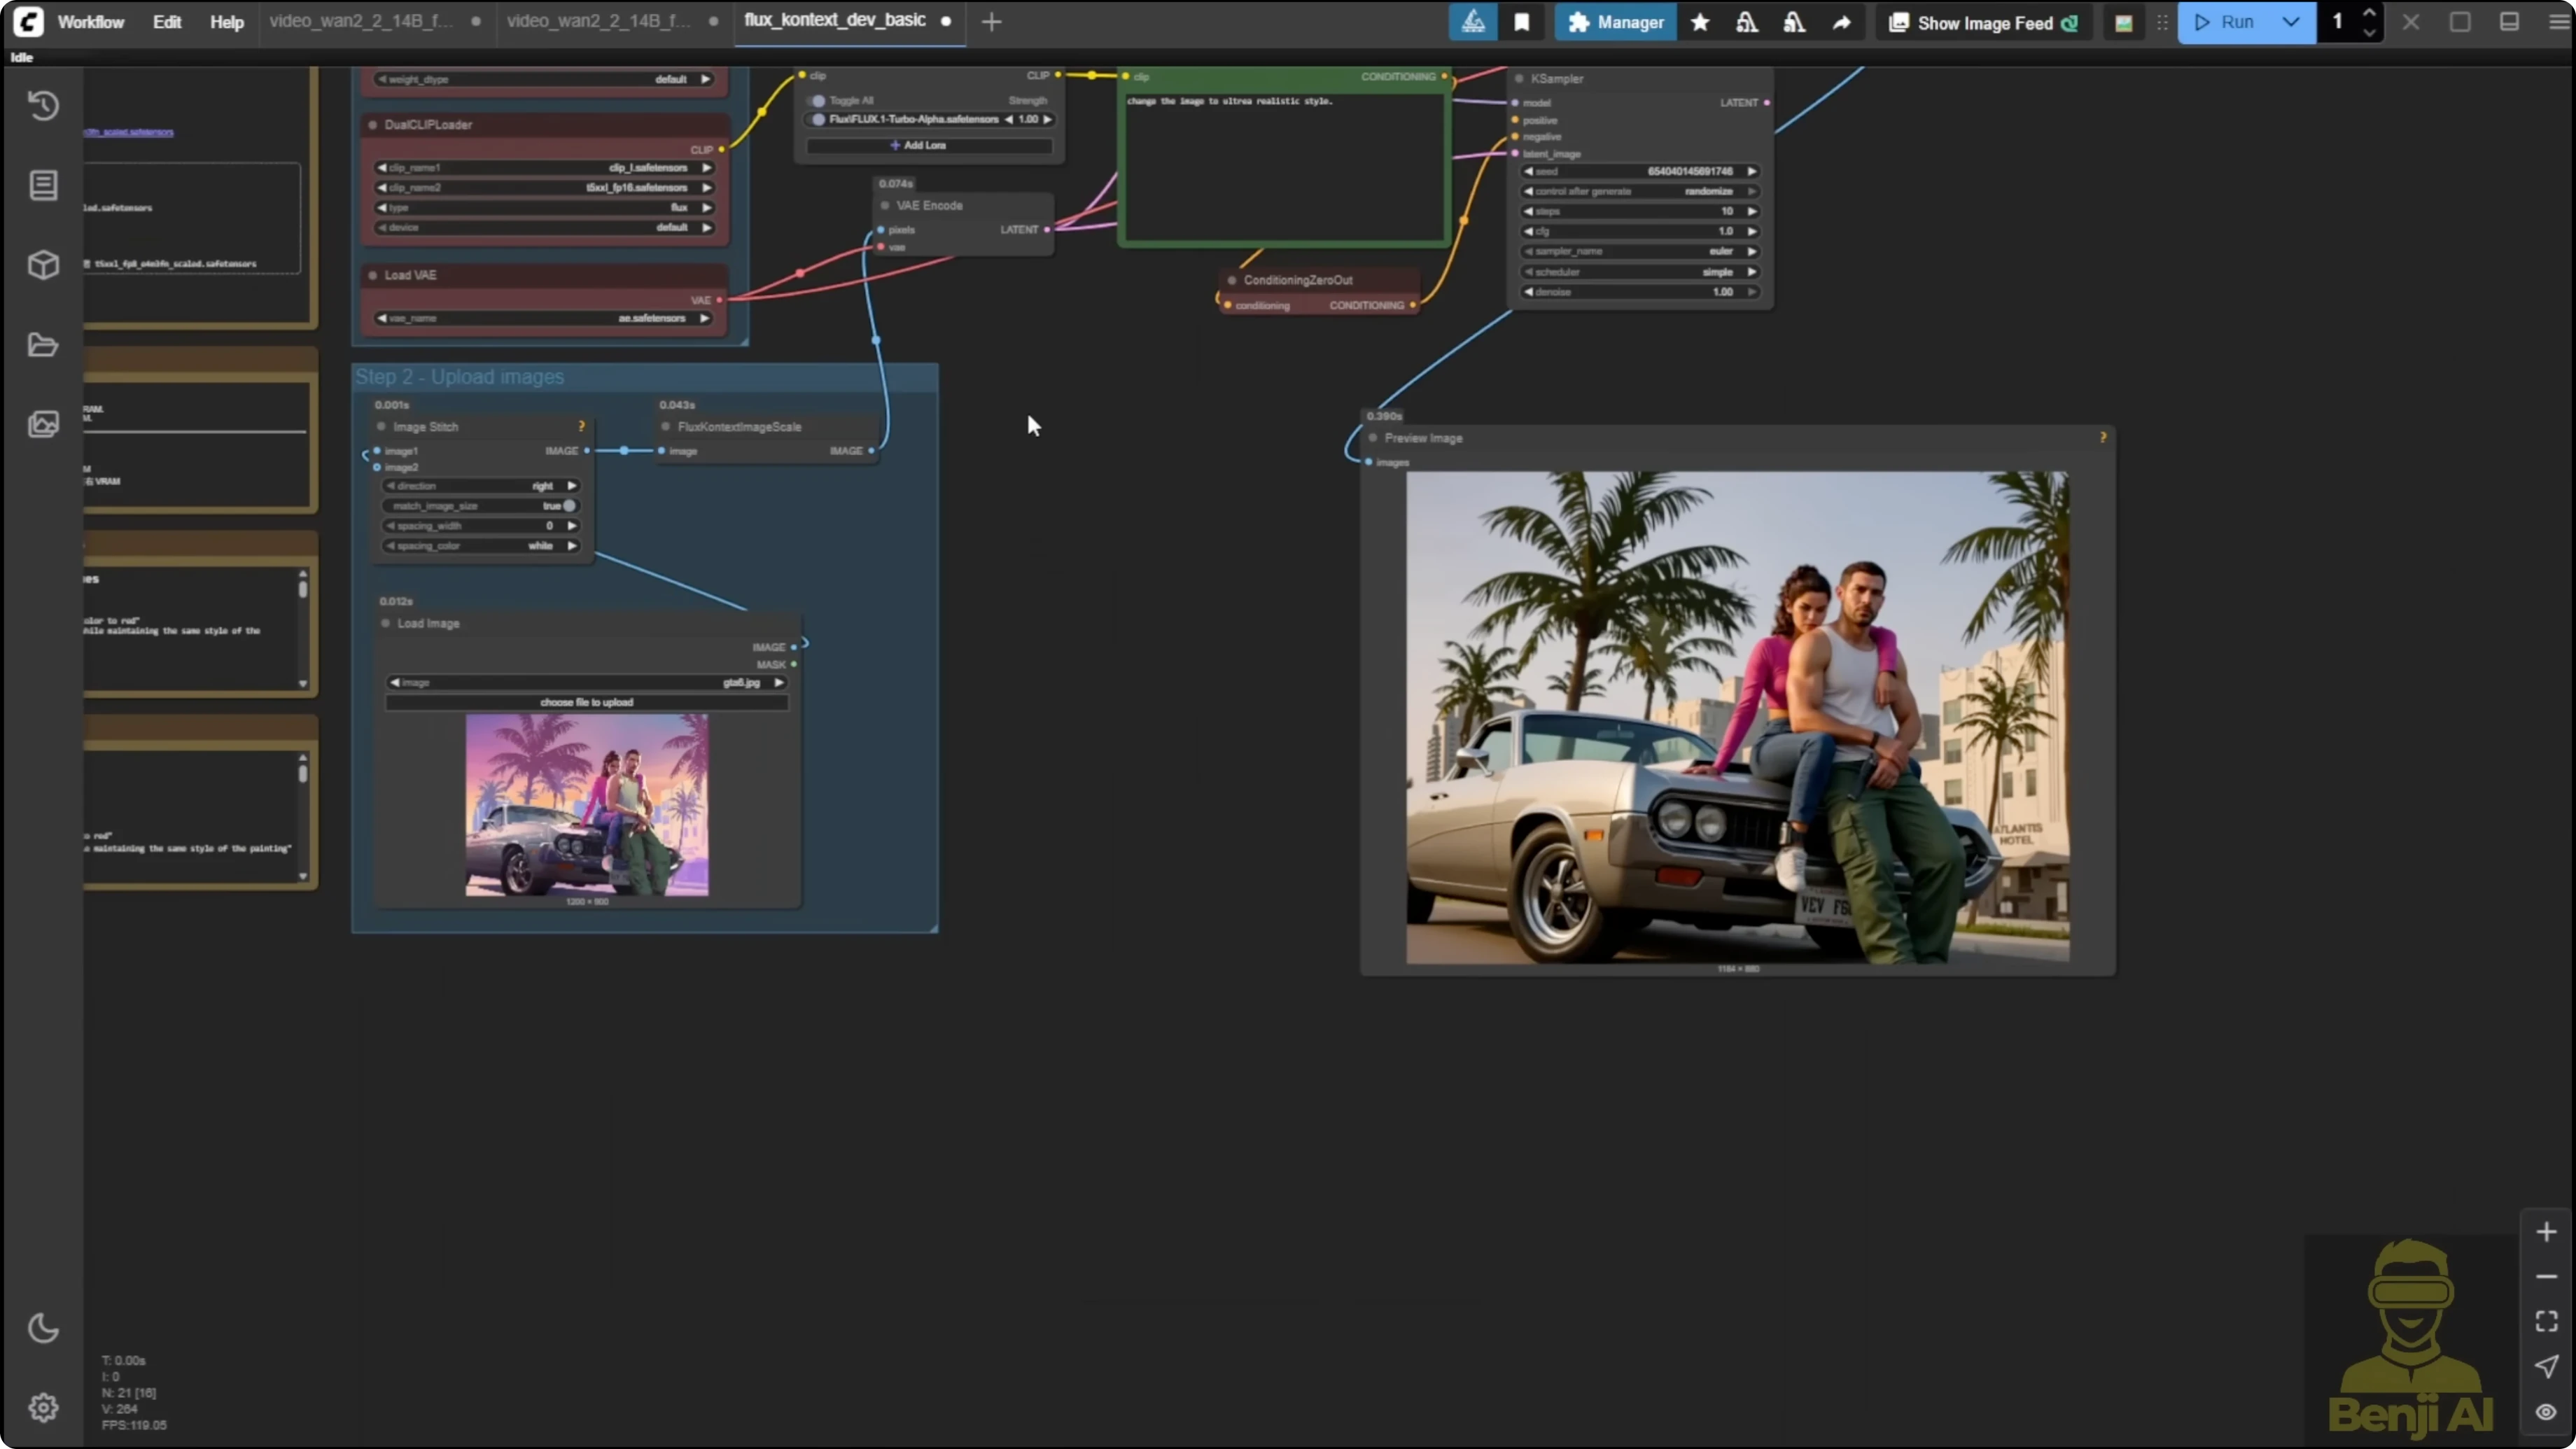
I used the Flux Context workflow. This is a very basic workflow coming from the Flux Context template in ComfyUI. You can use that or use other methods to change an animated style or cartoon style image to a realism style image. I used a GTA image as an example to transfer it into a realism style image, and it did that with Flux Context easily.
Step-by-step: Build a Flux Context + LF2V workflow
- Prepare Flux Context for image transformation.
- Generate a realism-style output from an anime or cartoon input with Flux Context.
- Integrate Flux Context into the WAN 2.2 first and last frames workflow.
- Change the Load Image connections: set the first Load Image as the reference for the first frame and use the Flux Context output as the end frame for first and last frames to video.
- Group the Flux Context nodes and label the group for organization.
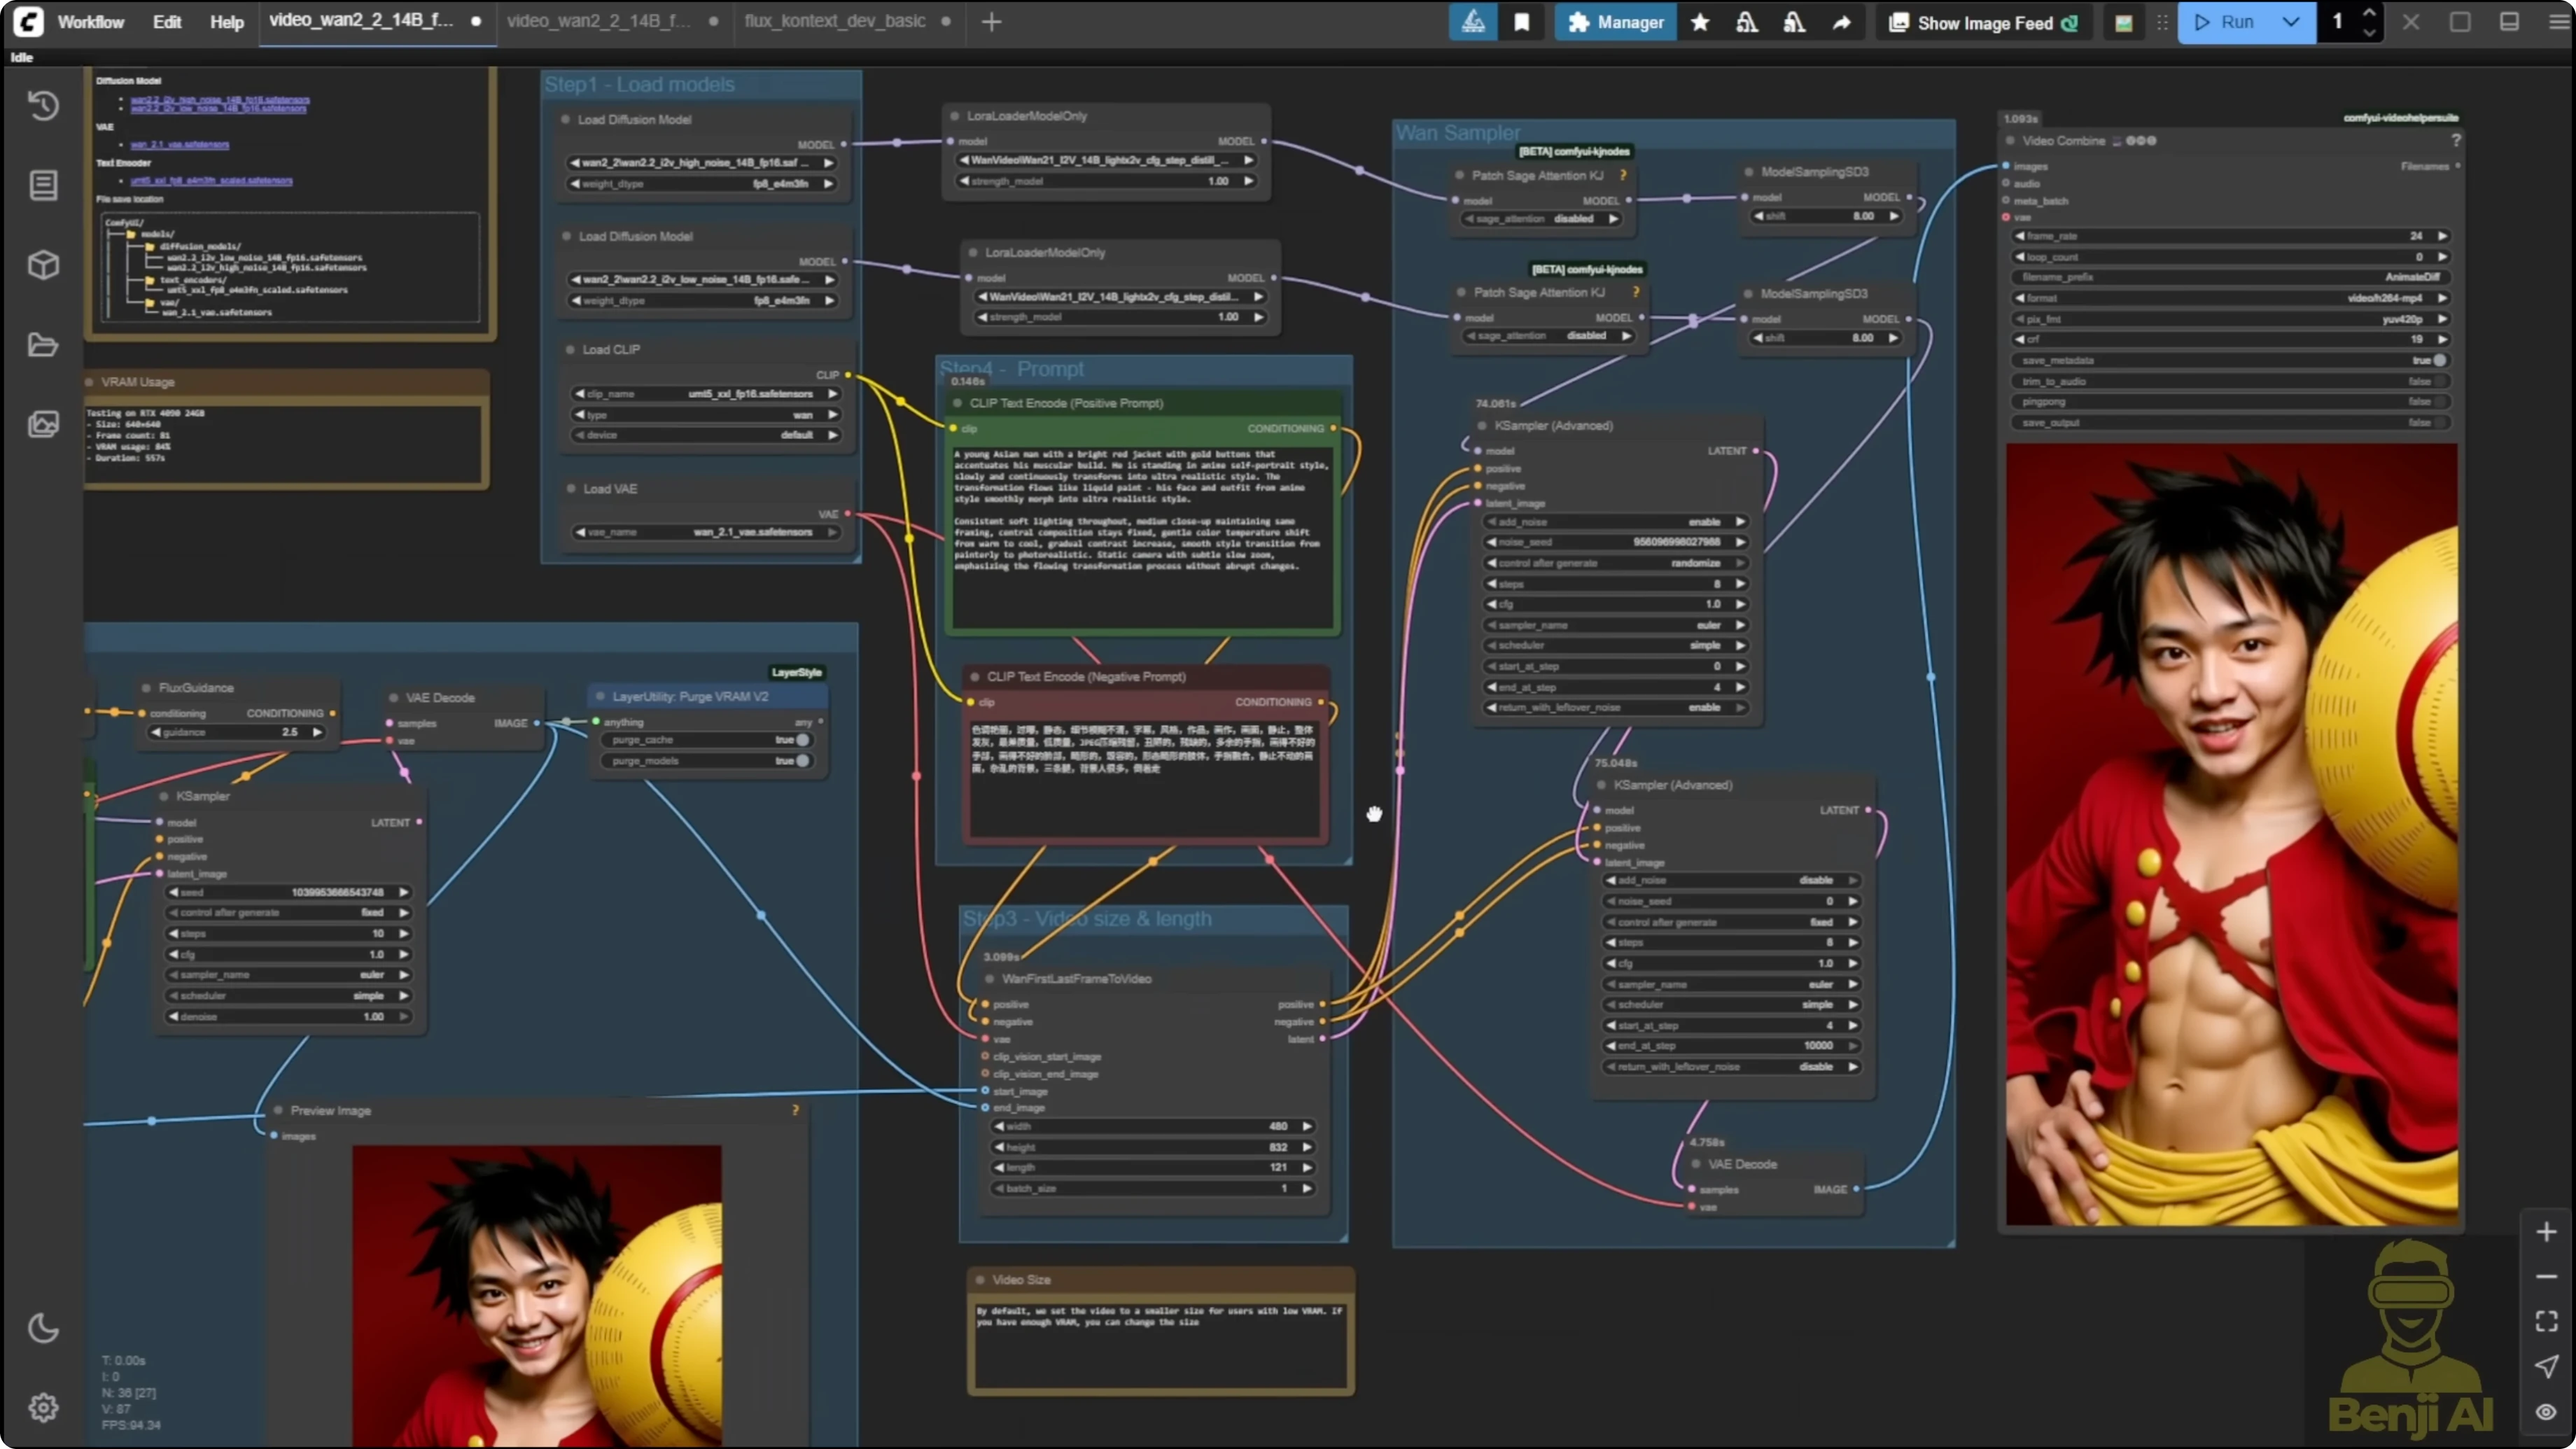
- Group the two WAN 2.2 samplers into one group to organize image generation first.
- Disable the WAN 2.2 sampler group temporarily to avoid generating video for every Flux image iteration.
- Run Flux Context to get strong first and last images.
- Use another input if needed. I used a One Piece character, Luffy, to produce a realism-style counterpart so I had two images.
- Enable the WAN 2.2 sampler group.
- Run first and last frames to generate the transition between those two images.
- Provide text prompts to guide the morph or motion.
I ran this using the first and last frames for the video. I used text prompts. This came from the example workflow in the ComfyUI blog where they mention transitioning the character using art painting styles and slowly morphing to an astronaut outfit and the backgrounds. It’s pretty cool that you can do this locally and recreate ideas you see in Shorts. This is one of the cases where you can use first and last frames for animation morphing or character transitioning in different positions.
Here’s another example where you see an image holding up the wine and taking a sip of drink, then it stops. It’s pretty smooth overall in the transitions between the first and last frames. WAN 2.2 has been improved even better than 2.1 for first and last frames transitioning. Although the previous version was already doing very well, this one is even better for more details.
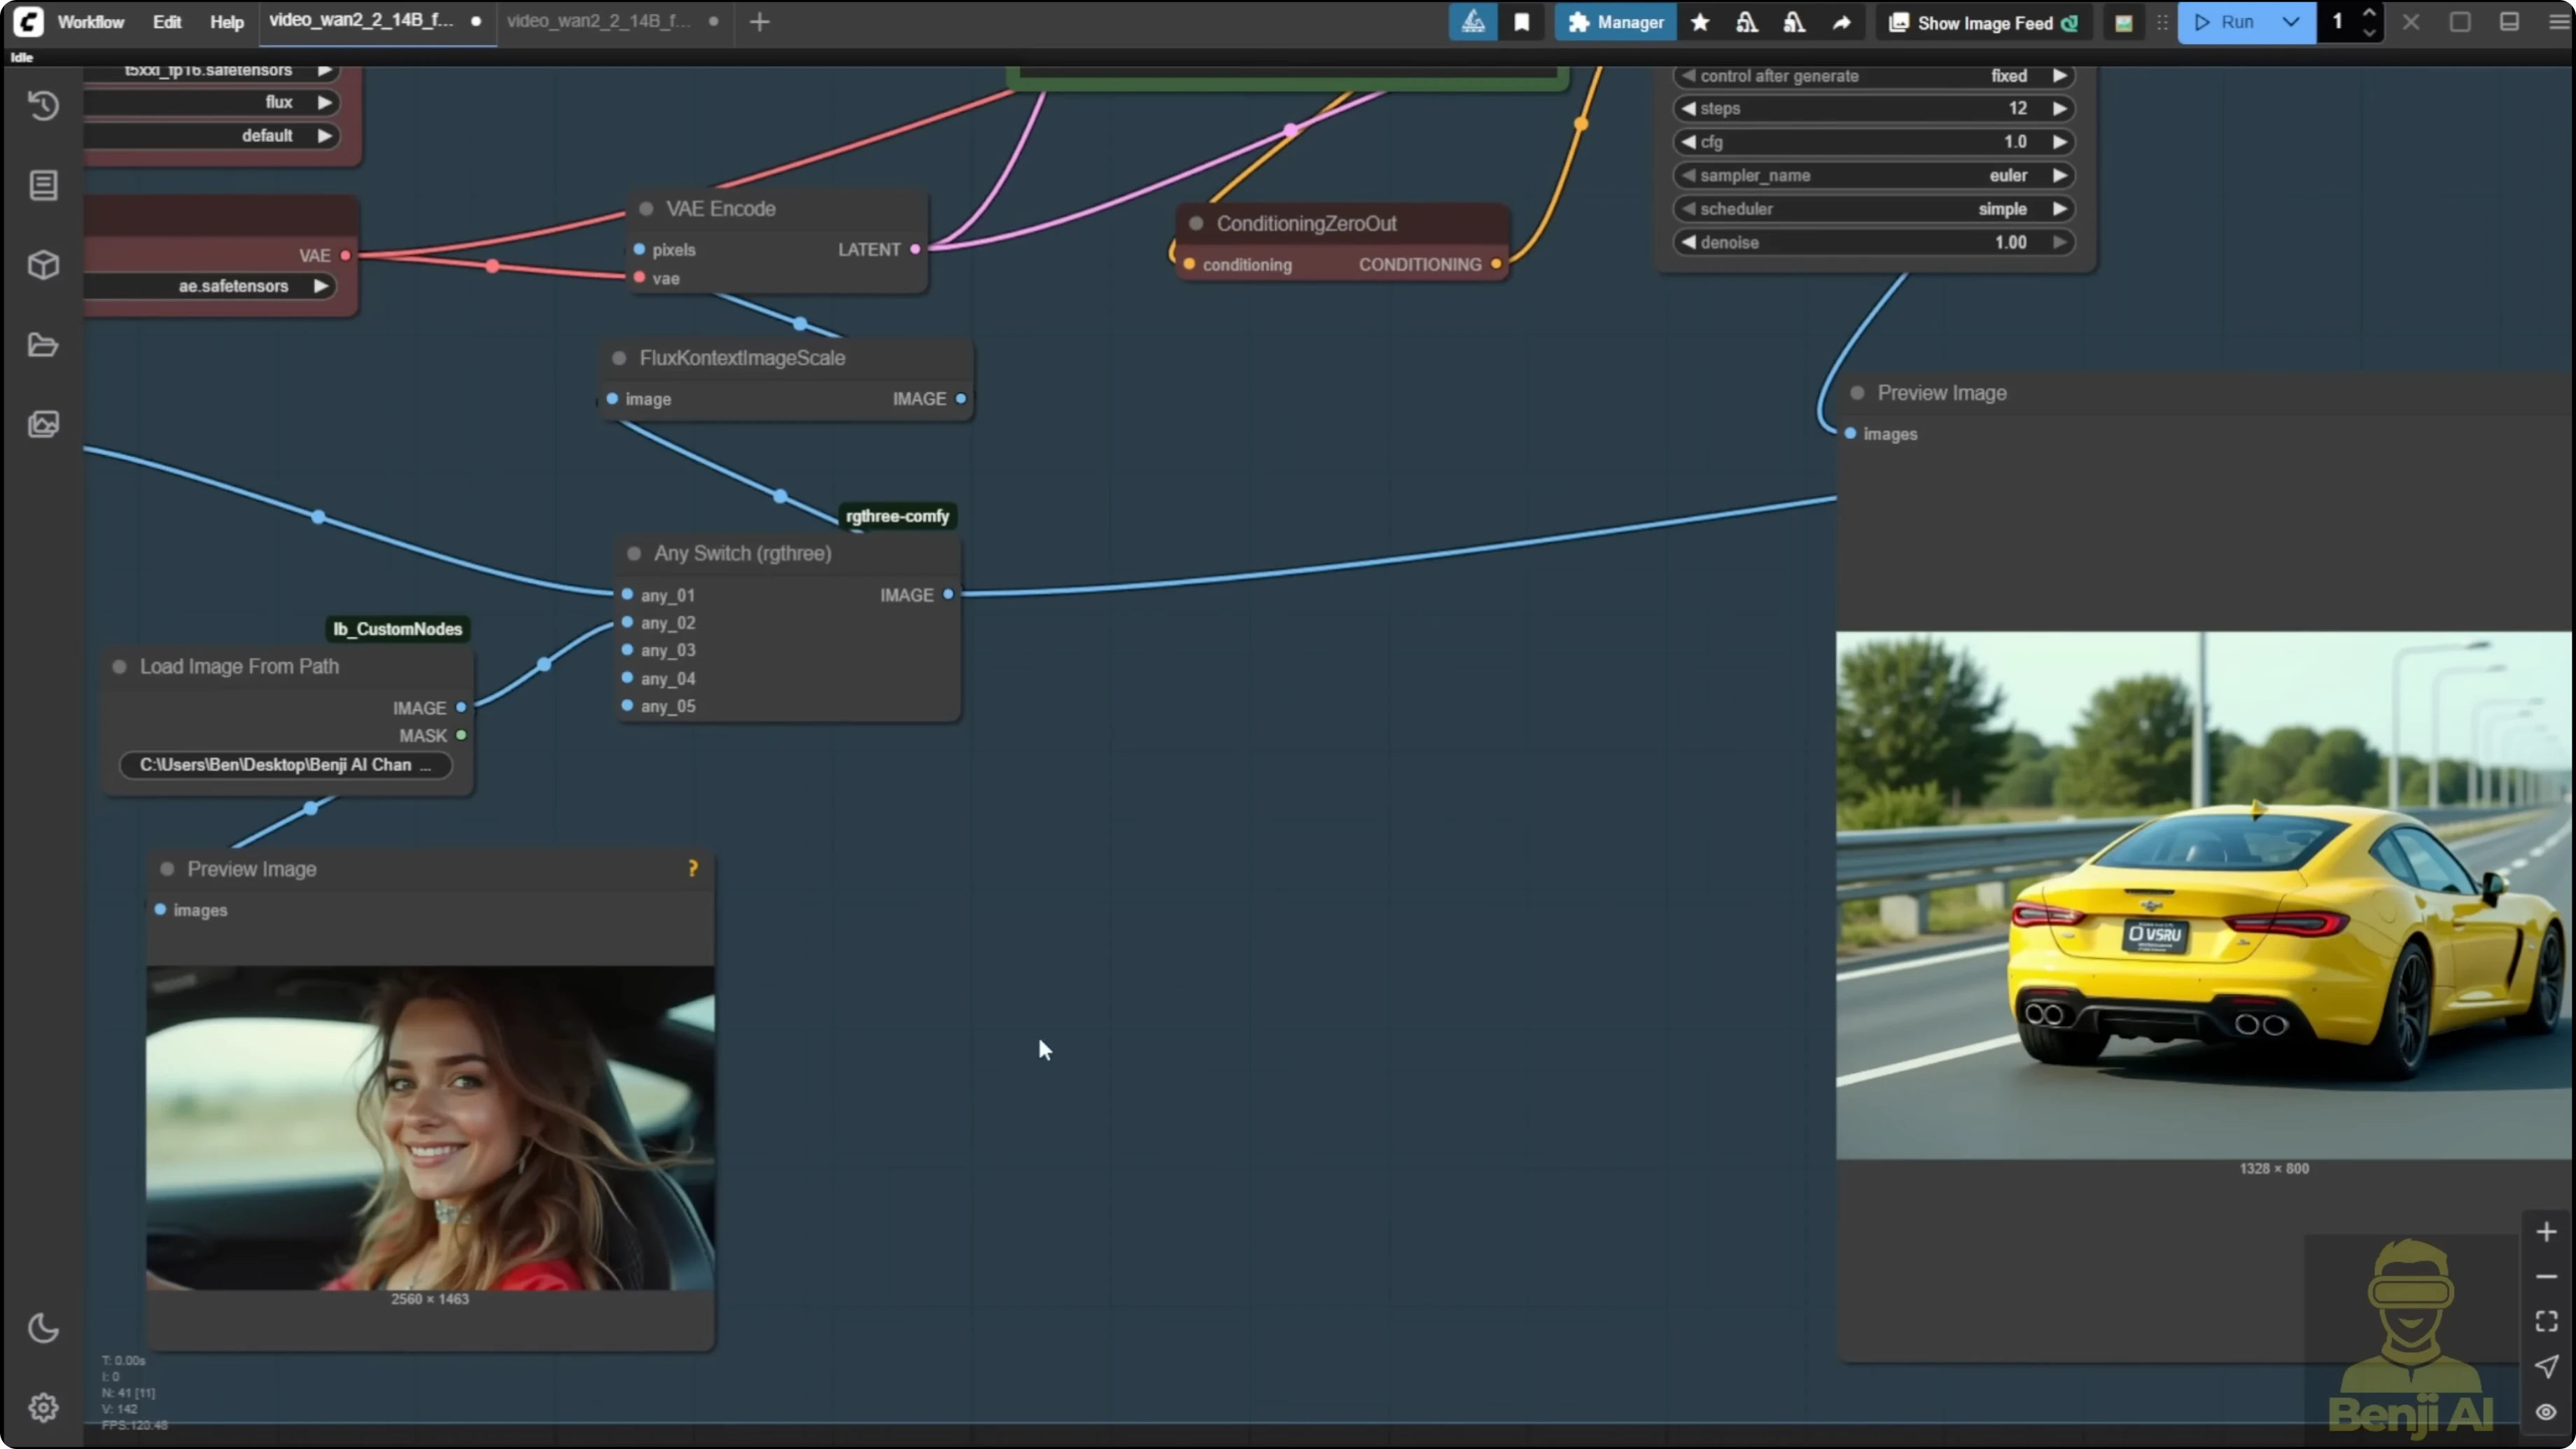
Camera shot experiment: from driver close-up to sports car
I tried a case where the first frame is the driver and the end frame is a sports car. I saw a similar shot in the WAN 2.1 first and last frame. I tried again with 2.2.
- The first time didn’t go well because it had a sudden change of the frames.
- The second time I modified the prompts a little with a fast motion shot, but the direction was wrong for the AI to make the camera shot.
- The next try worked really nicely. It did exactly what I wanted for the first shot, then closed the window with the camera following up with the car moving in the right direction.
Here’s how it looks in the first frame that I input as an image, then the last frame is the car. I like this shot because the two images have totally different composition, but the AI created the content in between, leading the motion of this camera shot from a close-up of the woman to a far shot of the car. That creates the story for the shot. The text prompts for Flux Context are really simple. This is how we can create a pretty dynamic shot. I really like this kind of camera tracking shot of the car.
Step-by-step: Iterate prompts for motion and direction
- Input a close-up first frame and a wide car shot as the last frame.
- Run LF2V and inspect for sudden changes between frames.
- If you see abrupt changes, adjust prompts to describe motion speed, for example fast motion shot.
- If the direction feels wrong, refine the prompt to clarify the camera movement direction.
- Re-run until the camera follows from the close-up to the wide shot in the intended direction.
Prompt tips
- Describe motion: camera following, fast motion shot, tracking from close-up to wide.
- Describe style: anime to realism, art painting styles slowly morphing to an astronaut outfit.
- Describe mood and scene accents: mist around the body, cinematic tone.
- Keep resolution balanced with your VRAM. 720p worked well in my tests.
Final Thoughts
LF2V in WAN 2.2 gives a lot of control while maintaining top-notch visual quality. It’s great for smooth character animations, style morphs, time progressions, and complex camera movements. Pairing it with Flux Context makes it easy to create anime-to-realism transitions and then animate those transformations inside one workflow. Put some creativity into your first and last frames, guide the motion with prompts, and you’ll get some very cool videos.
Recent Posts
How Wan 2.2 AI Boosts Video with 14B Generation & 5B Upscaling?
How Wan 2.2 AI Boosts Video with 14B Generation & 5B Upscaling?
Can Wan 2.2 Img2Vid Handle Long-Length Video Testing?
Can Wan 2.2 Img2Vid Handle Long-Length Video Testing?

Wan 2.2 Fun Control vs Wan 2.1 VACE: Which Suits Video Creation?
Wan 2.2 Fun Control vs Wan 2.1 VACE: Which Suits Video Creation?