Wan2.2 Animate WorkFlow Infinite AI Video from One Image

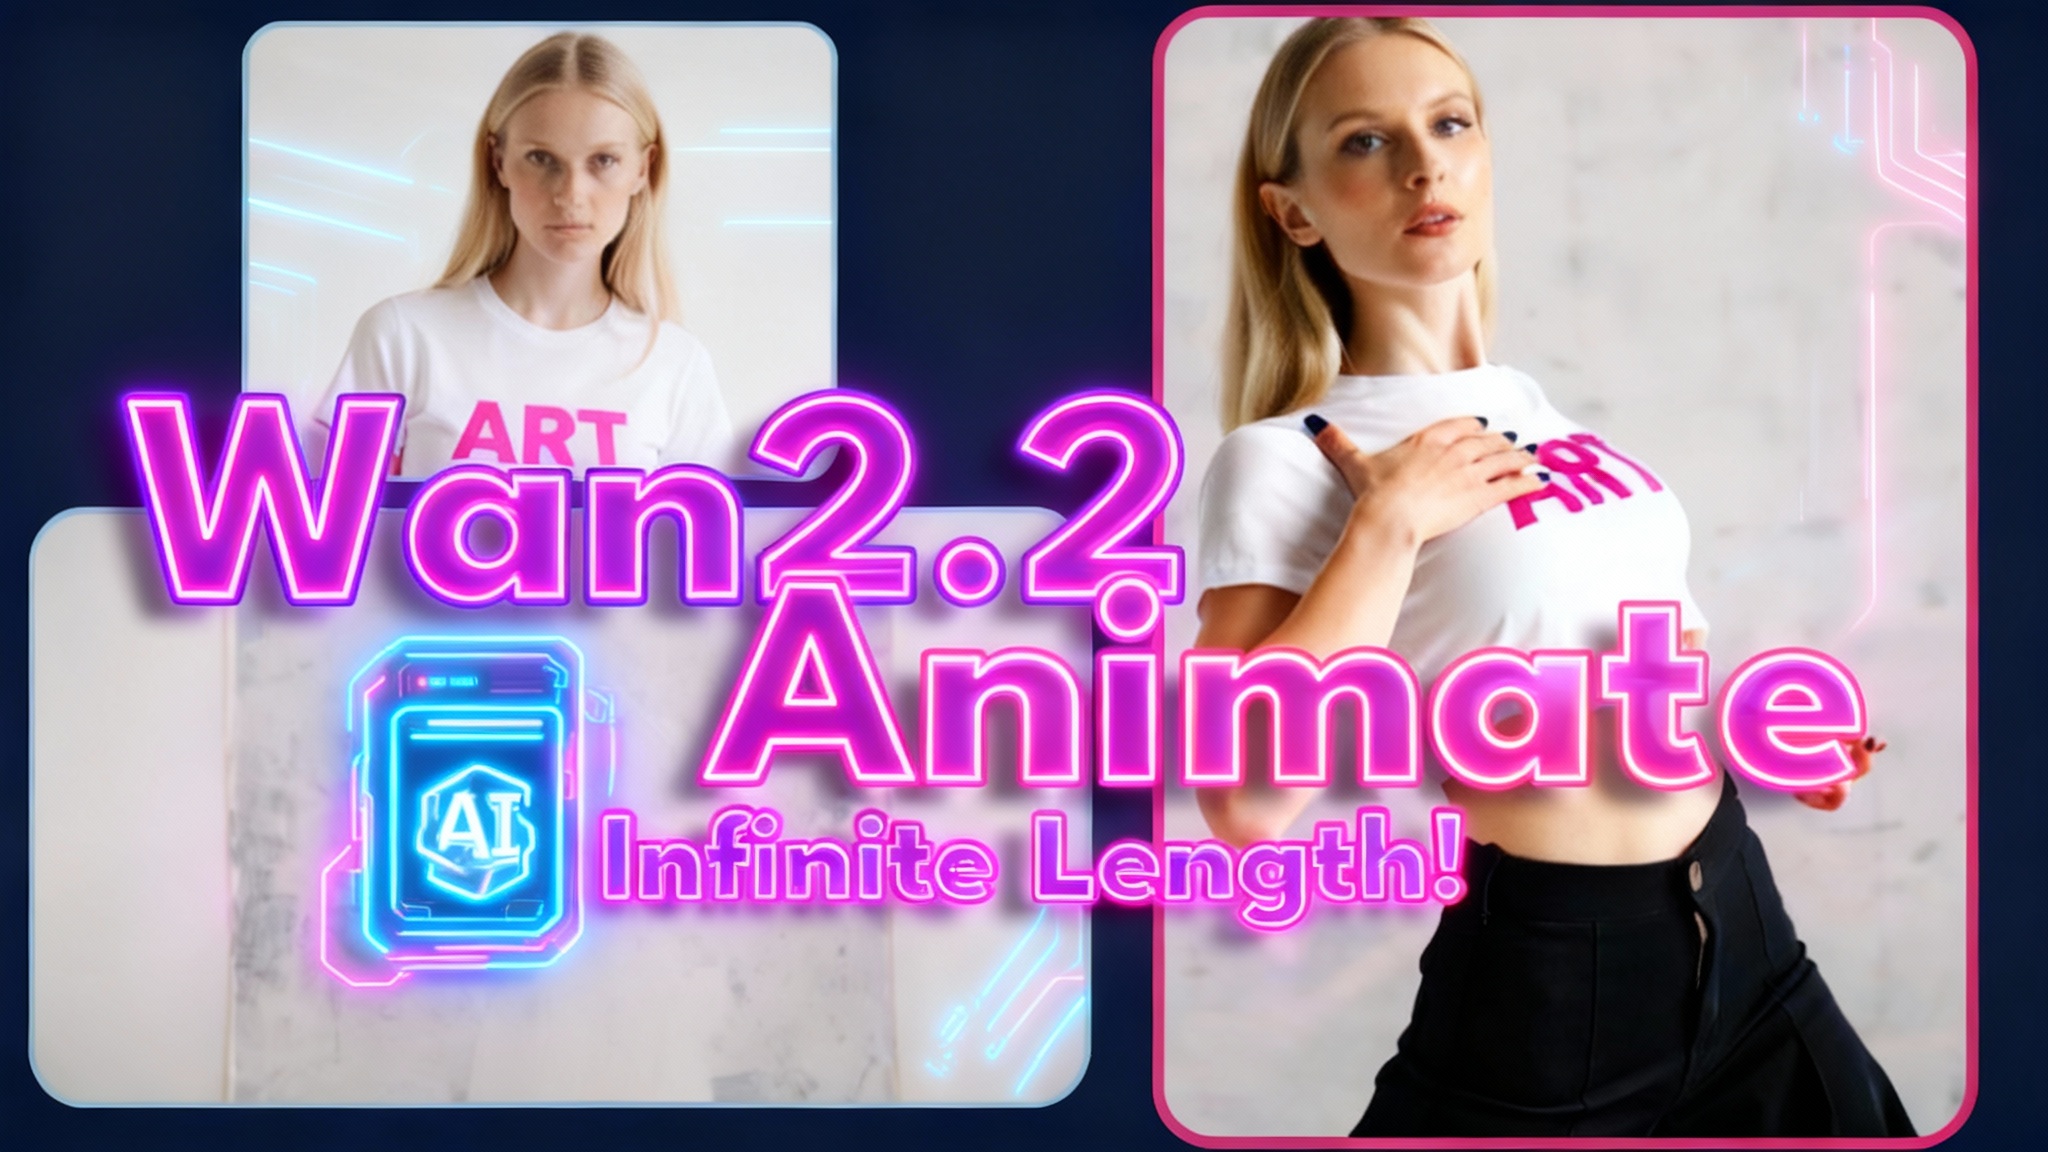
This guide walks through a long-awaited capability in AI video generation: reference image to video with pose driving, without training a LoRA or wiring up ControlNet. You provide a single reference image and a pose-driving video, and the workflow produces videos of any length while keeping the subject’s identity and style consistent.
I’ll show installation, model setup, how to configure ComfyUI for single-chunk and long-form videos, effective masking with the SAM 2 points editor, quality improvements through upscaling and interpolation, and specific details that matter for stable, high-quality output.
The order of steps below matches the process I follow in the workflow.
What Is Reference-to-Video with Pose Control?
- Input: one still image (your reference) and a pose-driving video (the motion).
- Output: a generated video where the reference subject follows the motion in the driving video.
- No LoRA training or ControlNet rigging required.
- Supports very long outputs by processing the video in windows while maintaining color and identity across segments.
In practice, you select or generate a reference image, pick a motion video, do a quick mask, set your frame window, and render. The workflow handles pose following, frame-to-frame coherence, and color matching.
Install and Setup
Requirements
- ComfyUI installed and working.
- GPU with enough VRAM for video diffusion. Higher VRAM is helpful; optimizations are available if you’re limited.
- Disk space for models and outputs.
Install the Required Nodes
- Use ComfyUI’s Custom Nodes Manager.
- Install:
- KJ’s Wan Video Wrapper
- KJ Nodes
- Ensure both are installed and enabled.
Switch to the Nightly Build
- In ComfyUI, switch from Stable to Nightly.
- Update via Custom Nodes Manager (Try Update).
- Restart ComfyUI after updates.
Using the Nightly ensures access to the latest features, including bypass toggles and stability improvements used in this workflow.
Download the Models
Download the model files referenced by the Wan 2.2 Animate workflow and place them in your ComfyUI models directory. The workflow uses scaled models that depend on your GPU generation:
- FP AE4 for newer GPUs (e.g., 40-series, 50-series).
- FP AE5 for older GPUs (e.g., 30-series and below).
Additionally:
- Wan 2.2 Animate model is required.
- Wan 2.2 Low model is used in an optional quality-improvement pass.
- Flux models are optional if you want to generate your own reference images directly inside ComfyUI.
Keep file paths consistent with your ComfyUI setup.
GPU-to-Model Selection
| GPU Generation | Scaled Model Variant |
|---|---|
| NVIDIA 40-series or newer | FP AE4 |
| NVIDIA 30-series or older | FP AE5 |
Use the same FP AE variant for both Wan 2.2 Animate and Wan 2.2 Low in this workflow.
Optional: Generate a Reference Image
If you don’t have a suitable reference image, you can generate one:
- Use a simple Flux-based image generation workflow.
- Prompt for the look you want (e.g., a character or person).
- Save the image to use as your reference in the video workflow.
This step is optional; you can also use any image you already have.
Quick Workflow Overview
At a high level:
- Load your reference image and driving video.
- Mask the subject using the SAM 2 points editor (green = keep/mask, red = exclude).
- Set your frame window and frame count correctly.
- Render a first pass.
- Optionally upscale and interpolate for better quality and smoother motion.
- For long videos, repeat rendering across windows until the total frame target is reached.
The next sections walk through the process in detail.
Simple Case: Single-Chunk Video (Up to 81 Frames)
This section covers a straightforward run for a short video (for example, 61 or 81 frames).
Step-by-Step
-
Prepare Inputs
- Reference image: a single still image of the subject.
- Driving video: a short clip whose pose and motion will drive your subject.
- Choose a resolution (e.g., 1280×720 for higher quality, 832×480 for faster testing).
-
Bypass the Sampling Section Initially
- Temporarily bypass the sampler nodes to trigger the SAM 2 points editor without running the full generation.
- In ComfyUI Nightly, you can select nodes and click the bypass toggle (circle with a line).
- Alternatively, right-click and choose “Bypass Group Nodes.”
-
Trigger the SAM 2 Points Editor
- Run the workflow until the SAM 2 points editor pops up with the first frame displayed.
- If you run with the sampler on, you can cancel when the editor appears. Bypassing is simply cleaner for setup.
-
Mask the Subject
- Shift + Left-click: add green points (areas to keep; these define the subject).
- Shift + Right-click: add red points (areas to exclude; define the background).
- You don’t need a perfect edge-traced mask; this workflow is reasonably tolerant. Overly tight masks are unnecessary and can even introduce artifacts in some cases.
-
Check the Preview
- A good sign is a zoomed-in view focusing on the subject’s face in the editor window. If you don’t see this kind of focus, results may be weaker; consider a different driving video.
-
Set Frame Counts and Window Size
- Frame Window Size: 81 is standard (it’s what these models are trained on).
- If your video is shorter than 81 frames, set the window size to match your actual frame count.
- The frame count must follow the pattern n × 4 + 1 (e.g., 5, 9, 13, 17, …, 61, 81, 181, etc.).
- If you mismatch these values, you’ll likely hit a tensor mismatch error.
-
Color Matching and Context Nodes
- The workflow already matches color well without extra nodes. You can enable the color-matching option if needed, but it’s often unnecessary.
- If your workflow includes a “Context Options” node not required for your run, bypass or delete it.
-
VRAM Notes
- This pipeline can be VRAM-intensive. If you hit memory errors, try:
- Lowering resolution.
- Using more memory-friendly model variants if available.
- Closing other GPU-intensive apps.
- Increasing swap or using smaller batch sizes where applicable.
- This pipeline can be VRAM-intensive. If you hit memory errors, try:
-
Run the First Generation
- Turn the sampler back on and render.
-
Improve Quality (Optional)
- Enable the “Improve Quality” nodes to add:
- Ultimate SD Upscale with a low denoise pass for crisper details and fewer “AI-ish” textures.
- Frame interpolation for slightly smoother motion.
- Note: Upscaling can take several minutes per clip. Consider batching upscales in a separate workflow after you’ve finalized your base generations.
- Enable the “Improve Quality” nodes to add:
Why the n × 4 + 1 Rule Matters
The model expects frame counts aligned to a windowing structure. If the sample window is 81, your total frames should be a value that satisfies n × 4 + 1. Mismatches typically throw a tensor shape error. Before rendering:
- Confirm your input video’s frame count.
- Adjust the frame window size or your frame cap to match the formula.
Long Videos: Beyond 81 Frames
To produce videos longer than a single window:
-
Choose Resolution
- For speed while testing, 832×480 is fine.
- For higher production quality, 1280×720 often looks better and upscales cleanly.
-
Set the Total Frame Count
- Pick your target length (e.g., 181 frames or more).
- Ensure the total still follows n × 4 + 1.
-
Keep Frame Window Size at 81
- The workflow is trained around this window and performs best at 81 for long runs.
-
Mask Again for the New Video
- Run until the SAM 2 points editor appears, set your green and red points, and confirm a good, zoomed-in preview.
-
Render
- The pipeline will step through as many windows as required, generating all frames until it reaches your target count.
-
Quality Considerations
- You’ll typically see stable color across segments with minimal shifting.
- Upscale and interpolation steps remain optional but can help a lot for final delivery.
Vertical and Stylized Subjects
-
Resolution and Orientation
- Set the width/height according to your target platform. For vertical outputs, set height > width.
- Remember that higher resolutions improve fidelity but demand more VRAM and time.
-
Subject Type and Similarity
- Matching the face shape of your reference image to the subject in the driving video is important. Poor face alignment can reduce likeness retention.
- Human subjects tend to produce more consistent results. Non-human or heavily stylized designs may require more experimentation.
-
Anime and Stylized Content
- You can generate anime-styled outputs by using an anime reference and suitable prompting.
- Expect variability depending on how closely the reference face aligns with the motion video.
Settings Reference
Parameter Quick Reference
| Setting | Suggested Value/Guideline | Notes |
|---|---|---|
| Frame Window Size | 81 for long videos; match frames if < 81 | Model is trained around 81; for shorter clips, set it to your frame count. |
| Total Frames | n × 4 + 1 (e.g., 61, 81, 181, …) | Avoid tensor mismatch errors by following this rule. |
| Resolution (testing) | 832×480 | Faster, less VRAM. |
| Resolution (quality) | 1280×720 | Sharper base output; upscale later for best results. |
| Color Matching | Optional (often not needed) | The workflow already matches color well; enable only if required. |
| Context Options Node | Not required | You can bypass or delete if included in your graph. |
| Improve Quality Pass | On (optional) | Ultimate SD Upscale + low denoise + interpolation for smoother results. |
| Masking | Quick green/red points | Doesn’t require pixel-perfect edges; aim for a stable subject outline. |
| VRAM Management | Lower res / memory-friendly variants | If you hit OOM, scale down or switch to lighter models if available. |
How to Use: End-to-End
Below is a condensed, repeatable checklist that matches the workflow order covered above.
-
Install and Update
- Switch to Nightly.
- Install KJ’s Wan Video Wrapper and KJ Nodes.
- Restart ComfyUI.
-
Load Models
- Use FP AE4 for 40-series/50-series GPUs; FP AE5 for 30-series and older.
- Load Wan 2.2 Animate and optionally Wan 2.2 Low for quality enhancement.
-
Prepare Assets
- Reference image: a single still of your subject.
- Driving video: a clip with the motion you want to transfer.
- Prompt: a brief description (e.g., subject type, clothing) if your workflow includes text guidance.
-
Configure Resolution
- Start with 832×480 to test.
- Switch to 1280×720 for better final quality.
-
Set Frame Window and Frame Count
- For short clips: set window size to match the frame count if < 81.
- For long clips: set window size to 81, total frames to something like 181, 265, etc.
-
Bypass Sampler and Trigger Masking
- Bypass the sampler to avoid full runs while preparing the mask.
- Run until SAM 2 points editor opens.
-
Mask with SAM 2 Points Editor
- Shift + Left-click: green points (areas to keep).
- Shift + Right-click: red points (areas to exclude).
- Aim to isolate the subject; extreme precision isn’t required.
-
Confirm the Preview
- A zoomed-in face view is a good indicator that the subject will render well.
-
Re-enable Sampler and Render
- Un-bypass the sampler and run the generation.
-
Optional Quality Pass
- Turn on the Improve Quality nodes.
- Expect longer render times for upscaling and interpolation.
- Consider batching multiple outputs through a dedicated upscale workflow later.
Troubleshooting
-
Tensor Mismatch Error
- Cause: Frame count and window size misalignment.
- Fix: Ensure your frame count follows n × 4 + 1 and matches your window size (if < 81) or keep window = 81 for long runs.
-
Poor Subject Focus in Editor Preview
- Symptom: No zoomed-in view of the subject’s face.
- Fix: Try a different driving video with clearer subject framing.
-
VRAM Errors or Crashes
- Reduce resolution (e.g., drop from 1280×720 to 832×480).
- Close other GPU-heavy applications.
- Use memory-optimized model variants if available.
- Lower batch sizes where applicable.
-
Slow Upscale Step
- Upscaling is compute-heavy. For faster iteration:
- Turn off quality improvements during initial tests.
- After you lock in the base generation, upscale outputs in a separate batch.
- Upscaling is compute-heavy. For faster iteration:
-
Weak Likeness Retention
- Improve face shape correspondence between the reference image and the driving subject.
- Choose a reference with frontal, clear facial features.
- Use higher resolution (1280×720) to improve detail and identity consistency.
FAQs
-
Do I need to train a LoRA or set up ControlNet?
- No. This workflow does reference-image-to-video with pose driving directly.
-
How long can the video be?
- As long as you like. The workflow processes in windows and continues rendering until it reaches your total frame target. Just follow the n × 4 + 1 rule.
-
What’s the ideal frame window size?
- 81 for long-form runs. For short clips below 81 frames, set the window to match your total frames.
-
Why does n × 4 + 1 matter?
- The model’s temporal structure expects this frame pattern. Mismatches cause shape errors.
-
What resolutions are recommended?
- 832×480 for fast iteration; 1280×720 for better fidelity. You can upscale further afterward.
-
Should I enable color matching?
- The workflow already color matches well. Turn it on only if you see noticeable shifts.
-
Is precise masking necessary?
- No. A clean subject separation is enough. You don’t need meticulous edge tracing.
-
How do I get smoother motion?
- Enable interpolation in the quality pass. It adds time but improves smoothness.
-
Can I batch upscale?
- Yes. Many users generate all base videos first, then use a dedicated upscale workflow to process them in a single session.
-
Does this work for stylized or non-human subjects?
- It can, but likeness retention is strongest when the reference face closely matches the driving subject’s face shape and orientation. Human subjects generally produce more reliable outcomes.
-
My GPU runs out of memory. What should I do?
- Lower the resolution, reduce batch sizes, or use more memory-friendly model variants if available.
Table Overview
Here are the two most important tables from this guide for quick reference.
GPU vs. Model Variant
| GPU Generation | Scaled Model Variant |
|---|---|
| NVIDIA 40-series or newer | FP AE4 |
| NVIDIA 30-series or older | FP AE5 |
Use the same variant (FP AE4 or FP AE5) consistently across Wan 2.2 Animate and Wan 2.2 Low in this workflow.
Key Parameters and Defaults
| Parameter | Default/Recommended | Notes |
|---|---|---|
| Frame Window Size | 81 (long runs) | If total frames < 81, set window to match your total frames. |
| Total Frames | n × 4 + 1 (e.g., 61, 81, 181, 265…) | Prevents tensor mismatches. |
| Resolution (test) | 832×480 | Faster iteration and lower VRAM use. |
| Resolution (quality) | 1280×720 | Better base detail; upscale after for final delivery. |
| Color Matching | Off (often not needed) | Optional, use if you see color drift. |
| Improve Quality | On (optional) | Adds upscale + low denoise + interpolation, increases render time. |
| Masking | Quick green/red points | Doesn’t require pixel-perfect edges. |
| Subject Similarity | Match face shape to motion subject | Drives better likeness retention and stability. |
Conclusion
Reference image to AI video with pose control in Wan 2.2 Animate makes long, identity-consistent videos practical in ComfyUI. The essentials are straightforward: install the correct nodes, select the right scaled model for your GPU, prepare a clear mask, match your frame window to the n × 4 + 1 rule, and render. For quality, 1280×720 offers a strong base, and an optional upscale/interpolation pass can noticeably refine details and motion.
If your first attempt doesn’t meet expectations, focus on:
- Better face alignment between the reference image and the motion subject.
- A clean subject mask with a clear preview.
- Correct window/frame settings.
- Adequate VRAM and resolution choices.
Recent Posts

Wan 2.2 Animate Guide: The Best AI Character Animation Yet
Discover why Wan 2.2 Animate sets a new standard for AI character animation. Learn how it works, fluid character swaps, step-by-step setup, and pro tips.

Animate Any Image in ComfyUI with WAN 2.2 with GGUF
Step-by-step ComfyUI workflow using WAN 2.2 + GGUF to animate any image with realistic motion, cloth sim, and 10+ sec clips—no VRAM limits.

Wan 2.2 Animate: AI Character Swap & Lip‑Sync in ComfyUI
Learn AI character swap and lip‑sync in ComfyUI with Wan 2.2 Animate—drive motion from your video and restyle shots, all free, step by step.