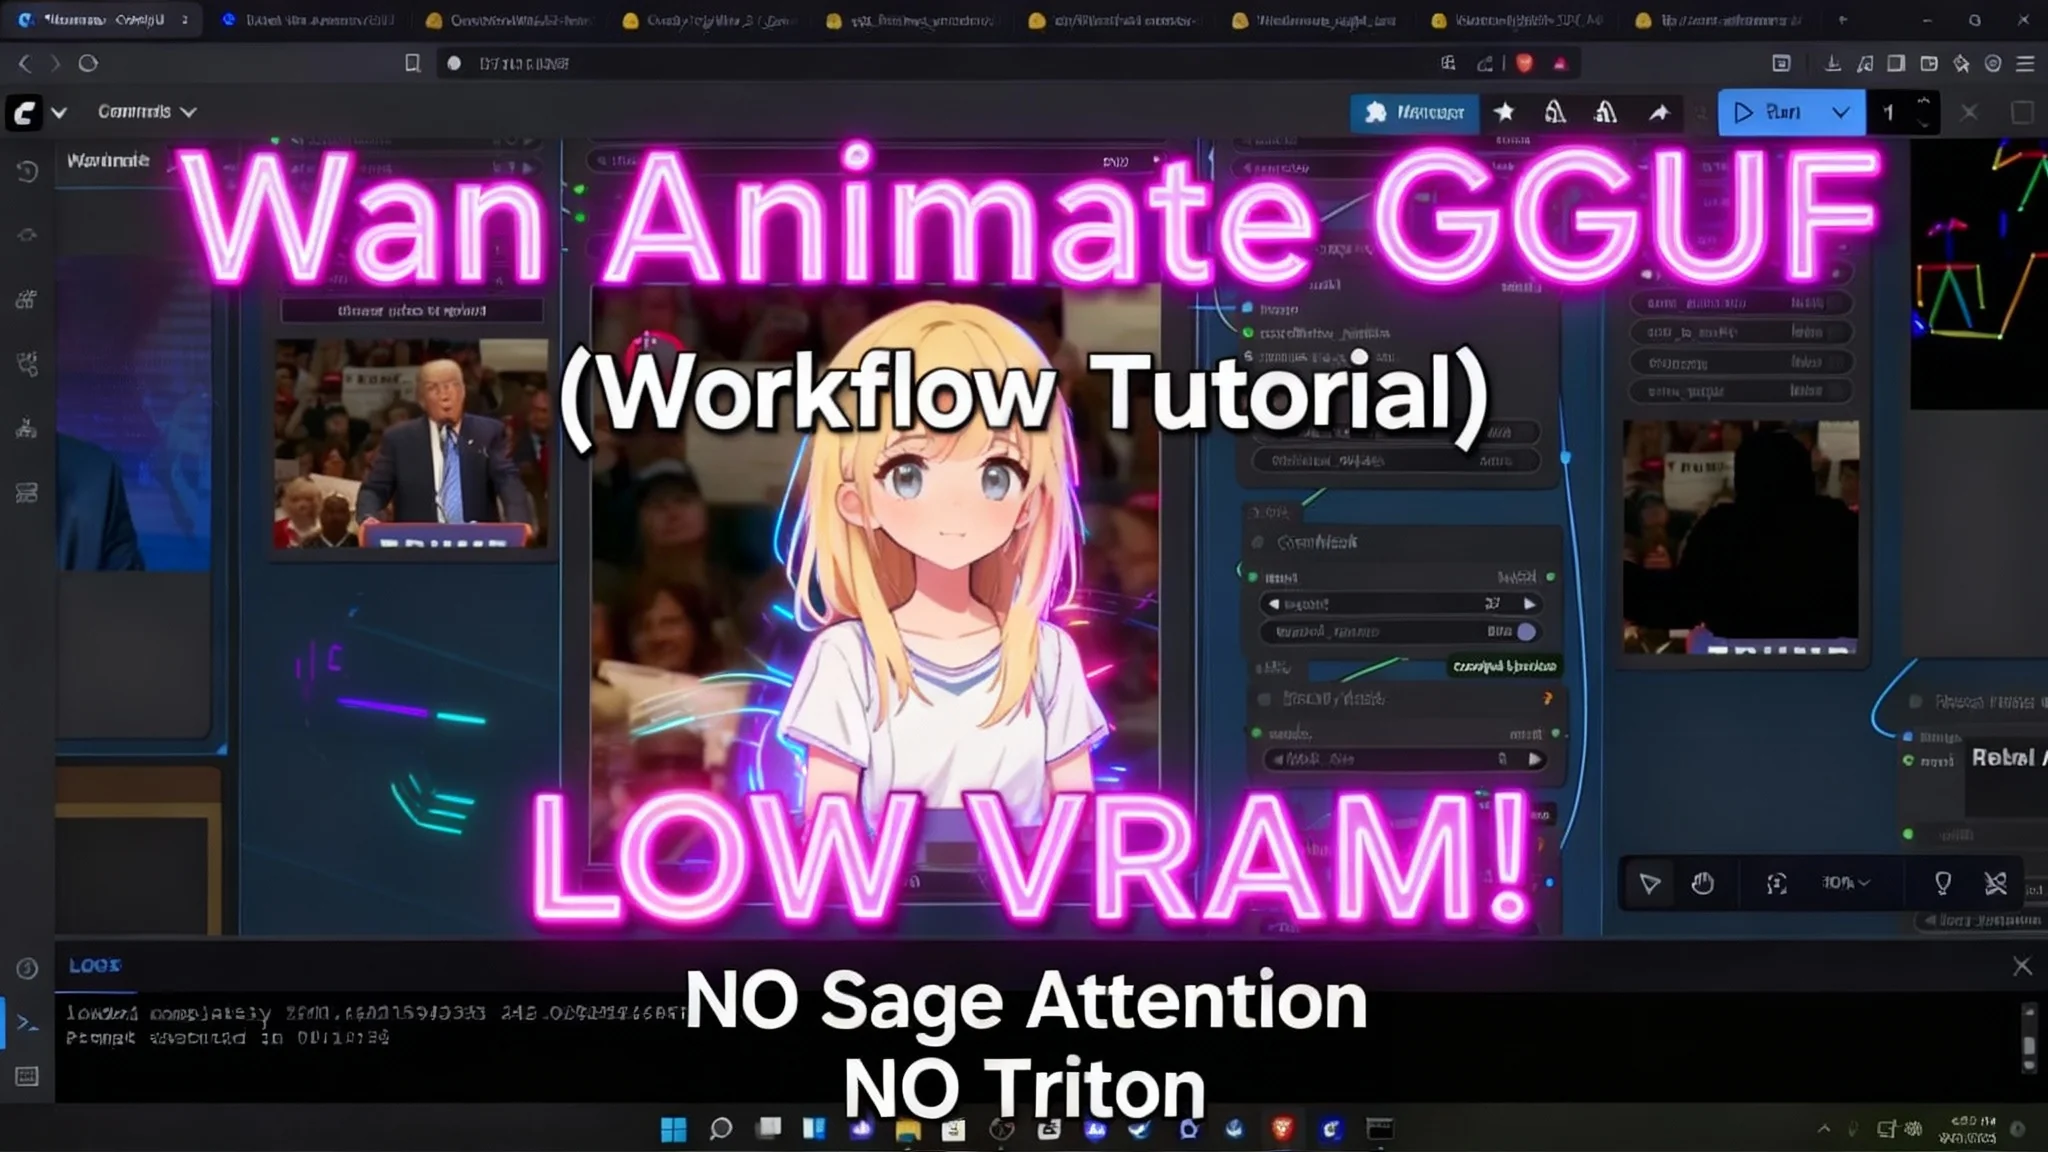
Wan Animate GGUF Low-VRAM ComfyUI Workflow

This guide walks through a low-VRAM workflow for Wan Animate GGUF inside ComfyUI. I cover setup, required files, VRAM-friendly settings, LoRA stacking, masking, cropping, and the often-overlooked Points Editor. Follow the steps in order to avoid errors and get clean, stable video results with accurate lighting.
The workflow is designed to run on modest GPUs by using quantized models (GGUF) and careful node configuration. With correct setup, you can generate clean subject edges and consistent relighting, even on systems with 8 GB of VRAM.
What is the Wan Animate?
Wan Animate GGUF is a quantized text-to-video pipeline configured for ComfyUI. It mixes a GGUF Wan Animate model, Wan 2.1 VAE, a compatible text encoder, and two LoRAs (Relight and CFG-distilled X2V) to produce clean, stable generations at low VRAM.
The workflow includes:
- A core GGUF model suited for different VRAM levels (Q3–Q4 recommended on 8 GB).
- A VAE for decoding.
- A text encoder (FP16 preferred; GGUF quantized options available).
- Stacked LoRAs to enhance relighting and control CFG behavior.
- Masking tools (masker, Blockify mask, Points Editor) to isolate the subject.
- Frame control to match your reference clip and keep generation coherent.
Overview of the Wan Animate
| Component | Type | Purpose | Suggested Option | Notes |
|---|---|---|---|---|
| Wan Animate GGUF | Model (GGUF) | Core generation | Q3 for 8 GB VRAM; Q4 if you can spare RAM | Lower quantization reduces VRAM at some quality cost |
| Wan 2.1 VAE | VAE | Decoding and color space | Wan 2.1 VAE | Required if not already installed |
| Text Encoder | Encoder (FP16 or GGUF) | Prompt embedding | UMT5 XL FP16 safetensors | GGUF encoder works if FP16 is too heavy; may add slight noise |
| Relight LoRA | LoRA (FP16) | Accurate relighting | Wan Animate Relight LoRA FP16 | About 2 GB; FP8 variant exists, FP16 is stable |
| X2V CFG Distilled LoRA | LoRA | CFG control for text-to-video | Rank 32 or 64 to start | 128 or 256 possible if VRAM allows |
| Custom Nodes | ComfyUI extensions | Masking, pose, edit tools | Install missing nodes via ComfyUI Manager | Update ComfyUI if nodes don’t appear |
| Blockify Mask | Node setting | Mask refinement | Block size 8, steps 8 (default) | Steps 6 speeds up but may add edge noise |
| Frame Control | Setting | Match reference length | Target 16 frames | Keeps time-to-frame mapping stable |
| Cropping/Resizing | Preprocess | Subject framing | 832×480 base (swap for vertical) | Center subject (top/bottom/left/right) |
Key features of the workflow
- Low-VRAM friendly: Runs with quantized GGUF models and tuned LoRA ranks.
- Clean subject edges: Masker + Blockify + Points Editor refine subject isolation.
- Accurate lighting: Relight LoRA maintains lighting consistency.
- Configurable frame control: Match your reference clip with a stable 16-frame target.
- Flexible resolution presets: 832×480 base, easily flipped for vertical or horizontal orientation.
- Step-tunable speed: Reduce mask steps to speed up with minor noise trade-offs.
- Clear error handling: File name mapping and node setup tips to prevent run failures.
How the workflow works?
The pipeline routes your reference clip and prompt through a Wan Animate GGUF model with the Wan 2.1 VAE and a compatible text encoder. Two LoRAs stack on top:
- Relight LoRA for lighting fidelity.
- X2V CFG-distilled LoRA to stabilize text-to-video guidance.
Masking is central. The workflow auto-maps subject/background with the masker, then refines with Blockify using a block size and step count. The Points Editor improves mask accuracy: green points tell the model what to keep (subject), red points tell it what to exclude (background). This reduces haloing and background bleed.
Frame control is set around 16 frames per segment. By aligning your reference to 16 frames (or forcing to 16), the workflow keeps timing consistent across the sequence. Cropping and resizing ensure the subject remains centered and scaled correctly for either horizontal or vertical output.
How to use the workflow
Step 1: Install the workflow and custom nodes
- Import the workflow file into ComfyUI (drag and drop).
- Install the missing custom nodes via ComfyUI Manager.
- Restart ComfyUI.
- If nodes don’t appear, update ComfyUI, reinstall the missing nodes, and restart again.
Step 2: Download required files
- Wan Animate GGUF model (match quantization to VRAM).
- Wan 2.1 VAE.
- Text encoder:
- Preferred: UMT5 XL FP16 safetensors.
- Alternative: GGUF quantized encoder (works, but may add slight noise).
- LoRAs:
- Wan Animate Relight LoRA FP16.
- X2V text-to-video CFG-distilled LoRA (start with rank 32 or 64; consider 128/256 if VRAM allows).
Keep all files organized and note their exact file names.
Step 3: Choose quantization for your VRAM
- 8 GB VRAM: Start with Q3 or below.
- If you can assign extra system RAM to support the run, try Q4.
- If you have both 8 GB VRAM and 8 GB system RAM, stick to Q3.
Lower quantization reduces memory needs but may reduce fine detail slightly.
Step 4: Map file names in the workflow
- Update the model, VAE, text encoder, and LoRA nodes so their paths and file names match what you downloaded.
- Incorrect names cause errors and prevent the run from starting.
Step 5: Set frame count to match your reference
- Adjust the frame count to your reference clip length.
- Use a 16-frame target for consistency.
- Render your reference clip to a clean frame count. Rendering to 24 fps and letting the workflow force to 16 frames works well. Do not alter the internal frame settings beyond the recommended fields.
Step 6: Tune Blockify Mask
- Start with block size 8 and steps 8.
- If you need faster results, reduce steps to 6. Expect a small increase in edge noise.
- Keep block size at 8 if you want better capture of smaller subject details.
Step 7: Crop and center your subject
- Base values: 832×480 for horizontal output.
- For vertical: set 480×832 (swap width and height).
- Always center the subject relative to position:
- Subject at top: center top.
- Subject at bottom: center bottom.
- Subject off to a side: center left or right to match.
Step 8: Use the Points Editor for accurate masking
- First run: the node auto-plots points, but it can be too basic.
- Add your own points:
- Shift + Left Click: add a green point (subject to keep).
- Shift + Right Click: add a red point (background to exclude).
- Need a quick reminder? Click and hold the top of the node to see usage notes.
- Deleting points is unreliable. Use “New Canvas” to reset and re-plot.
- Best practice:
- Run the workflow until the pose estimator and masker output appears (you’ll see the subject’s face or silhouette).
- Stop the run.
- Edit points on the now-initialized canvas to refine the mask.
- Re-run the generation.
Step 9: LoRA stacking guidelines
- Load both LoRAs:
- Relight LoRA FP16.
- X2V CFG-distilled LoRA.
- Start with rank 32 or 64 for X2V. Increase to 128 or 256 only if your system handles it.
- Stacking increases memory usage. Balance rank and batch settings to avoid VRAM issues.
Step 10: Generate and review
- With file paths corrected, frames aligned to 16, mask tuned, cropping set, and points refined, run the full generation.
- Inspect edges, background separation, and lighting on the subject.
- If edges look noisy:
- Increase Blockify steps to 8.
- Refine Points Editor marks with more precise green/red placements.
- If lighting is flat:
- Ensure the Relight LoRA is loaded and applied correctly.
- Confirm LoRA weights are not set too low.
FAQs
What VRAM and quantization should I pick?
- 8 GB VRAM: Q3 is the safest starting point.
- If you can allocate extra system RAM to support the run, try Q4 for a small quality boost.
- With 8 GB VRAM and only 8 GB system RAM, stay at Q3.
Do I need the Wan 2.1 VAE?
Yes. Install it if you don’t already have it. It’s required for decoding and correct color handling.
Which text encoder should I use?
- Preferred: UMT5 XL FP16 safetensors for best quality.
- Alternative: GGUF quantized encoders are lighter and work on tighter setups, but can introduce slight noise.
What LoRAs are required?
- Wan Animate Relight LoRA (FP16).
- X2V text-to-video CFG-distilled LoRA. Start with rank 32 or 64. Only step up to 128 or 256 if memory allows.
I installed the workflow but see missing nodes. What now?
- Open ComfyUI Manager and install all listed missing custom nodes.
- Restart ComfyUI.
- If nodes do not appear, update ComfyUI, reinstall the missing nodes, and restart again.
I’m getting file path/name errors. How do I fix this?
- In each model, VAE, text encoder, and LoRA node, set the exact path and file name that matches your local files.
- Mismatched names prevent the graph from running.
How many frames should I render?
- Use a 16-frame target for stability.
- Render your reference clip to a clean frame rate (e.g., 24 fps) and allow the workflow to enforce 16 frames.
- Set the frame count in the node to match your intended segment length.
What is the Blockify Mask and how should I set it?
- It refines the subject mask by processing in blocks.
- Block size: 8 (good default).
- Steps: 8 for quality. Lower to 6 for speed if needed, with a small increase in edge noise.
How should I set resolution and orientation?
- Horizontal: 832×480.
- Vertical: 480×832 (swap width/height).
- Always center the subject based on its actual position in the frame (top, bottom, left, right).
How do I use the Points Editor effectively?
- After the first partial run produces the pose/mask, stop the run.
- On the initialized canvas:
- Shift + Left Click adds green points for the subject.
- Shift + Right Click adds red points for background.
- If you make mistakes, click “New Canvas” to reset and re-plot.
- Add enough points to clearly separate subject from background and tricky edges (hair, hands).
Can I speed up generations?
- Reduce Blockify steps from 8 to 6.
- Keep ranks modest (32 or 64) on the X2V LoRA.
- Ensure your reference is clean and centered to avoid extra masking passes.
My edges are messy. What should I adjust?
- Increase Blockify steps to 8.
- Add more precise green/red points in the Points Editor to clarify subject boundaries.
- Confirm the subject is centered and scaled correctly in the crop.
Lighting looks off. What should I check?
- Verify the Relight LoRA is loaded and active.
- Confirm LoRA strength is appropriate.
- Make sure the text encoder is stable (FP16 if possible) to avoid noisy embeddings.
Do GGUF text encoders affect quality?
Quantized encoders reduce memory use but can add slight noise to results. If you notice grain or unstable details, switch to the FP16 safetensors encoder if your system can handle it.
Conclusion
This Wan Animate GGUF workflow is built for low VRAM systems and provides a reliable path to clean, stable video generations in ComfyUI. By selecting the right quantization (Q3–Q4), using the Wan 2.1 VAE, loading a solid text encoder, and stacking the Relight and X2V CFG-distilled LoRAs, you get strong lighting consistency and crisp edges.
The core setup choices that matter most:
- Correct file paths and names for all models and LoRAs.
- Frame control around 16 frames to match your reference.
- Mask refinement with Blockify and precise Points Editor marks.
- Proper resolution (832×480 base) and subject centering for your chosen orientation.
Recent Posts

Wan 2.2 Animate Guide: The Best AI Character Animation Yet
Discover why Wan 2.2 Animate sets a new standard for AI character animation. Learn how it works, fluid character swaps, step-by-step setup, and pro tips.

Animate Any Image in ComfyUI with WAN 2.2 with GGUF
Step-by-step ComfyUI workflow using WAN 2.2 + GGUF to animate any image with realistic motion, cloth sim, and 10+ sec clips—no VRAM limits.

Wan 2.2 Animate: AI Character Swap & Lip‑Sync in ComfyUI
Learn AI character swap and lip‑sync in ComfyUI with Wan 2.2 Animate—drive motion from your video and restyle shots, all free, step by step.