Replace Any Character: Free Wan‑Animate ComfyUI Tutorial
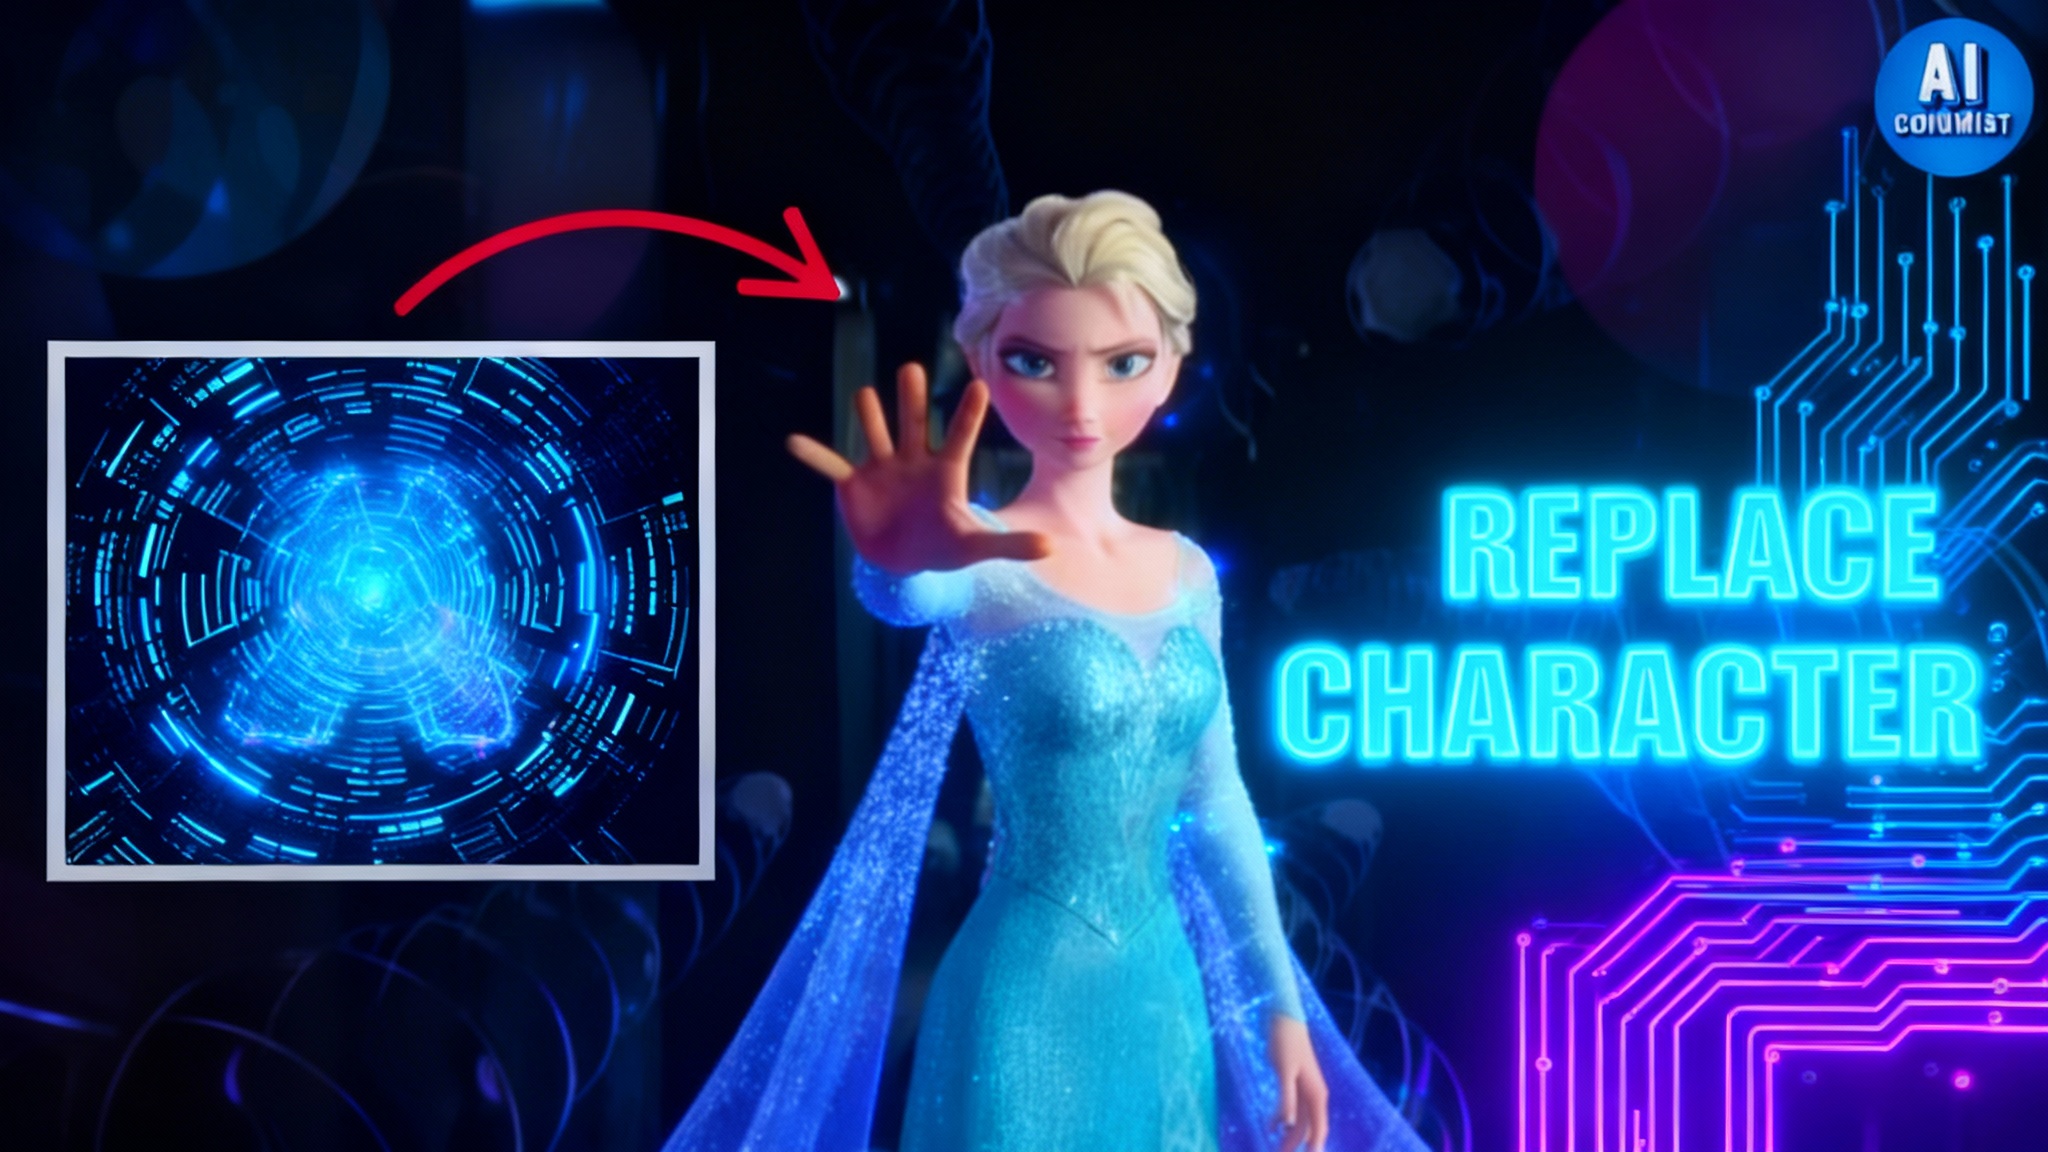
FREE Character Animation with Wan‑Animate: Replace Any Character in Videos (ComfyUI Tutorial)
Introduction
Character animation and face replacement no longer require costly tools or studio budgets. Wan‑Animate, an open-source model, lets you animate and replace characters in videos with high-quality results on your own computer. It works with 3D renders, cartoons, or photographs, transferring a performer’s motion, expressions, and matching lighting convincingly.
In this guide, I’ll show you how to set up Wan‑Animate inside ComfyUI, load the official workflow, prepare inputs, pick the right models, and generate clean outputs. Follow along step by step and keep your clips short for smooth runs and predictable memory use.
What Is Wan‑Animate?
Wan‑Animate is a model built on the Wan 2.2 family for character animation and replacement. It takes:
- A short input video (the “source” performance).
- A reference image of the character you want to appear in the video.
- A prompt describing the character and intended movement/emotion.
The workflow maps the source motion and expressions to the target character, adapts lighting via relight components, and produces a new video with the character replacing the original subject.
Key details in this setup:
- Runs inside ComfyUI using the Wan‑Video Wrapper and KJ Nodes custom nodes.
- Requires a single main model file for generation (no separate high/low-noise model pairing).
- Supports FP8 scaled models for speed/quality balance and GGUF variants for lower VRAM systems.
- Uses LoRAs for relight and fast sampling.
Table Overview
Components Checklist
| Component Type | Name/Example | Purpose | Notes |
|---|---|---|---|
| ComfyUI Custom Node | Wan‑Video Wrapper | Core Wan video nodes and example workflows | Must be updated to latest version |
| ComfyUI Custom Node | KJ Nodes | Utility nodes for resizing, cropping, combining, etc. | Must be updated to latest version |
| Main Model | Wan 2.2 (FP8 scaled) | Primary video generation | Best balance of quality/performance |
| Main Model (Low VRAM) | Wan 2.2 (GGUF quantized) | Runs on limited VRAM systems | Use if FP8 is too heavy |
| LoRA | Wan‑Animate‑Relight | Lighting adaptation | Required for consistent lighting |
| LoRA | Light X2V | Additional lighting/animation aid | Required |
| VAE | Wan 2.1 VAE | Variational autoencoder for decoding | Required |
| Text Encoder | CLIP Vision H | Text/image conditioning | Required |
| Preprocessor | OpenPose | Pose extraction from source frames | Used in the workflow |
Note: Download model files from their official repositories. Keep versions consistent across components.
Key Features
- Works with diverse character types: 3D renders, cartoons, and photos.
- High-quality motion and expression transfer from short video clips.
- Lighting adaptation through relight LoRAs for consistent scene matching.
- Runs locally with FP8 or GGUF model options based on your GPU memory.
- Optimized sampling via a Lightning LoRA (often as low as 6 steps).
How to Use Wan‑Animate in ComfyUI
1) Update or Install Required Custom Nodes
Make sure you’re on the latest versions before loading the workflow.
Option A: Update via Git
- Navigate to your ComfyUI/main directory.
- Open custom_nodes.
- Open the Wan‑Video Wrapper folder.
- Click the address bar and type: cmd
- In the command prompt, run: git pull
- Open the KJ Nodes folder.
- Click the address bar and type: cmd
- Run: git pull
Option B: Update via ComfyUI Manager
- Open the Manager.
- Search for “Wan‑Video Wrapper” and “KJ Nodes.”
- If installed, click Try to Update.
- If not installed, install from the Manager (you’ll get the latest versions).
Important: Fully restart ComfyUI after updating or installing nodes.
2) Load the Official Wan‑Animate Workflow
- Go to the Wan‑Video Wrapper custom node folder.
- Open the example_workflows subfolder.
- Sort by modified date to find the latest “Wan Animate” workflow JSON.
- Drag and drop the JSON into the ComfyUI canvas.
If you see missing node errors:
- Update Wan‑Video Wrapper and KJ Nodes again.
- Restart ComfyUI and reload the workflow.
3) Workflow Inputs and Resolution
You’ll see width and height input nodes at the start of the graph.
- Default: 832 × 480
- Higher quality suggestion: 1248 × 720
Notes:
- Higher resolution increases processing time and VRAM usage.
- Set your resolution first; it will propagate to the Load Video node and auto-resize your input.
4) Keep Source Clips Short
For best results and manageable memory:
- Use clips 5–8 seconds long.
- Longer clips take far more time and may run into memory issues.
- For longer projects, split the footage into shorter segments or configure Wan‑Video context options for extended sequences.
5) Load Your Source Video
- Use the Load Video node in the workflow.
- The clip is auto-resized to match your selected width/height.
Run the workflow once to bring the first frame into the Points Editor, then quickly interrupt. You’ll place positive points on this frame.
6) Segment the Subject with Positive Points
- In the Points Editor, place green positive dots on the subject to replace.
- Shortcut: Hold Shift and right-click to add a dot.
- Add enough points to cover the subject’s body and face areas clearly.
Tip: Insert a Mask Preview node (if not already present) to visualize segmentation. Confirm the mask cleanly isolates the subject while keeping the background untouched.
7) Add the Reference Image (Target Character)
- Load the image of the character you want in the final video.
- The workflow includes resizing/cropping nodes that create a zoomed-in face crop automatically.
- Prepare a clean, front-facing reference when possible to help with identity and expression mapping.
Note: The reference can be generated or captured separately. Use any image you own or have rights to use.
8) Download and Load Required Models
Wan‑Animate builds on Wan 2.2 and works with a simplified single-model setup.
You will need:
- Main model:
- Wan 2.2 FP8 scaled (recommended for quality/performance), or
- Wan 2.2 GGUF (for lower VRAM systems)
- LoRAs:
- Wan‑Animate‑Relight
- Light X2V
- VAE:
- Wan 2.1 VAE
- Text/Image encoder:
- CLIP Vision H
Load these into their respective nodes in the workflow. Keep file paths correct and confirm node states show the models loaded without errors.
9) Match the Frame Count
- Set the number of frames to generate to exactly match your input video’s frame count.
- If your clip is long, either split it into smaller chunks or set up Wan‑Video context handling for longer sequences.
10) Write a Clear Positive Prompt
Describe the target character and intended actions:
- Identity and appearance (style, clothing, notable features)
- Movement and emotion (e.g., calm walk, energetic expressions)
- Scene cues if relevant (e.g., soft diffused lighting, warm tone)
The more precise the prompt, the more consistent the output tends to be.
11) Generate the Video
- Click Run at the top of ComfyUI.
What happens under the hood:
- The CLIP text encoder processes your prompt into conditioning vectors.
- The Wan‑Video Animate Embeds node aggregates inputs:
- Text conditioning
- Reference image (and any derived face crops)
- Background, face, and pose images (via OpenPose preprocessor)
- Frame count and configured parameters
- The sampler node processes everything and generates your video frames.
Performance note:
- With the Lightning LoRA active, sampling steps can be as low as 6 per frame.
- On a capable GPU, a 4–6 second clip can render in a few minutes, depending on resolution and VRAM.
12) Save a Clean Final Output
By default, the workflow may display or combine reference images alongside the output. If you prefer a clean final video:
- Add a Video Combine or similar node that collects only the generated frames.
- Set output path and format as needed.
Workflow Anatomy (Quick Tour)
Input and Preprocessing
- Width/Height nodes feed resolution to Load Video.
- Points Editor creates a subject mask via positive points.
- Optional Mask Preview helps verify segmentation quality.
Reference Processing
- Reference image feeds a chain of resize/crop nodes.
- A face crop is prepared to guide identity and expressions.
Model Stack
- Main Wan 2.2 model (FP8 or GGUF).
- LoRAs: Wan‑Animate‑Relight and Light X2V for lighting and animation effects.
- VAE: Wan 2.1 VAE for decoding.
- CLIP Vision H for text/image conditioning.
Pose and Embeddings
- OpenPose extracts body pose features from the source video.
- Wan‑Video Animate Embeds node aligns all inputs for the sampler.
Sampling and Output
- Lightning LoRA reduces steps (often 6).
- Output frames are previewed and can be muxed into a single video file.
Practical Settings and Tips
Resolution
- Start with 832 × 480 for quick tests.
- Move to 1248 × 720 for better detail, time/memory permitting.
- Consider your GPU VRAM: higher resolutions scale resource needs quickly.
Clip Length
- 5–8 seconds is the sweet spot during testing.
- For longer scenes, split into segments and stitch later, or configure context options designed for extended sequences.
VRAM Considerations
- FP8 scaled: Faster with solid quality, needs more VRAM.
- GGUF quantized: Better for limited VRAM; expect slower runs and potential quality trade-offs.
Prompt Writing
- Be concrete and concise.
- Mention character traits, scene style, and desired motion/emotion.
- Avoid vague adjectives; focus on specifics.
Masking
- Place positive points on the subject’s body, face, and key areas.
- Check the mask preview to ensure clean separation from the background.
- If the mask leaks or misses regions, add or adjust points and re-run.
Troubleshooting
-
Missing custom nodes error:
- Update Wan‑Video Wrapper and KJ Nodes to the latest versions.
- Restart ComfyUI and reload the workflow.
-
Out-of-memory or slow runs:
- Lower resolution.
- Use GGUF model variants.
- Shorten your clip to 5–8 seconds.
- Close other GPU-intensive applications.
-
Poor subject isolation:
- Add more positive points in the Points Editor.
- Ensure the first frame shows the subject clearly.
- Review the Mask Preview; adjust and re-run until the subject is cleanly segmented.
-
Identity drift:
- Use a clear, high-quality reference image.
- Strengthen identity cues in the prompt (hair style/color, clothing, facial features).
- Keep face crop nodes intact as provided by the workflow.
-
Lighting mismatches:
- Confirm Wan‑Animate‑Relight and Light X2V LoRAs are loaded.
- Add lighting descriptors to your prompt (e.g., soft light, cool tone) to guide adaptation.
FAQs
How long should my source video be?
Keep it between 5–8 seconds when starting out. Longer clips significantly increase time and memory usage. For extended scenes, split into multiple segments or configure context options designed for longer sequences.
What resolution should I use?
- Start at 832 × 480 for faster experimentation.
- Move to 1248 × 720 for better clarity if your GPU can handle it. Always balance resolution against VRAM and time constraints.
Do I need multiple main models?
No. This workflow uses a single main Wan 2.2 model file. You don’t need separate high/low-noise model pairs for this setup.
Which model variant should I pick: FP8 or GGUF?
- FP8 scaled: Better speed/quality trade-off if you have sufficient VRAM.
- GGUF: Works on lower VRAM systems but may run slower and produce slightly softer results.
What LoRAs are required?
Wan‑Animate‑Relight and Light X2V are required in this tutorial. They help align lighting and motion details.
What other files do I need?
You’ll need the Wan 2.1 VAE and CLIP Vision H. Ensure all files are loaded into the correct nodes.
Can I use any reference image?
Use a reference image that you own or have permission to use. A clear, forward-facing image often produces stronger identity preservation.
My output includes reference images. How do I save a clean video?
Add a Video Combine (or similar) node that only collects generated frames, then render to your chosen format.
The workflow throws errors about missing nodes. What should I do?
Update Wan‑Video Wrapper and KJ Nodes to the latest versions and restart ComfyUI. Then reload the workflow JSON.
How many sampling steps should I use?
With the Lightning LoRA enabled, you can go as low as 6 steps per frame for fast results. Adjust upward if you need more refinement and your hardware allows it.
Conclusion
Wan‑Animate brings high-quality character animation and replacement into a practical, local workflow. With the Wan‑Video Wrapper and KJ Nodes updated, the official Wan‑Animate workflow makes setup straightforward: select a resolution, keep clips short, segment the subject with positive points, load a strong reference image, and configure the required models and LoRAs.
Match the frame count, write a clear prompt, and generate. The combination of FP8 or GGUF models, relight LoRAs, and a Lightning LoRA for fast sampling gives you flexible performance and quality options on a wide range of systems. Add a final combine node for a clean output, and you’re done.
Follow the steps above in order, double-check model loads and masks, and you’ll produce convincing animated character replacements with consistent lighting and expression transfer—right inside ComfyUI.
Recent Posts
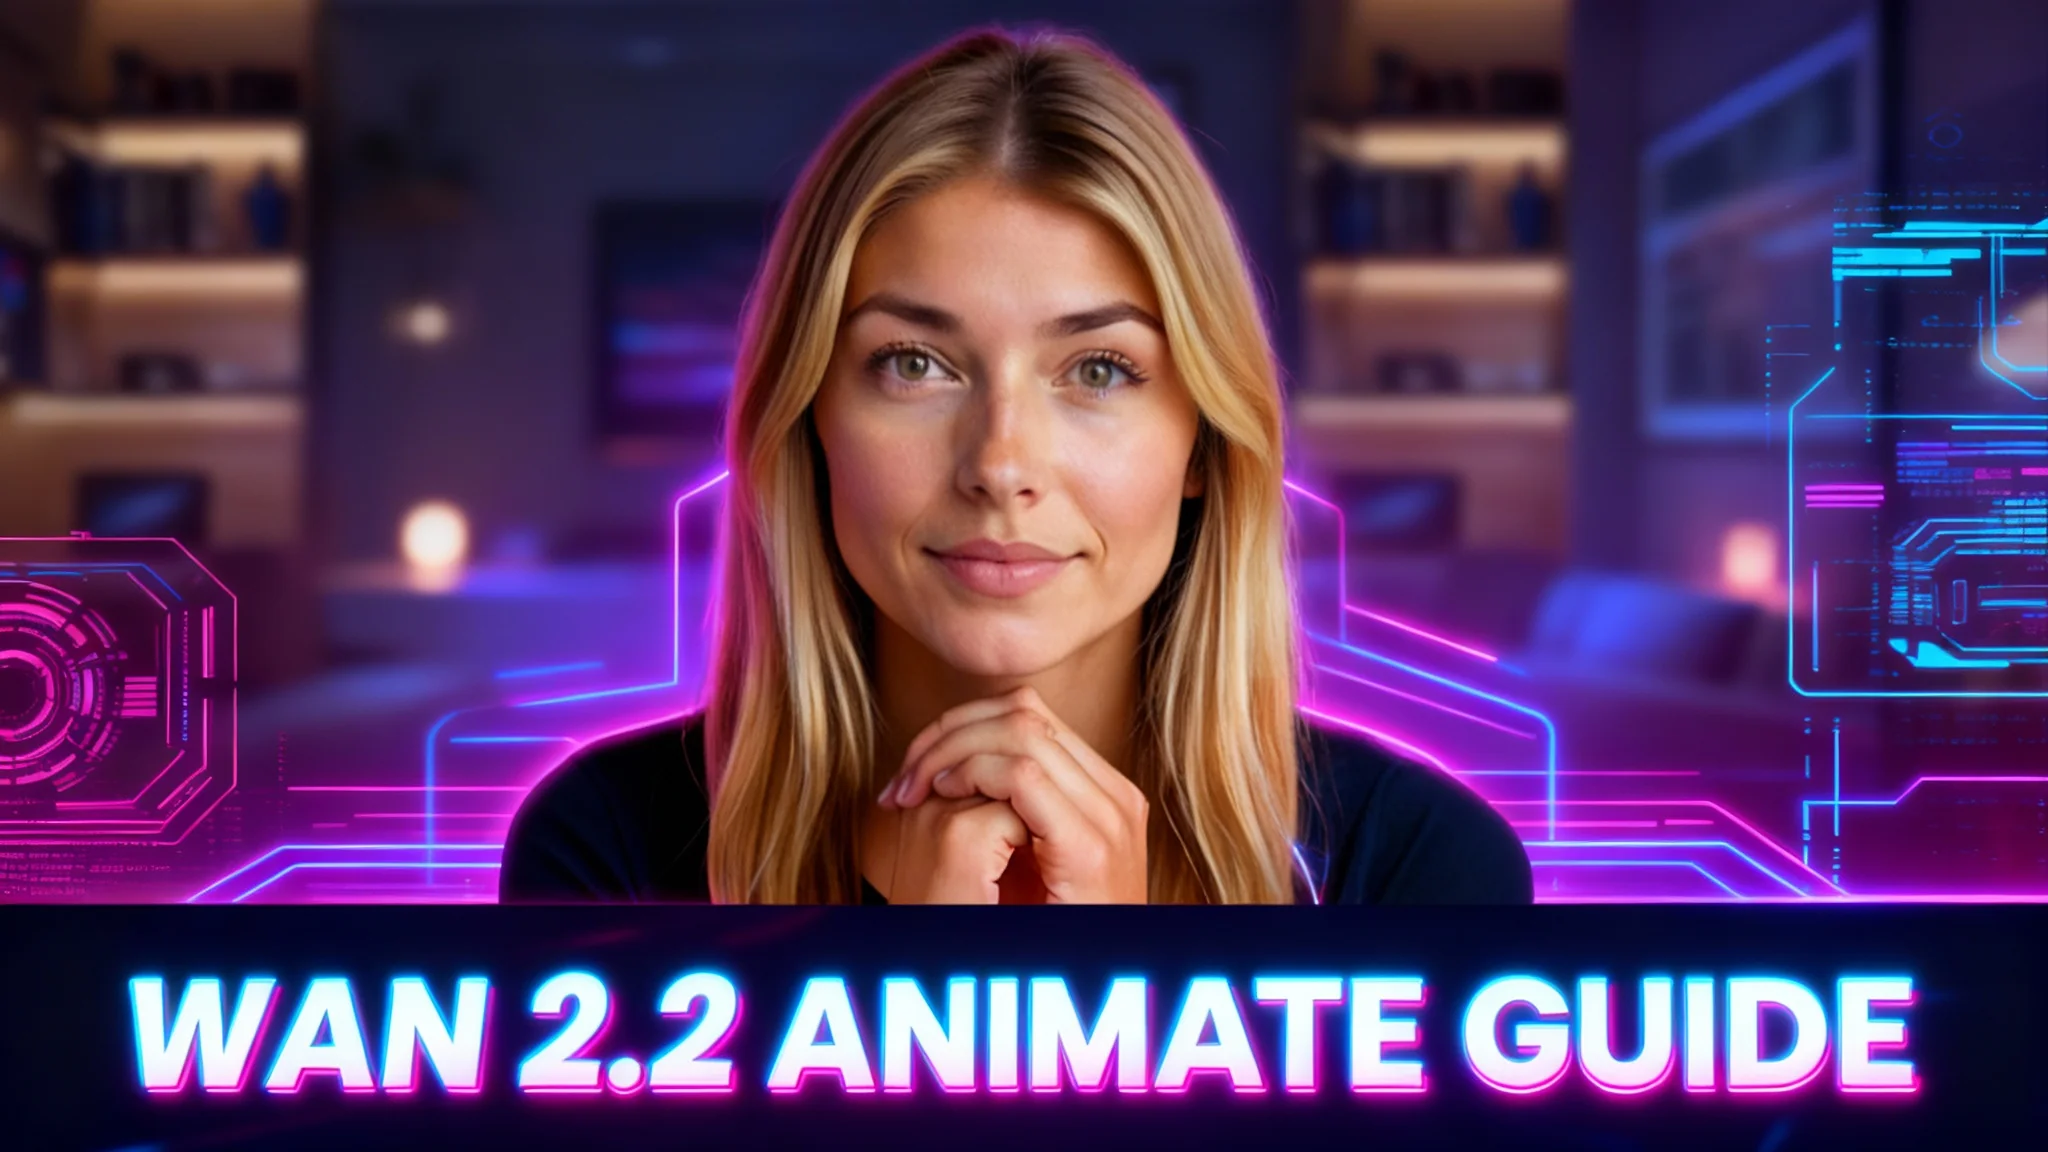
Wan 2.2 Animate Guide: The Best AI Character Animation Yet
Discover why Wan 2.2 Animate sets a new standard for AI character animation. Learn how it works, fluid character swaps, step-by-step setup, and pro tips.

Animate Any Image in ComfyUI with WAN 2.2 with GGUF
Step-by-step ComfyUI workflow using WAN 2.2 + GGUF to animate any image with realistic motion, cloth sim, and 10+ sec clips—no VRAM limits.
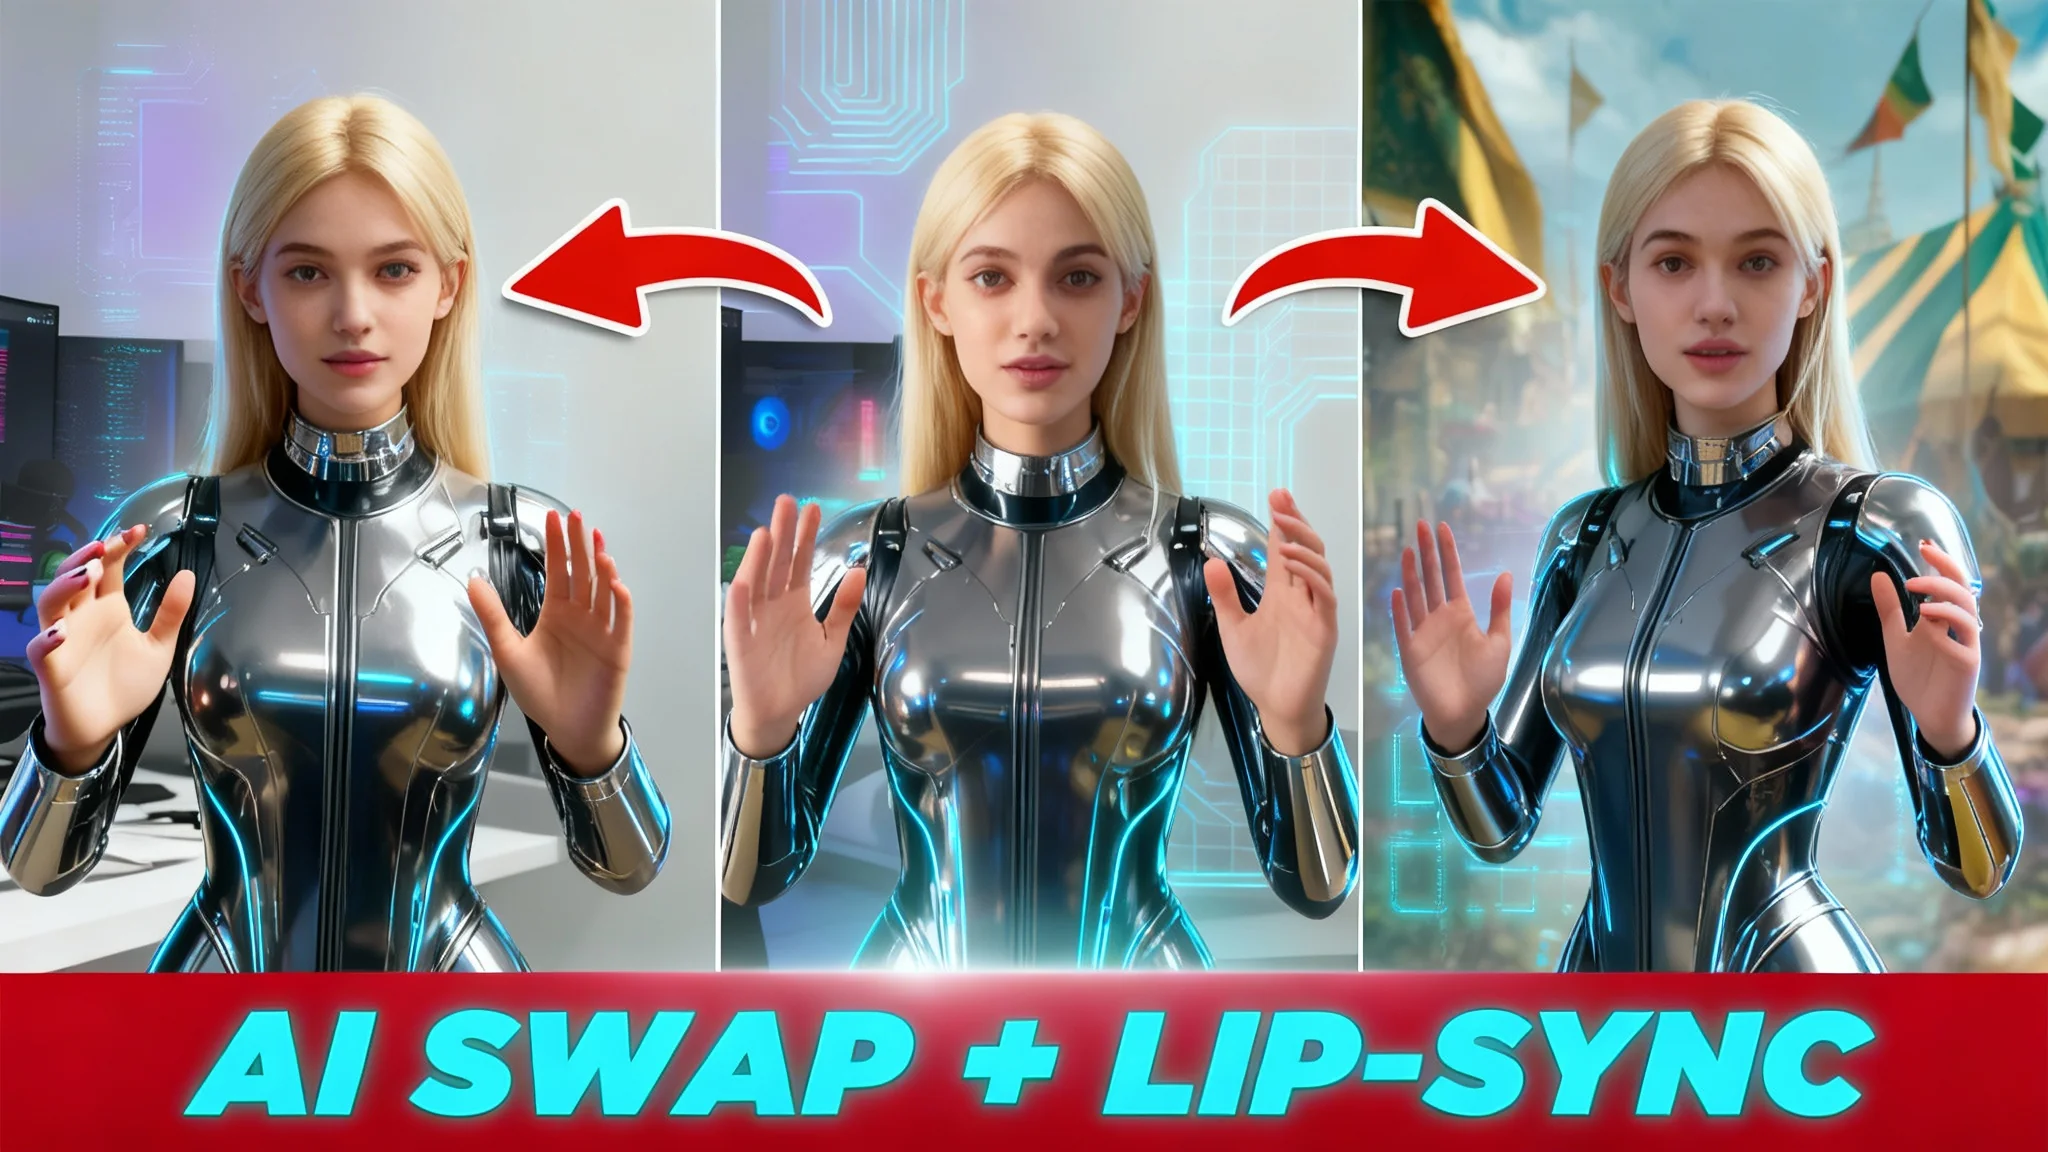
Wan 2.2 Animate: AI Character Swap & Lip‑Sync in ComfyUI
Learn AI character swap and lip‑sync in ComfyUI with Wan 2.2 Animate—drive motion from your video and restyle shots, all free, step by step.