Wan 2.2 Animate: AI Character Replacement Tutorial
Introduction
I’m going to show you how to use Wan 2.2 Animate inside ComfyUI to swap characters in a video while keeping the same movement, and restyle the result to create custom animations. We’ll install ComfyUI, load the Wan 2.2 Animate workflow, resolve model and node requirements, and walk through the essential settings step by step.
By the end, you’ll know how to prepare inputs, configure masks and modes, set frame length and FPS, use the Point Editor for precise subject selection, and generate a clean, consistent animation. I’ll also share practical tips on resolution, input quality, and extending video length.
What is Wan 2.2 Animate in ComfyUI?
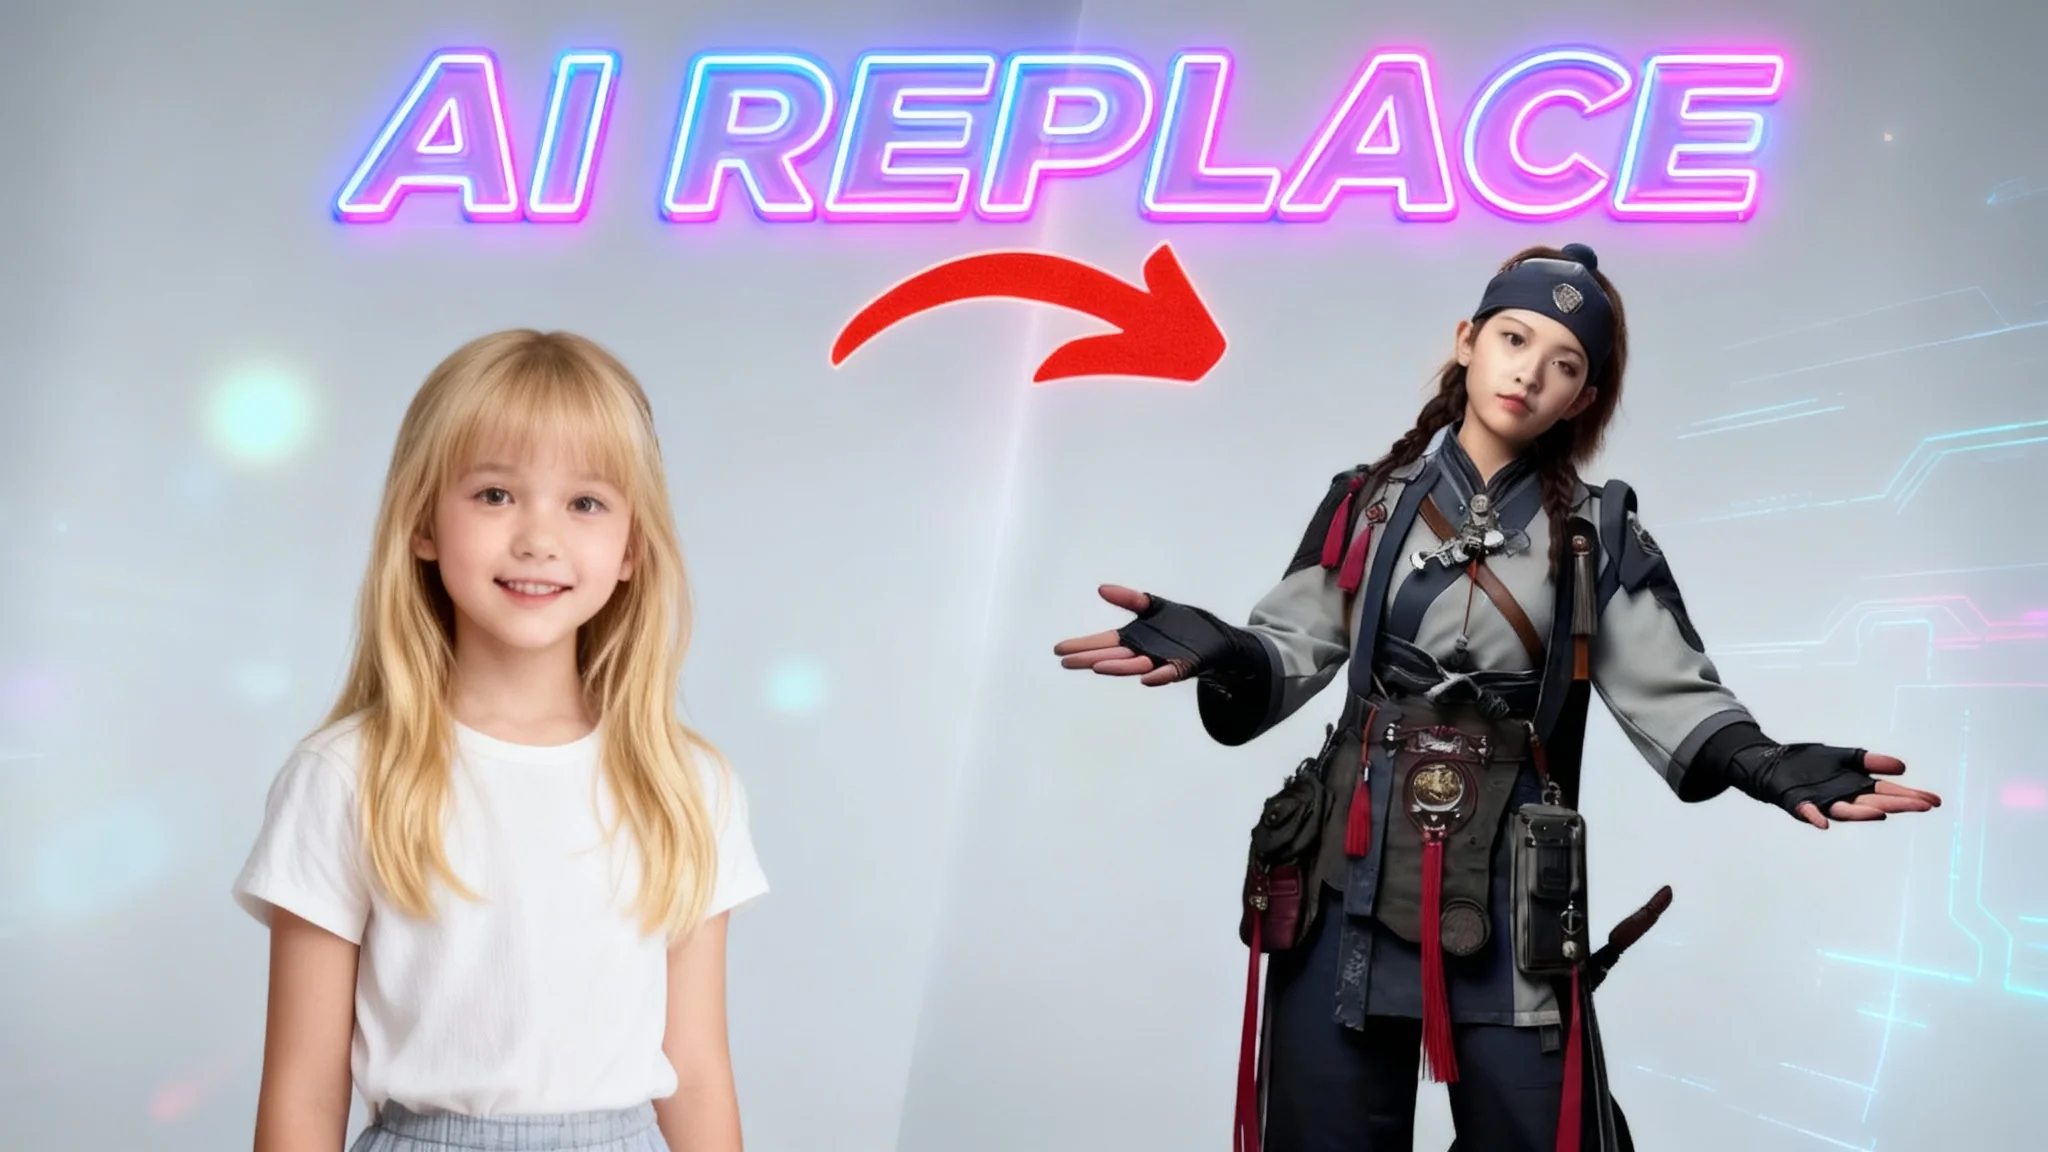
Wan 2.2 Animate is a workflow template in ComfyUI that can replace a subject in a video with a new character image, while preserving motion from the source clip. It supports two distinct modes for creative control over background handling and motion transfer.
You can use it to:
- Swap the main character in a clip with a new image.
- Keep the original motion from your video.
- Restyle your footage into a different visual direction.
Overview of Wan 2.2 Animate
| Component / Node | Purpose | Where You’ll Use It |
|---|---|---|
| Video Loader | Imports your source video. | Upload the clip containing the subject to replace. |
| Image Loader | Imports your reference character image. | Upload the character you want to insert. |
| Output Dimensions | Sets the width and height of the result. | Match your source aspect ratio; both values must be divisible by 16. |
| Prompt | A short description of what’s happening. | Guide the model with a concise action/context description. |
| Grow Mask | Expands the subject mask radius. | Increase if your new character is larger or has flowing elements. |
| Modes: Mix / Move | Mix replaces the subject; Move transfers motion to the reference image. | Choose based on background handling needs. |
| Length (Frames) | Number of frames processed per run. | 77 (~3–4s) or 81 (~5s) recommended for single pass. |
| FPS or Get Original FPS | Sets output frame rate or matches source. | Keep defaults or connect to original FPS node. |
| Video Extend Example Group | Doubles or extends duration beyond the default. | Unbypass to extend; adjust values as instructed. |
| Point Editor | Adds green/red markers to isolate the subject. | Place green on subject, red off-subject; refine mask for accurate results. |
| K Sampler | Main generation node. | Bypass first to set markers faster; then re-enable for the final render. |
| Save Video | Previews and saves the final video. | View and export your generated result. |
Key Features of Wan 2.2 Animate
- Character replacement that preserves motion from your input video.
- Two operational modes for different background and motion-transfer needs.
- Configurable mask expansion to accommodate larger costumes, hair, or accessories.
It also supports short-run generation (77–81 frames) with an example path to extend length, and it includes a Point Editor workflow for precise subject selection.
How Wan 2.2 Animate Works
- You load a video (source motion) and a character image (replacement).
- The workflow builds a subject mask, expanded by the Grow Mask value.
- Depending on mode, the background and motion behavior changes:
- Mix replaces the subject in your video.
- Move transfers motion onto the reference image and keeps that image’s background.
- The K Sampler generates frames based on your settings and prompt.
- The output compiles into a video at the chosen frame rate.
The Point Editor step ensures the right subject is captured by adding guidance markers (green for subject, red for background) on the first frame.
How to Use Wan 2.2 Animate
Install ComfyUI
- Go to comfy.org, download the installer for your system, and complete the setup.
- ComfyUI will launch automatically after installation.
Keep your GPU drivers updated and ensure you have sufficient VRAM for the chosen resolution.
Load the Wan 2.2 Animate Template
- In ComfyUI, open Browse Templates.
- Search “wan” and load the “Wan 2.2 Animate” workflow.
- You’ll see a “missing models” message. Download the listed files. You can close the window; downloads continue in the background.
If a download stalls, you can add the required model files manually to the correct folders before proceeding.
Install Required Custom Nodes
- If prompted, open Manager > Install Missing Custom Nodes.
- Install all listed nodes one by one.
- Check the model download progress before restarting.
- Restart ComfyUI when everything is installed; it will relaunch in a few seconds.
After relaunch, the workflow is ready to configure.
Prepare Inputs
- Upload your source video: use a clip up to 1080p for a smoother run.
- Both vertical and horizontal formats are supported.
- Upload your reference character image: pick a clear, sharp image with the appearance you want.
Clarity in the subject’s face and key features in both the video and the image improves results.
Configure Core Settings
-
Output Dimensions:
- Match your source aspect ratio.
- Set width and height divisible by 16 to avoid errors.
- Choose a resolution your machine can handle comfortably.
-
Prompt:
- Write a short sentence describing the scene/action (e.g., the character’s activity).
- Keep it concise; you’re guiding, not describing every detail.
-
Grow Mask:
- Default is 10 (pixels). Increase if the new character is larger or wears flowing clothing or accessories.
- A larger value allows more space for edges like hair, dresses, capes, or props.
-
Modes: Mix vs Move:
- Mix (default): Replaces the subject within your original video’s background.
- Move: Transfers motion to the reference image, keeping the reference image’s background.
- To switch to Move, disconnect the Background Video and Character Mask nodes from the “Wan Animate to Video” node.
-
Length (Frames):
- Default: 77 frames (~3–4 seconds).
- You can set 81 frames (~5 seconds).
- These targets keep runs predictable and stable.
-
FPS:
- Default is 16 FPS.
- To match your source, connect “Get Original FPS” to the FPS input.
Extend Duration (Video Extend Example Group)
- To create a longer result:
- Select all nodes in the “Video Extend Example” group.
- Press Ctrl+B to unbypass them.
- Change the value indicated in the group (e.g., to 81) to double the duration.
- Follow the instructions in the group to extend further if needed.
Extended runs can increase processing time considerably; plan storage and VRAM accordingly.
Speed Up the Point Editor Step
- Select the K Sampler node and press Ctrl+B to bypass it.
- Click Run to process up to the Point Editor step quickly.
- This avoids waiting for full generation while you set markers.
When the queue clears, the Point Editor will display the first frame with initial green and red markers.
Use the Point Editor
- Green markers: Subject areas.
- Add more with Shift + Left Click on the subject.
- Red markers: Background areas.
- Add more with Shift + Right Click outside the subject.
- Remove any marker: Right Click on it.
Place enough green markers on the subject and red markers off the subject to help the workflow isolate the correct region. More precise markers improve masking and reduce artifacts at edges.
Final Render
- Return to the K Sampler node and press Ctrl+B to re-enable it.
- Click Run to generate the full video.
- When it finishes, preview the result in the Save Video node.
If you see artifacts or soft details, review your inputs, mask size, and prompt, and consider reducing resolution slightly or improving the quality of the reference image.
Find Your Output
- Open your ComfyUI folder.
- Go to the “output” directory to find your saved videos.
Keep your outputs organized by project to make iteration faster.
Practical Notes and Observations
Input Quality Matters
- Clear, sharp faces in both the video and the reference image produce noticeably better results.
- Ambiguous features or heavy blur can reduce fidelity.
Hair, Clothing, and Accessories
- Motion for long hair, flowing clothing, and hanging accessories is handled well.
- Increase Grow Mask to avoid clipping or shrink-wrapping around large silhouettes.
Partial Subjects
- The workflow can work even if the character isn’t fully visible in the reference image.
- Ensure the visible parts are clear and well-lit.
Lip-Sync and Expressions
- Lip-sync and nuanced facial expressions can be limited.
- For dialogue or close-up performance, expect to experiment and iterate.
FAQs
What resolutions work best?
- Keep the source video up to 1080p for smoother processing.
- Set output width and height divisible by 16 to avoid errors.
- Match your source aspect ratio to prevent stretching or letterboxing.
Can I use vertical videos?
- Yes. Both vertical and horizontal formats are supported.
- Match the dimensions to your source orientation.
How long should I set the frame length?
- 77 frames (~3–4 seconds) is the default and a solid choice.
- 81 frames (~5 seconds) is also recommended.
- For longer runs, unbypass the “Video Extend Example” group and follow its inline guidance.
How do Mix and Move modes differ?
- Mix replaces the subject in your original video while keeping the video’s background.
- Move transfers motion to the reference image and retains that image’s background.
- To switch to Move, disconnect the Background Video and Character Mask inputs from “Wan Animate to Video.”
How do I match the original video’s frame rate?
- Connect the “Get Original FPS” node to the FPS input to inherit the source video’s frame rate.
I’m getting errors about dimensions. What should I check?
- Ensure both width and height are divisible by 16.
- Confirm your GPU has enough VRAM for the chosen resolution.
The Point Editor step is slow. Any fix?
- Bypass the K Sampler with Ctrl+B before the first run to reach the Point Editor faster.
- After setting markers, re-enable K Sampler and run the full generation.
Where are my files saved?
- In the ComfyUI “output” folder located inside your main ComfyUI directory.
How do I improve quality?
- Use a clean, high-resolution reference image.
- Ensure the subject in the source video is well-exposed and sharp.
- Adjust Grow Mask to accommodate edges like hair and clothing.
- Consider slightly reducing resolution if your system struggles.
Conclusion
Wan 2.2 Animate in ComfyUI makes it possible to replace a character in your video while preserving motion and restyling the final output. With the right setup—models and nodes installed, resolution set correctly, and a concise prompt—you can produce clean, short clips and extend them as needed.
Use Mix mode to swap a subject in your video’s background, or Move mode to transfer motion to the reference image’s background. Refine the subject selection with the Point Editor, increase Grow Mask for complex silhouettes, and choose 77 or 81 frames for predictable runs. Keep your inputs sharp, verify dimensions are divisible by 16, and retrieve results in the output folder.
Recent Posts
Wan 2.2 Animate Guide: The Best AI Character Animation Yet
Discover why Wan 2.2 Animate sets a new standard for AI character animation. Learn how it works, fluid character swaps, step-by-step setup, and pro tips.

Animate Any Image in ComfyUI with WAN 2.2 with GGUF
Step-by-step ComfyUI workflow using WAN 2.2 + GGUF to animate any image with realistic motion, cloth sim, and 10+ sec clips—no VRAM limits.
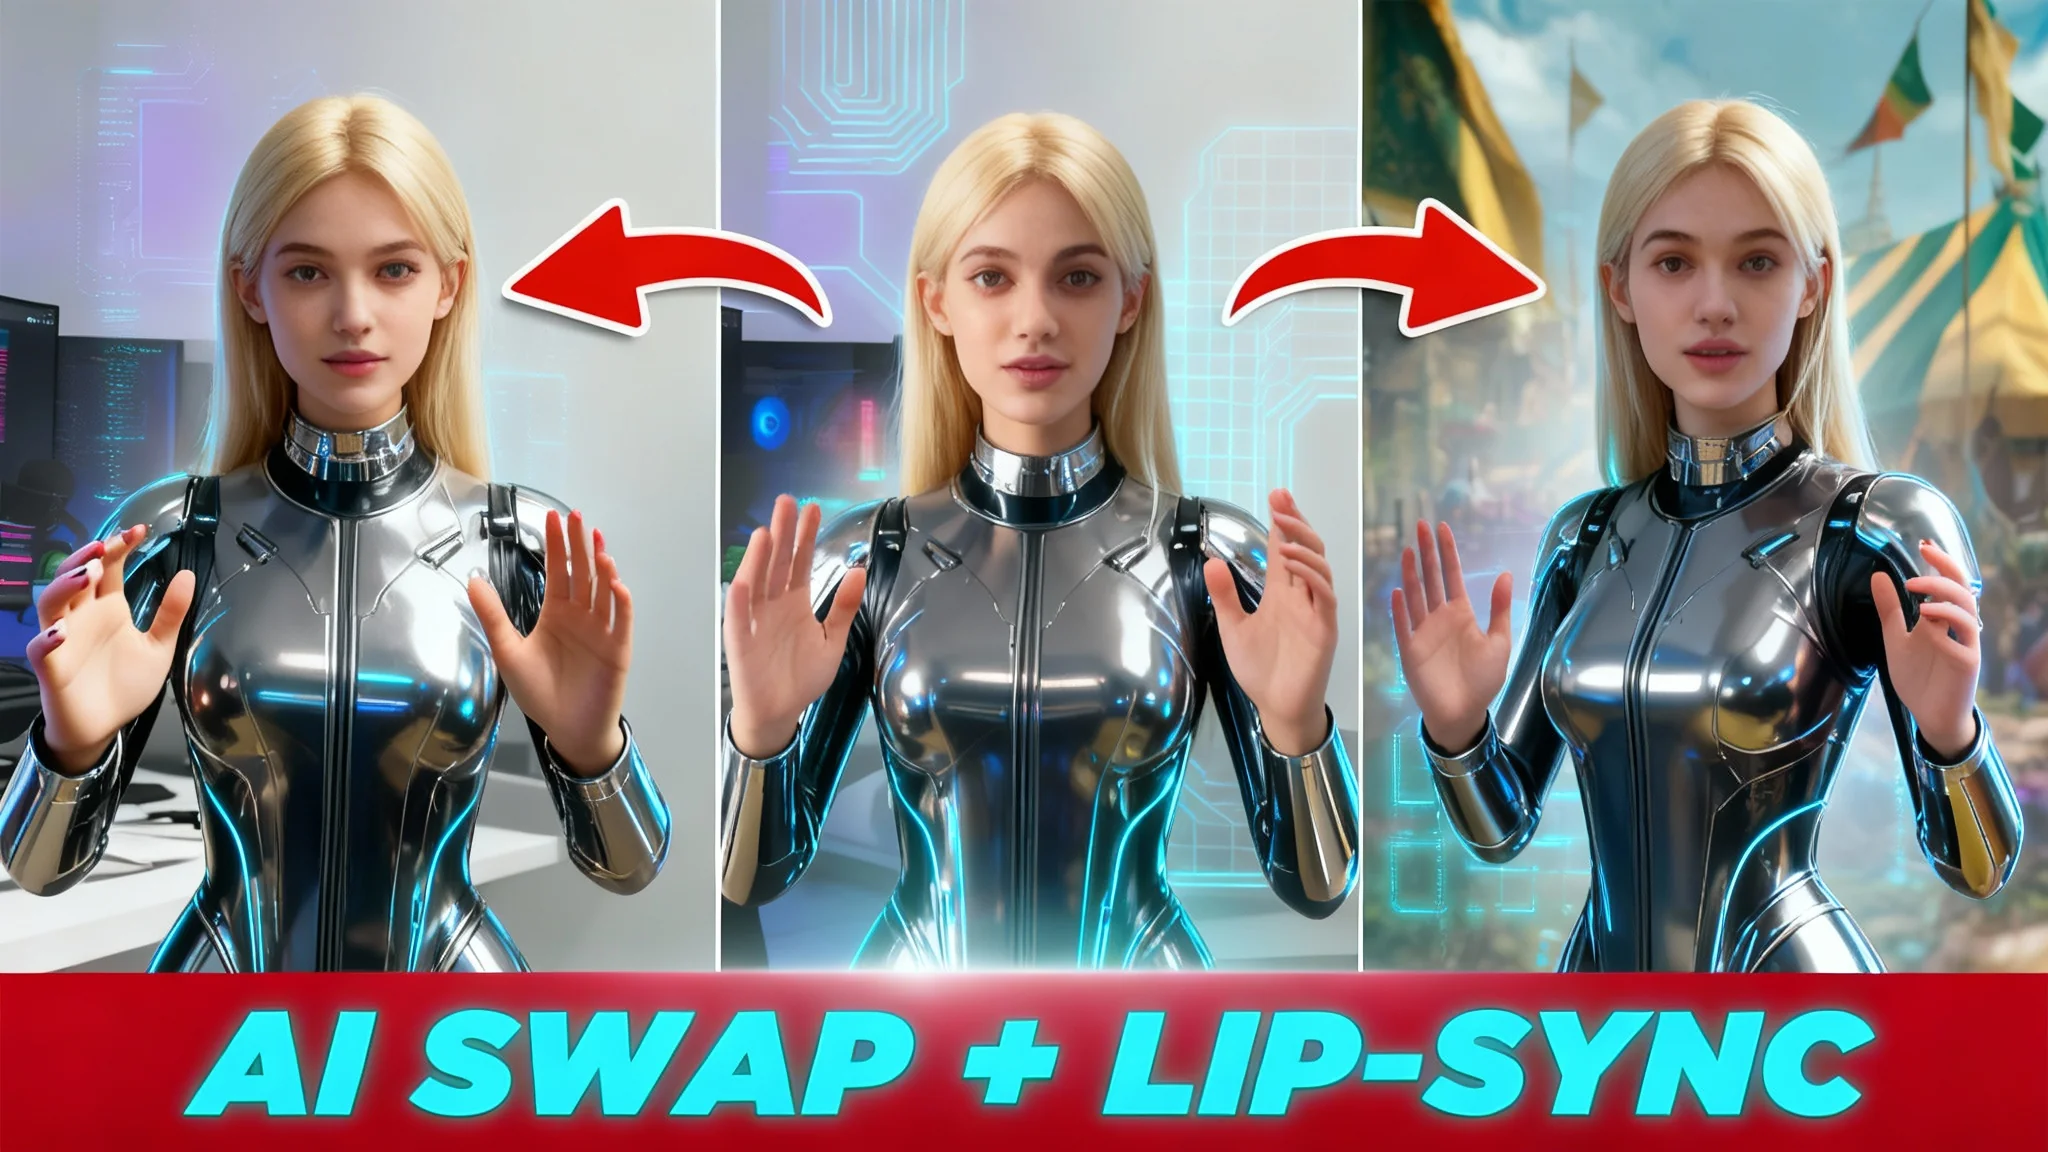
Wan 2.2 Animate: AI Character Swap & Lip‑Sync in ComfyUI
Learn AI character swap and lip‑sync in ComfyUI with Wan 2.2 Animate—drive motion from your video and restyle shots, all free, step by step.