WAN Animate v2: Infinite AI Videos in ComfyUI

This article explores WAN Animate v2 in ComfyUI and walks through the updated model, the new workflow designed by Kaji, and the practical steps to generate long-form AI videos. I show how the new detection and segmentation pipeline improves stability and detail, how to set up the workflow for consistent color and pose control, and how to avoid common mistakes that cause distorted results. I also compare the v2 workflow with a normal node setup similar to the prior version, including how to extend video length when unlimited generation is not supported.
You can download the new model directly, and the full model list with its components is part of this release. The standout capability here is the option to generate videos with no fixed upper limit on duration, bounded primarily by your GPU’s VRAM. For reference, I am working on an RTX 4090, which offers enough memory for extended generations.
I also include a section using normal animate nodes, distinct from Kaji’s specialized nodes, to show how the older approach differs and what you should expect.
What Is WAN Animate v2?
WAN Animate v2 is an updated image-to-video system for ComfyUI with a new model and workflow. It introduces improved pre-processing, more accurate face and pose detection, stronger mask segmentation, and new loaders for detection. The new workflow replaces some of the manual editing from the prior version (like point editors and DW pose) with a more integrated detection stack that improves stability and reduces the need for manual tweaking.
The v2 approach is designed to:
- Use a stronger detection backbone (including VIT pose) for face and body.
- Improve segmentation for cleaner subject boundaries.
- Support long-form generation that can run far beyond typical short clips, subject to available VRAM.
Overview of WAN Animate v2
| Component/Module | Role in v2 | Notes |
|---|---|---|
| WAN Animate v2 Model | Core image-to-video generation | New model available for direct download |
| Kaji Workflow | Node graph with improved pre-processors | Replaces v1’s point editors and DW pose |
| Draw Pose Loader | Loads pose inputs | Helps control body positioning |
| ONNX Detection Loaders | Model detection loaders | Used for robust detection and conditioning |
| VIT Pose Detection | Face + pose detection | More comprehensive than DW pose in v1 |
| Mask Segmentation | Subject/background separation | Significantly refined for cleaner masks |
| Relight LoRA | Lighting control | Used with the base reference image |
| Lightex 2V (I2V) | Image-to-video conversion | Connects image input to animation pipeline |
| VAE | Variational autoencoder | Boosts visual fidelity and detail |
| CLIP Vision | Visual encoder | Drives conditioning from the reference image |
| Animate Encoder | Motion encoding | Works with the text and visual encoders |
| Text Encoder | Prompt conditioning | Guides content and expression |
| Color Match | Color fidelity control | Corrects color degradation across frames |
| DPM++ HD Sampler | Sampler used for generation | 4 steps in the example run |
| RTX 4090 (reference) | Hardware example | VRAM capacity determines practical video length |
Key Features of WAN Animate v2
- New detection stack:
- Replaces DW pose with a combined face-and-pose system based on VIT pose.
- Adds ONNX-based detection loaders and draw pose controls.
- Stronger segmentation:
- Cleaner masks and subject boundaries for more consistent motion and edges.
- Updated workflow:
- Removes older point editor elements from v1 and integrates more efficient methods.
- Long-form video generation:
- No hard cap inside the workflow; practical limits come from VRAM and your hardware.
- Color consistency:
- Color match node helps correct degradation or shifts across frames.
What’s New Compared to Wan Animate Version 1
Kaji’s v2 workflow removes v1’s point editor steps and replaces DW pose with a more complete detection pipeline. You also get improved segmentation and added loaders for detection and pose control. The result is a cleaner setup that relies less on manual correction and more on strong pre-processors that produce accurate guidance for the model.
At the end of this article, I also show a normal-node workflow closer to v1, including SAM segmentation and point editor usage, so you can compare results and understand how to extend clips when unlimited generation isn’t available.
Base Setup for the Demonstration
For the main v2 demonstration, I start from a single reference image. The system uses:
- Relight LoRA to control lighting.
- Lightex 2V for the image-to-video stage.
- VAE to raise visual fidelity.
In the node graph:
- CLIP Vision sits on the left to read the image features.
- The Animate Encoder sits on the right to drive motion.
- The Text Encoder provides prompt conditioning to guide expression and behavior.
If you see color degradation or inconsistent tones in your generated video, add the Color Match node. This keeps hue and contrast aligned across frames.
Prompt and Sampler Settings
Prompt used in the demonstration:
- “The woman is playing a video game and holding a controller and getting a bit angry.”
Settings:
- Sampler: DPM++ HD
- Steps: 4
WAN Animate v2 supports long videos. Video duration can extend to a minute or more if your hardware can handle it.
Workflow: Step-by-Step (WAN Animate v2)
Follow the order below to replicate the setup shown:
- Load the model and workflow
- Load the WAN Animate v2 model.
- Open Kaji’s v2 workflow with the new pre-processors.
- Add inputs
- Provide your base reference image.
- Connect CLIP Vision, Text Encoder, and Animate Encoder as in the v2 graph.
- Configure conditioning
- Apply Relight LoRA for lighting control.
- Plug in Lightex 2V for image-to-video conversion.
- Ensure VAE is connected to maintain detail.
- Enable detection and segmentation
- Use the ONNX detection loaders.
- Enable VIT pose detection for face and body guidance.
- Activate the refined mask segmentation.
- Maintain color consistency
- Add Color Match if you notice any shifts or degradation.
- Set prompts and sampler
- Use your text prompt to steer expression and action.
- Set sampler to DPM++ HD with 4 steps (as in the demo).
- Generate
- Start generation and monitor VRAM usage if you plan long videos.
- Save the output once complete.
Results From the v2 Run
The generated video preserved the subject’s expression from the reference image and produced accurate hand movements. The clip length was roughly 32–35 seconds and took about 15 minutes to generate on an RTX 4090. Longer sequences are possible; VRAM capacity determines how far you can extend without instability.
Facial accuracy is good but not perfect. Expect around 70–80% consistency in many cases. In a specific frame comparison, expressions and fine details like neck veins were rendered clearly, but overall reference accuracy was closer to 60–70% rather than exact 1:1 matching. That is the main limitation observed in the test.
Using Normal Animate Nodes (v1-Style Workflow)
I also tested a workflow without Kaji’s specialized nodes to mirror the v1 approach. The key points:
- Relight LoRA and other assets remain the same.
- Normal K-samplers are used instead of WAN video samplers.
- The point editor and SAM segmentation are part of the setup.
- To extend the clip, the output is looped with one more batch of WAN video and K-sampler, because this approach does not support unlimited generation.
The resulting video was about 20 seconds and looked solid. I will share the workflow for those who prefer the familiar v1-style node graph.
v1-Style Setup: Step-by-Step
- Load the base model and normal nodes
- Use the standard animate nodes, not Kaji’s specialized ones.
- Add pre-processing
- Enable the point editor for manual control.
- Use SAM segmentation to separate subject/background.
- Configure conditioning
- Apply Relight LoRA.
- Set up Lightex 2V for the I2V conversion.
- Keep VAE connected for quality.
- Use normal K-samplers
- Configure your sampler parameters as usual for this path.
- Extend the clip
- Loop the output through another WAN video + K-sampler pass to lengthen the result, since unlimited generation is not built into this path.
- Generate and save
- Render the video and export the file.
What Not to Do: Pitfalls and Fixes for Beginners
Many issues stem from incorrect input sizing and cropping. The most common problem is an elongated or distorted face due to improper resizing or aspect ratio mismatches.
The Problem
- A video was generated with a very long face.
- The root cause was skipping the Resize Image node and feeding a 1024×1024 square image into a vertical-oriented setup.
- The image was effectively cropped or stretched in a way that deformed proportions.
How to Fix It
- Always include a Resize Image node before generation.
- Match the input image’s aspect ratio to the target video format. For a vertical workflow, start from a vertical image or resize/crop the reference appropriately.
- Avoid feeding a square image into a vertical pipeline without proper resizing; otherwise the subject can be stretched or clipped.
Quick Checklist
- Resize Image is present and configured.
- Input aspect ratio matches the intended output (vertical, square, or horizontal).
- No unintended cropping in the graph.
- Masks align with subject boundaries after resizing.
- Review the first few frames to confirm proportions before committing to long runs.
Practical Notes on Duration and Hardware
- WAN Animate v2 can generate very long sequences; the effective limit is your VRAM. The RTX 4090 handled ~32–35 seconds in the test run at high quality with room for more.
- If you plan to create minute-long videos, monitor memory usage and keep sampler steps modest if needed.
- For the normal-node (v1-style) approach, plan a loop-and-extend method: render a base clip, then feed it back through WAN video and a sampler to add more duration.
Configuration Summary
Below is a compact reference pulled from the setups shown.
WAN Animate v2 Setup
- Inputs: Reference image
- Conditioning:
- CLIP Vision
- Text Encoder (prompt: woman playing a video game, holding a controller, getting a bit angry)
- Animate Encoder
- Assets:
- Relight LoRA
- Lightex 2V (image-to-video)
- VAE
- Detection and Segmentation:
- ONNX detection loaders
- VIT pose detection (face + pose)
- Refined mask segmentation
- Color:
- Color Match (if color shifts appear)
- Sampler:
- DPM++ HD
- Steps: 4
- Output:
- Long-form enabled (limit based on VRAM)
Normal Animate Nodes (v1-Style)
- Inputs: Reference image
- Conditioning:
- CLIP Vision, Text Encoder, Animate Encoder
- Assets:
- Relight LoRA, Lightex 2V, VAE
- Pre-processing:
- Point editor
- SAM segmentation
- Sampler:
- Normal K-samplers
- Extension:
- Loop with WAN video + K-sampler to lengthen output
Color Consistency Guidance
If your video shows color degradation or drift:
- Insert Color Match in the graph and connect it to the frame stream.
- Keep lighting consistent in the prompt and avoid conflicting cues that can push hues around.
- Verify that the VAE and Relight LoRA are configured as intended; misconfiguration can introduce contrast or exposure issues.
Accuracy Expectations
In the demonstration:
- Expression and body motion were preserved convincingly.
- Fine details appeared clearly in many frames.
- Exact face matching to the reference image was around 70–80% on average. In specific comparisons it ranged closer to 60–70%. Plan for minor deviations across frames.
Troubleshooting Guide
Use this checklist if your results are not meeting expectations:
-
Faces look stretched or elongated
- Add Resize Image before generation.
- Ensure aspect ratio matches the output format.
-
Color shifts across frames
- Enable Color Match.
- Reduce conflicting prompt terms about lighting or tone.
-
Masks look rough or cut into the subject
- Verify the refined mask segmentation node is connected.
- Confirm resize is applied before masking to avoid misaligned edges.
-
Motion looks unstable
- Confirm VIT pose detection is active for both face and body.
- Check ONNX detection loaders are receiving the right inputs.
-
Long sequence fails mid-run
- Lower resolution or sampler steps.
- Monitor VRAM usage and adjust batch settings.
Performance Notes
- The example clip (about 32–35 seconds) took around 15 minutes on an RTX 4090.
- Longer clips are possible with careful memory management.
- If using the normal-node path, expect to chain outputs to extend duration.
Final Thoughts
WAN Animate v2 delivers a cleaner node graph, stronger detection and segmentation, and practical support for long video generation in ComfyUI. The v2 workflow reduces manual correction compared with the prior version, while still giving you control over pose, lighting, and color. If you prefer the older approach, the normal-node path with point editor and SAM segmentation still produces solid results; just plan to loop and extend clips when you need more length.
For best results:
- Resize inputs to the correct aspect ratio.
- Use the improved detection stack (VIT pose + ONNX loaders).
- Keep Color Match on standby to maintain consistent tones.
- Expect strong expression preservation, with some variance in perfect face matching.
This mirrors the process shown here: a v2 run with Relight LoRA, Lightex 2V, VAE, CLIP Vision, Animate Encoder, and Text Encoder; followed by a normal-node comparison and a clear set of do’s and don’ts for beginners.
Recent Posts
Wan 2.2 Animate Guide: The Best AI Character Animation Yet
Discover why Wan 2.2 Animate sets a new standard for AI character animation. Learn how it works, fluid character swaps, step-by-step setup, and pro tips.
Animate Any Image in ComfyUI with WAN 2.2 with GGUF
Step-by-step ComfyUI workflow using WAN 2.2 + GGUF to animate any image with realistic motion, cloth sim, and 10+ sec clips—no VRAM limits.
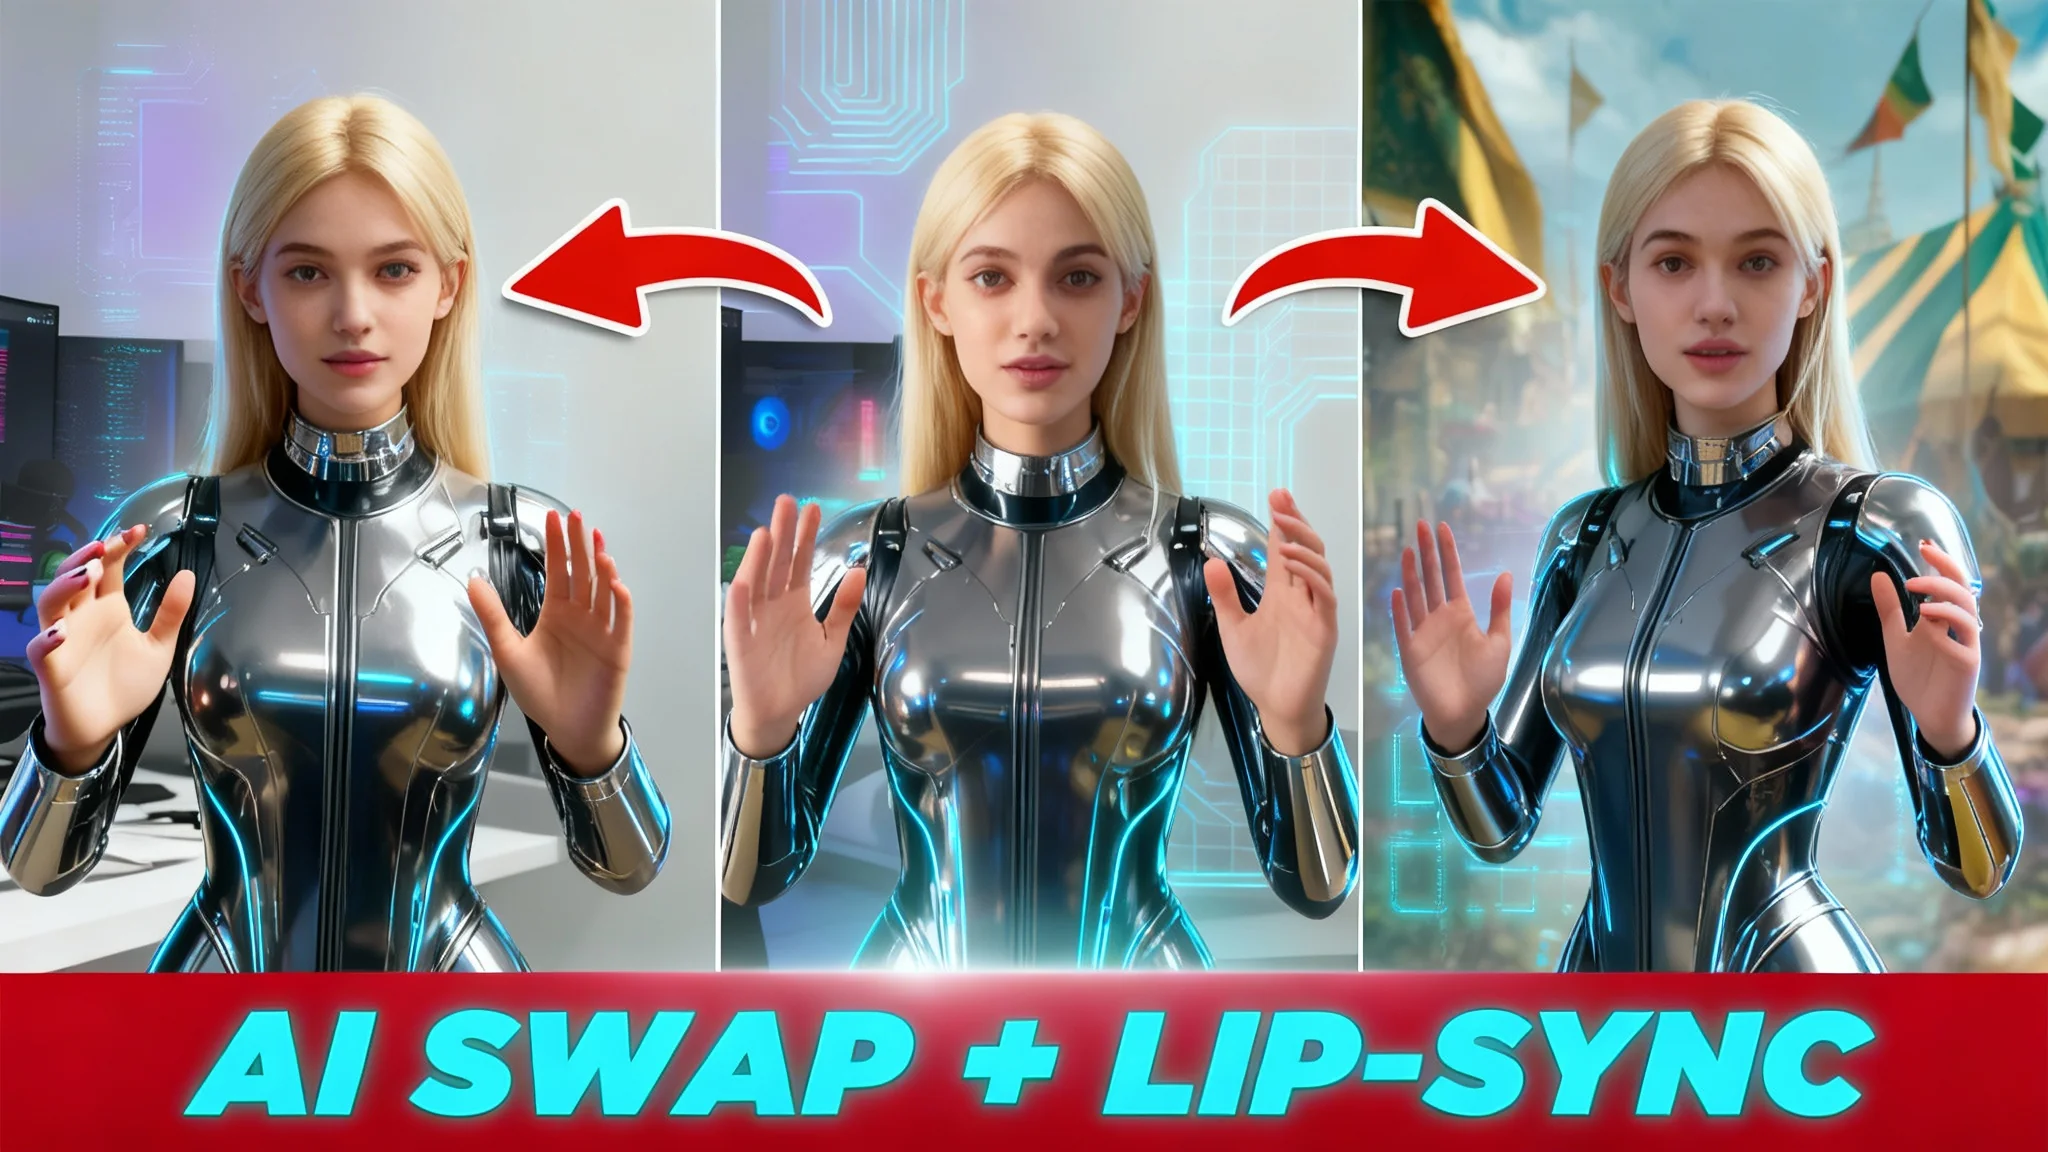
Wan 2.2 Animate: AI Character Swap & Lip‑Sync in ComfyUI
Learn AI character swap and lip‑sync in ComfyUI with Wan 2.2 Animate—drive motion from your video and restyle shots, all free, step by step.