Wan 2.2 Animate Guide: The Best AI Character Animation Yet
Wan 2.2 Animate has introduced a major update to AI character animation. After extensive testing, I’ve found the results raise the bar for scene continuity and natural motion. Character swaps now read as a single, coherent shot instead of a series of awkward cuts, and photo-driven motion feels convincingly integrated.
In this guide, I’ll explain how Wan 2.2 Animate works, how to set it up, and how to use each feature. I’ll cover the three generation modes, quality settings, credits, and wait times, and share best practices to help you produce consistent, natural outputs.
What Is Wan 2.2 Animate?
Wan 2.2 Animate is an AI-driven character animation suite with three core modes:
- Speech to Video: Animate a still photo to speak from text or audio.
- Character Swap: Replace a person in a video with someone from a single image.
- Photo Animate: Drive a still photo with the motion and expressions from a target video.
The update focuses on cleaner transitions, stronger identity preservation, and motion consistency across frames. It’s straightforward to access and offers a practical balance between quality, speed, and cost via a credit-based system.
Overview of Wan 2.2 Animate
| Mode | Inputs | Output | Best For | Typical Time | Credit Notes |
|---|---|---|---|---|---|
| Speech to Video | 1 photo + audio or text (with voice) | Talking head video | Intros, messages, voice-over stand-ins | Short to moderate | Higher resolution costs more credits |
| Character Swap | 1 video + 1 photo of target identity | Video with the new identity swapped | Recasting clips, tests, social edits | Moderate to long | “Pro” quality costs extra credits |
| Photo Animate | 1 still photo + 1 driving video | Full-body or portrait motion transfer | Bringing portraits to motion | Moderate to long (varies by length/complexity) | Longer videos and complex motion cost more credits |
Note: You can generate with or without credits. Without credits, expect longer wait times, especially during peak hours.
Key Features of Wan 2.2 Animate
- Scene-aware swaps that maintain the feel of a continuous shot.
- Three flexible modes for speech, identity replacement, and motion transfer.
- Built-in trimming for precise control over clip duration.
- Resolution options with clear cost/performance trade-offs.
- Preset voices for text-to-speech, plus support for uploaded audio.
- Credit-based priority generation to shorten waits.
- A simple workflow: sign in, select Avatar, pick a mode, and generate.
Access and Setup
- Visit the official Wan platform and sign in.
- In the left panel, select Generate to open the workflow.
- In Media settings, select Avatar.
- Choose one of the three generation modes: Speech to Video, Character Swap, or Photo Animate.
Pricing and credits:
- You can generate with credits for faster results or without credits with longer waits.
- Higher resolutions and “Pro” settings require more credits.
- Entry-level subscription pricing is around $6/month.
The Three Generation Modes at a Glance
- Speech to Video: Animate a single photo to speak lines from text or an uploaded audio track. Ideal for quick talking segments and pickup lines without a camera.
- Character Swap: Replace a person in an existing clip with the identity from a single image. Works best with high-quality, well-lit source media.
- Photo Animate: Apply the motion from a video to a still image. Useful for dynamic shots, expressive motion, and creative motion transfer.
Speech to Video: How It Works
What It Does
Speech to Video turns a still photo into a talking head video. You provide a portrait image and a voice source (text with a preset voice or an uploaded audio file), then generate a video at your chosen resolution.
Step-by-Step Setup
- Upload a portrait photo with clear, sharp facial features.
- Choose your voice input:
- Upload an audio file, or
- Type text and select a preset voice.
- Adjust voice speed if needed.
- Select resolution. Higher resolutions cost more credits.
- Choose generate with credits for faster results or without credits for slower processing.
- Click Generate and wait for completion.
Tips for Stronger Results
- Use a high-resolution portrait with good lighting and minimal blur.
- If you need a time-saving pickup line for content, text-to-speech is fast and consistent.
- For the most natural voice match, upload your own recorded audio.
- Expect short to moderate waits; peak hours can lengthen the queue.
Character Swap: How It Works
What It Does
Character Swap replaces the person in a video with a new identity sourced from a single image. The system tracks pose, facial movement, and gaze to carry the performance into the swapped output.
Step-by-Step Setup
- Upload your source video.
- Trim to the specific portion you want to process (optional but recommended for speed and cost).
- Upload a high-quality image of the identity you want to swap into the scene.
- Pick quality:
- Standard for quicker, lower-cost tests.
- Pro for sharper results (costs extra credits).
- Choose generate with credits for faster processing or without credits to wait longer.
- Click Generate and monitor the estimated time.
Tips for Stronger Results
- Match source quality: if your video is high resolution, use a high-quality identity image. Mismatched quality can show in the final output.
- Good lighting and clear facial detail in the identity photo improve consistency.
- Expect longer generation times than Speech to Video; the system processes more motion detail.
- Complex scenes can affect secondary objects; background props or small animals may not be preserved reliably.
Photo Animate: How It Works
What It Does
Photo Animate drives a still photo with motion and expression from a video. Upload a high-quality single image, pair it with a driving video, and generate a new clip where the image follows the video’s movement.
Step-by-Step Setup
- Upload a high-resolution still image. A clean background helps.
- Upload a driving video with the motion you want to transfer.
- Trim the video to the essential segment if the clip is long (saves credits and time).
- Select the highest quality setting when motion is complex or the clip is long.
- Generate with credits for faster processing; long and complex clips may still take several minutes.
- Click Generate and allow for extended processing time as needed.
Tips for Stronger Results
- Use a well-lit, sharp image with clear edges around the subject.
- The longer the driving video and the more complex the motion, the longer the wait.
- Look for consistent framing in the driving video to avoid extreme occlusions.
Workflow, Quality, and Credits
Resolution and Cost
- Higher resolution produces sharper detail and is worth the extra credits for final renders.
- For tests, generate at a lower resolution to preview motion and identity transfer quickly.
Credit vs. No-Credit Generation
- With credits: shorter queue times and quicker renders.
- Without credits: expect longer waits, particularly during peak hours.
“Pro” Quality (Character Swap)
- Pro uses more credits but delivers visibly cleaner identity transfer and finer detail.
- Recommended for shots with prominent faces, hands, and expressive performance.
Best Practices for Consistency
Media Quality Matters
- Source-video quality and identity-image quality should be comparable.
- Clear facial features, neutral expressions, and good lighting improve tracking.
Keep the Subject Cleanly Separated
- Simple or solid backgrounds reduce unintended artifacts.
- Avoid busy edges, heavy motion blur, or extreme compression.
Trim and Focus
- Trim to the exact section you need to speed up generation and control costs.
- Short, targeted clips are easier to iterate on.
Feature-Specific Guidance
Speech to Video: Quick Checklist
- Sharp portrait photo (front-facing is best).
- Text with preset voice, or uploaded audio for the closest match to your intended tone.
- Adjust speed for pacing.
- Pick resolution based on final use: lower for tests, higher for delivery.
Character Swap: Quick Checklist
- Balanced source and identity quality.
- Trim to key lines or gestures to reduce costs.
- Use Pro for facial close-ups or scenes with detailed hand movement.
- Monitor the ETA; this mode can take longer than others.
Photo Animate: Quick Checklist
- High-resolution still image with clean background.
- Driving video with the exact motion style you want.
- Trim before generating if you only need a segment.
- Expect longer waits for long, complex motions.
Handling Time, Length, and Complexity
Expected Wait Times
- Speech to Video: short to moderate.
- Character Swap: moderate to long.
- Photo Animate: moderate to long; length and complexity have a direct impact.
Practical Steps to Reduce Time
- Trim to essentials before generating.
- Start at a lower resolution for motion/identity tests.
- Queue high-res finals during off-peak hours when possible.
Common Artifacts and How to Minimize Them
Occlusions and Background Props
- Small foreground objects or animals may be lost or altered during identity transfer.
- Keep frames focused on the main subject; avoid heavy occlusions.
Motion Blur and Compression
- Reduce motion blur in the source video when possible.
- Use high-bitrate video sources to preserve detail.
Identity Image Selection
- Choose a photo with a neutral angle and clear facial features.
- Avoid heavy filters, extreme angles, or low light.
Responsible Use
- Only generate content you have the right to create and share.
- Obtain consent when using personal images or voices.
- Follow local laws and platform policies for synthetic media and disclosures.
Step-by-Step Quick Start
Start Here: Access and Setup
- Sign in on the official Wan platform.
- Select Generate in the left sidebar.
- Set Media to Avatar.
- Choose a mode: Speech to Video, Character Swap, or Photo Animate.
Speech to Video: From Still Photo to Talking Clip
- Upload a clear portrait photo.
- Provide voice:
- Upload audio, or
- Enter text and select a preset voice.
- Adjust speed if needed.
- Select resolution, then generate (with credits for faster results).
Character Swap: Swap an Identity in a Video
- Upload your source video and trim to the exact section you need.
- Upload a high-quality identity photo.
- Choose Standard or Pro quality.
- Generate with credits for the quickest turnaround.
Photo Animate: Drive a Photo with a Video
- Upload a high-resolution still image with a clean background.
- Upload your driving video and trim it.
- Select a high quality setting for complex motion.
- Generate and allow time for processing.
Practical Use Cases
- Rapid content fixes when a reshoot isn’t possible.
- Identity replacement for prototyping concepts.
- Motion-driven creative edits for marketing, posts, and tests.
- Previsualization for client pitches or internal reviews.
Keep production workflows efficient by testing at low resolution and reserving high-res output for approved cuts.
Troubleshooting and Optimization
If Results Look Soft or Inconsistent
- Increase resolution and consider Pro quality for Character Swap.
- Use a sharper identity image with better lighting.
If Motion Feels Off
- Choose a driving video with clearer, consistent movement.
- Avoid extreme occlusions or rapid depth changes at the frame edges.
If Generation Takes Too Long
- Trim clips to the minimal required duration.
- Generate with credits, or process during off-peak times.
Final Notes
Wan 2.2 Animate delivers a clear workflow and high-quality animation tools across three focused modes. The update improves scene continuity, expression transfer, and identity stability, with simple controls for trimming, voice selection, quality, and credits.
By preparing clean inputs, matching source and identity quality, and choosing the right generation settings, you can produce consistent, natural-looking results. Use credits to control wait times, test at lower resolutions for quick iteration, and save high quality for final renders.
With the right preparation and settings, Wan 2.2 Animate is a practical addition to any content pipeline for fast turnarounds and polished outputs.
Recent Posts
Animate Any Image in ComfyUI with WAN 2.2 with GGUF
Step-by-step ComfyUI workflow using WAN 2.2 + GGUF to animate any image with realistic motion, cloth sim, and 10+ sec clips—no VRAM limits.
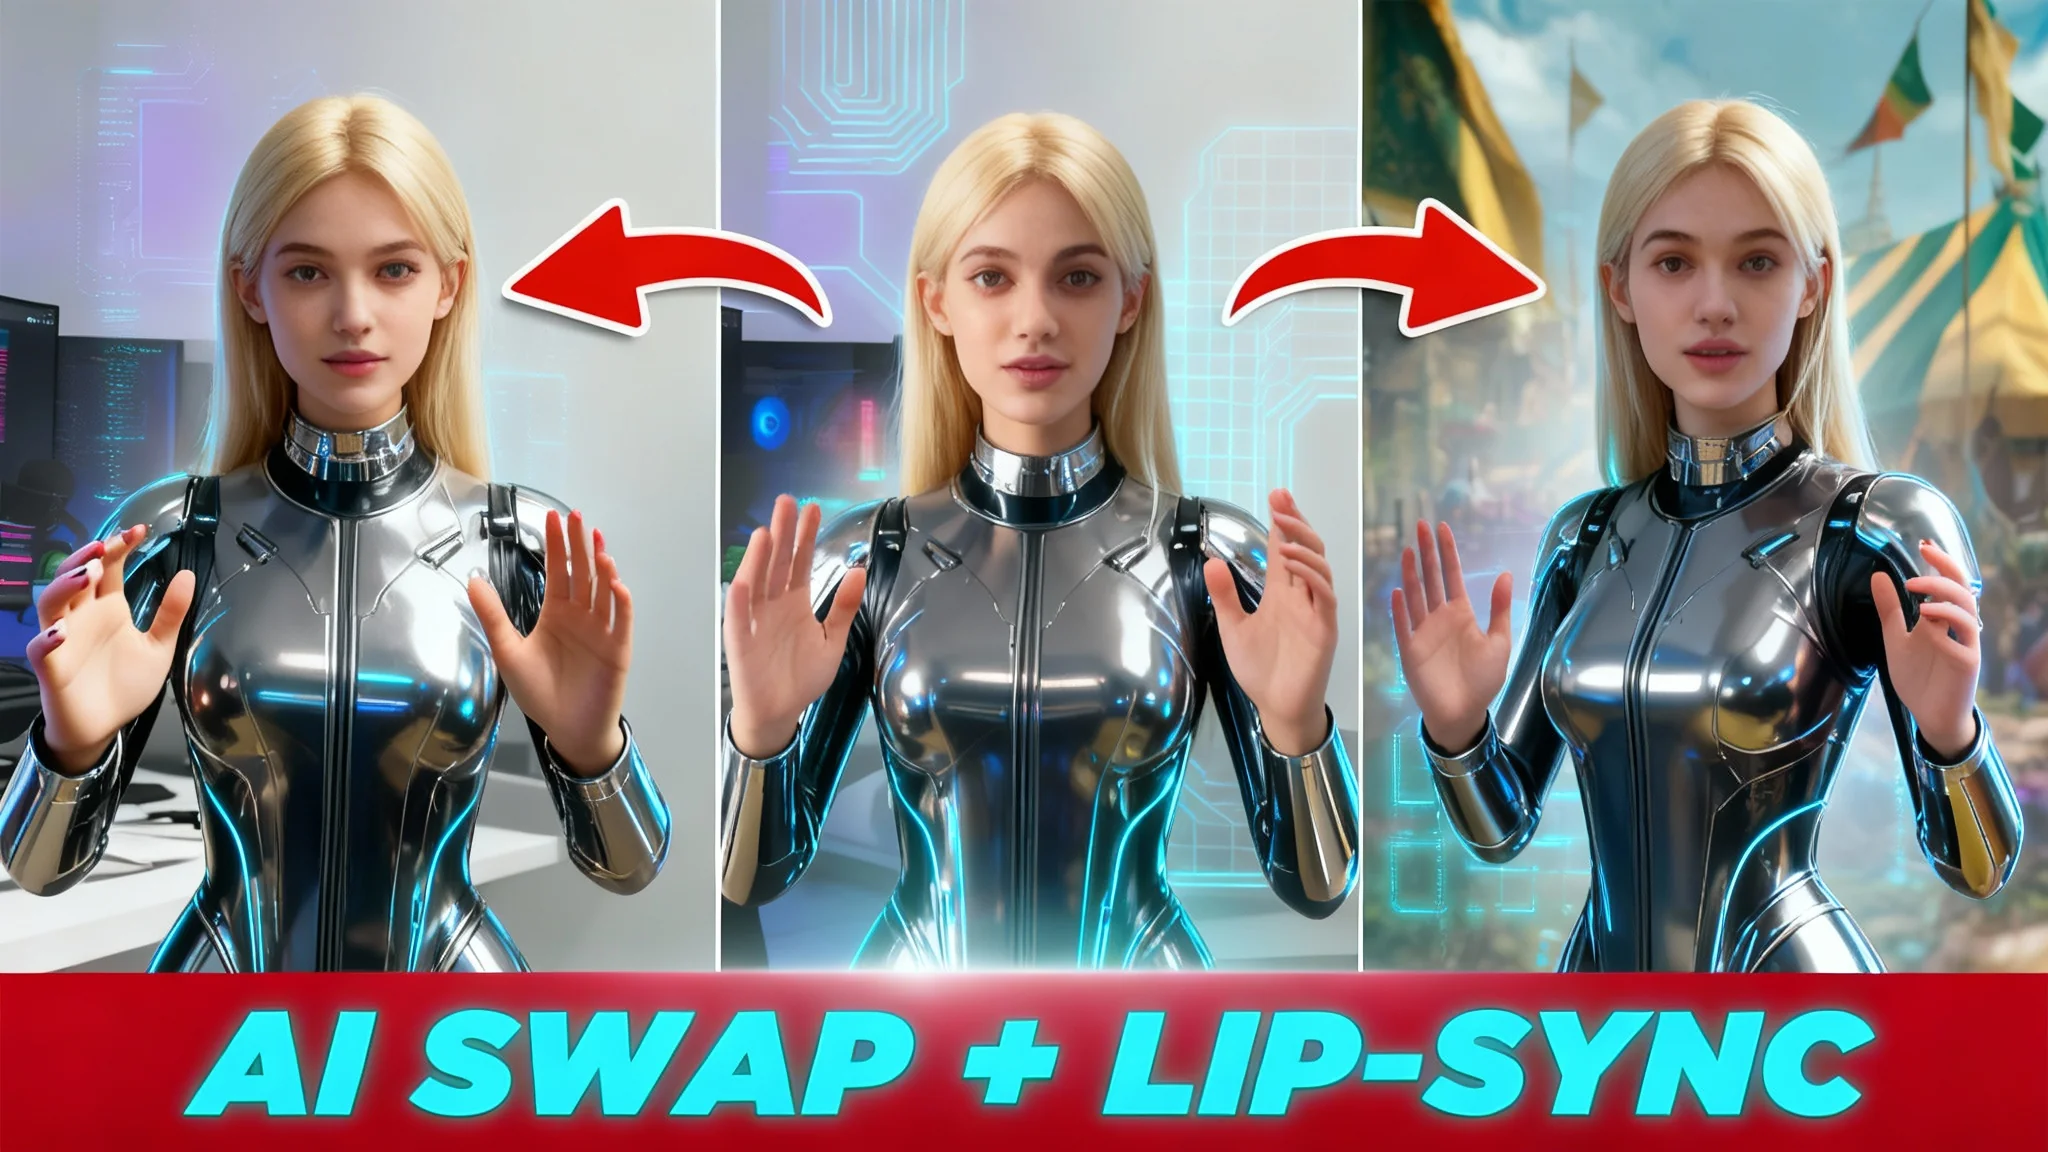
Wan 2.2 Animate: AI Character Swap & Lip‑Sync in ComfyUI
Learn AI character swap and lip‑sync in ComfyUI with Wan 2.2 Animate—drive motion from your video and restyle shots, all free, step by step.

WAN Animate v2: Infinite AI Videos in ComfyUI
Learn how to use WAN Animate v2 in ComfyUI to generate endless AI videos. Download the new model, explore the detail enhancer workflow, and see the full model list.